Sharpening School
Sharpening School Lesson #5: How To Sharpen Single Bevel Japanese Knives
02.11.2017
Hello and welcome to the fifth lesson of the Knife Planet Sharpening School. This lesson is about sharpening single bevel traditional Japanese knives. It is an important lesson, which is why I asked Jon to create the video. Jon has studied the technique in Japan and I learned to sharpen these knives by watching his videos and asking him questions.
Lesson 5: Sharpening Single Bevel Knives With Jon Broida
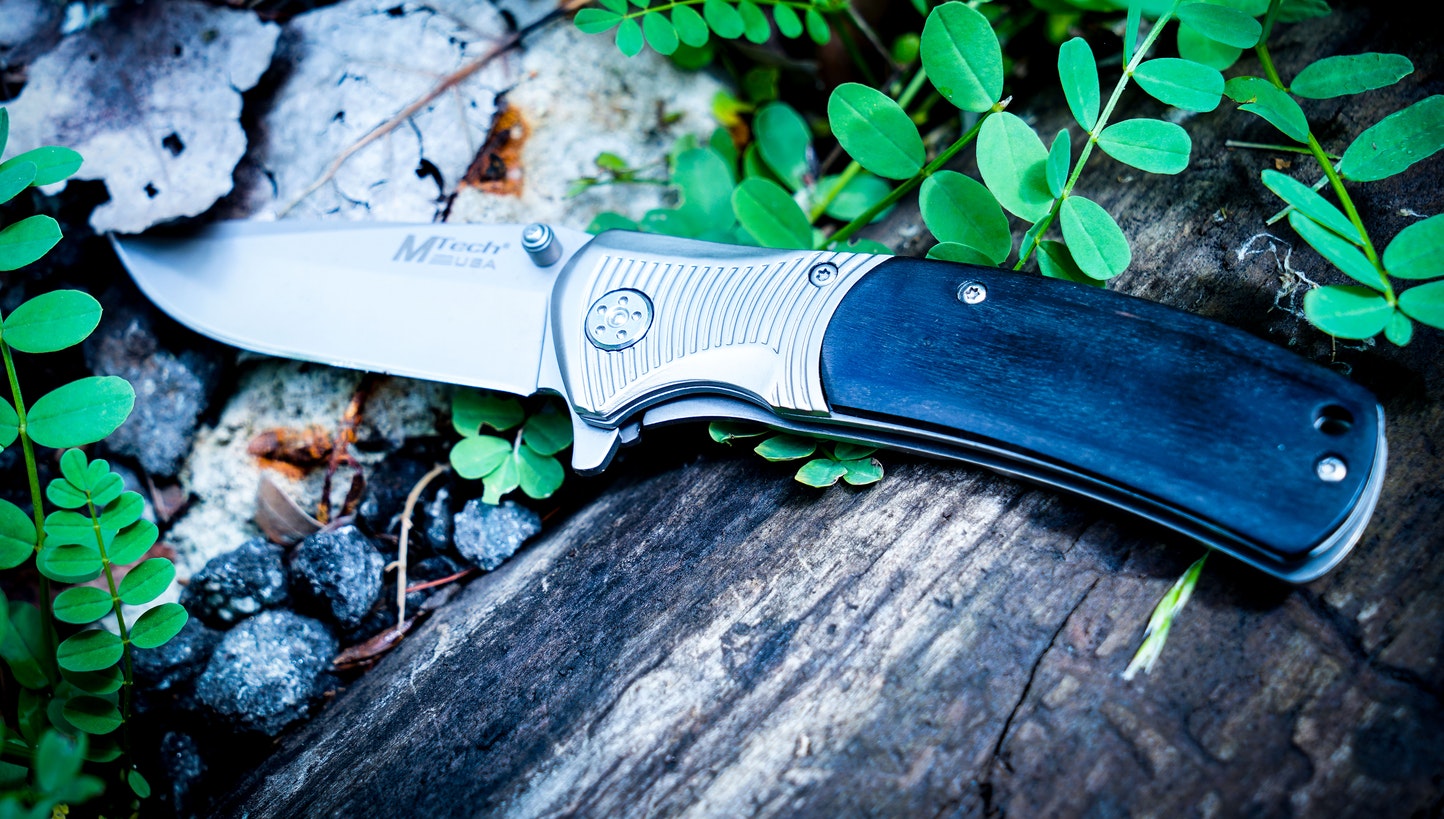
![]()
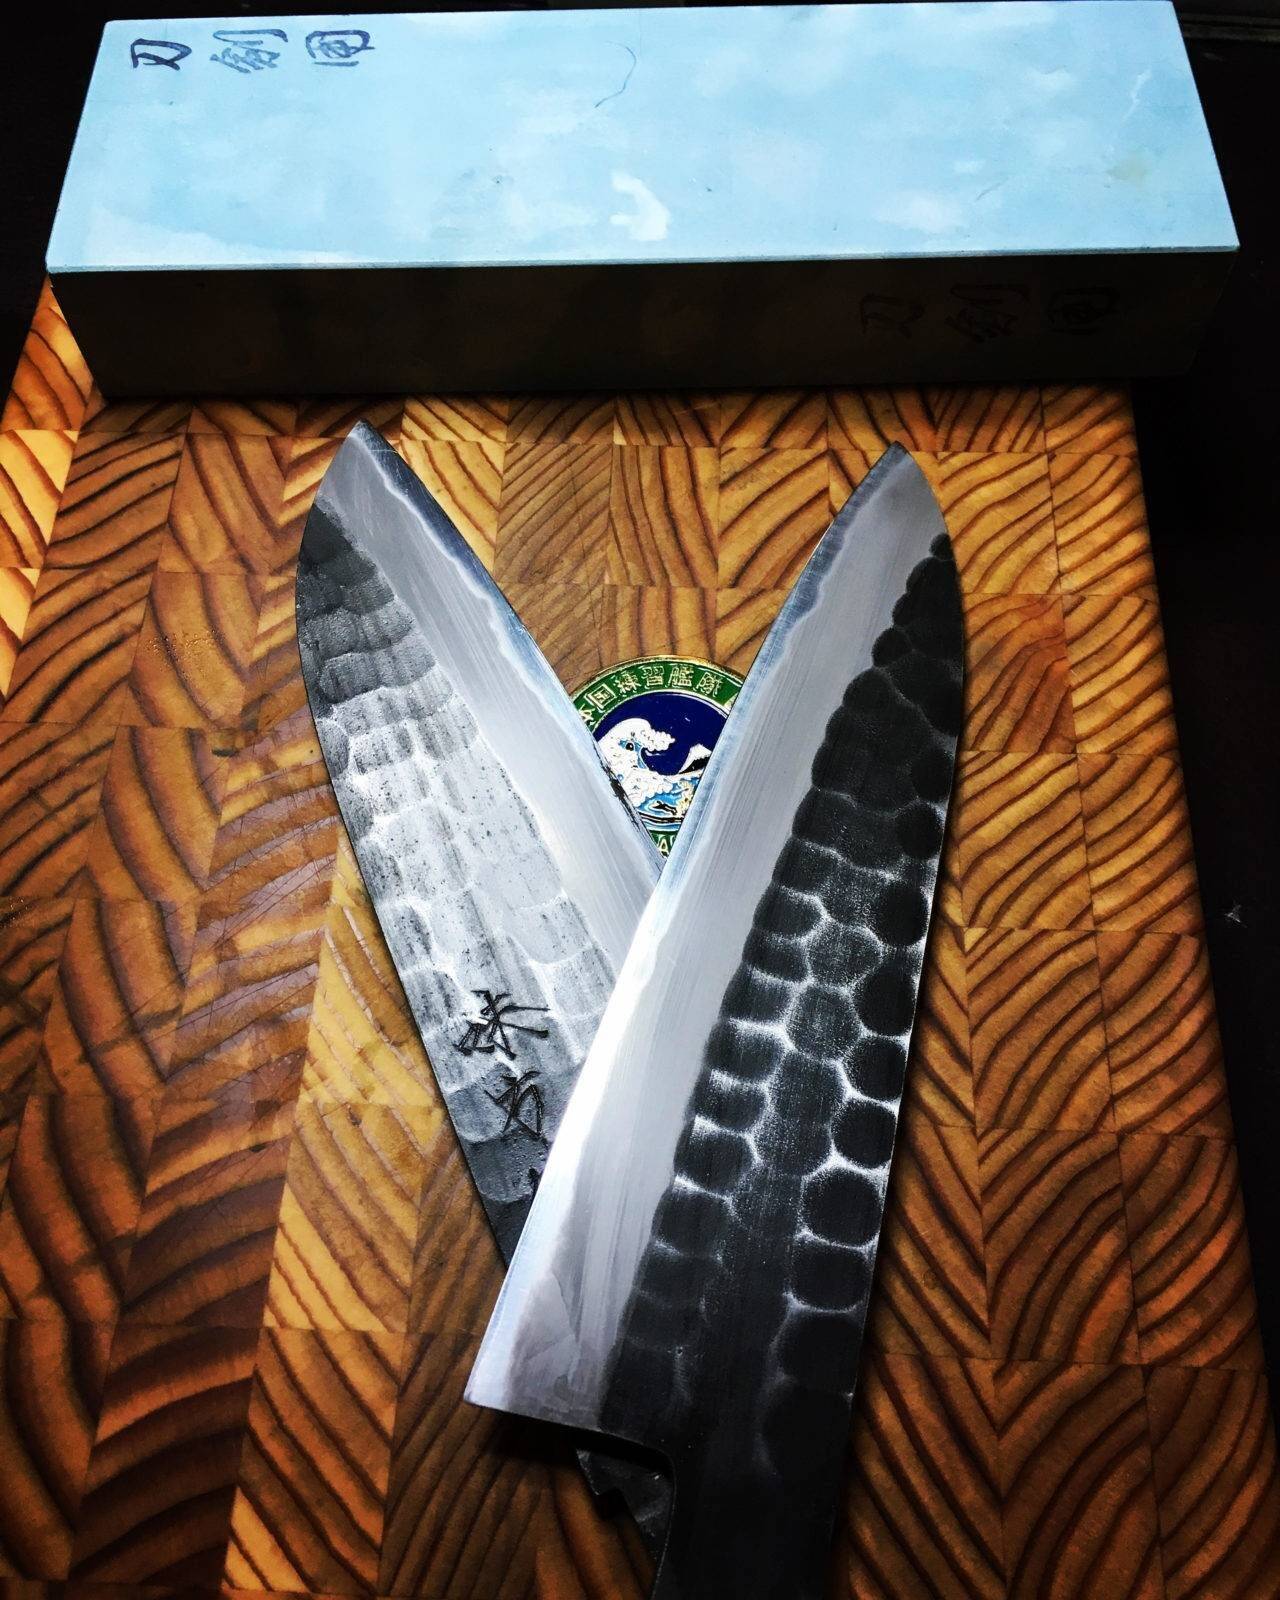
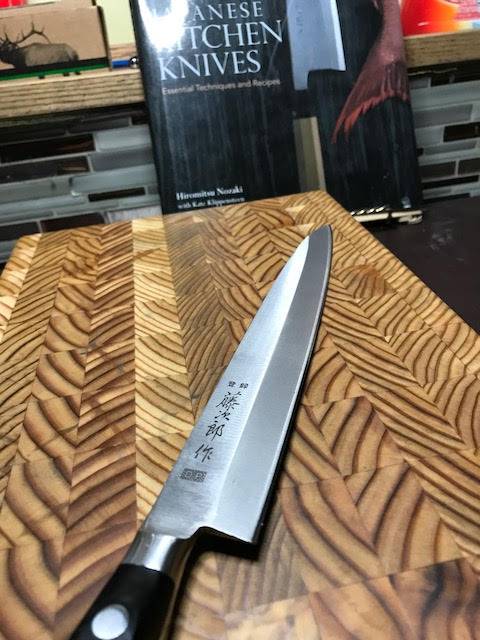
It is obviously important to understand the difference between a single bevel knife and a double bevel knife and knives with highly asymmetrical bevels. It becomes quite obvious when you look at the knife and see that there is a dramatic difference in the appearance.
We call these knives Japanese Traditional Knives and there are three main single bevel knives, with a lot of variations, but the three main knives are:
1. YANAGIBA

Used to slice raw, boneless protein and in particular fish, (boneless is key).
2. DEBA
Also used to cut fish but due to the width and strength of the blade can cut through the small bones of fish without damaging the edge. It’s important to note that it is not designed for tasks like chicken butchery.
3. USUBA

Which is a vegetable knife. However, it is not designed to slice vegetables in a chopping motion like a Nakiri, rather it is used to create extremely intricate slices, each with a different Japanese term (i.e. katsuramuki, sengiri, mukimono).
The Sharpening Technique Used on Single Bevel Knives
The two things all three of these knives have in common is the large single bevel and the hollow ground back side of the blade and it is these two elements of single bevel knives that determine the sharpening technique which is different than that of double bevel knives.
While the technique is different, the fundamentals remain constant, we form a burr using Burr Forming Pressure and an Edge Trailing Motion and we clean the edge by reducing the pressure to Burr Removal Pressure. Again, the shape and geometry of single bevel knives demand that we adjust our actual technique in order to maintain the blades profile and of course, to make it as sharp as we can.
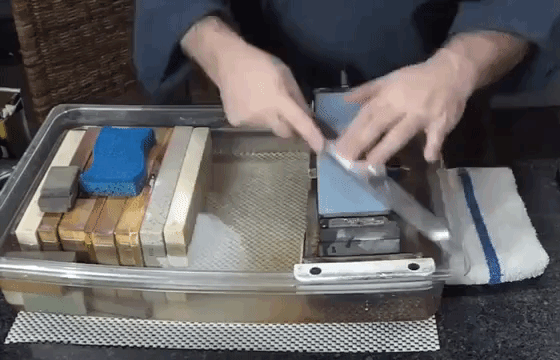
As Jon points out, while we can get away with one medium grit water stone to sharpen double bevel knives, it is best to have at the very least a medium grit stone to start the sharpening process and a finishing stone, 3,000 or above to finish the process and most importantly to sharpen the back, hollow ground side of the knife.
The back of the knife, the Ura is sharpened by using a process simply called Uraoshi sharpening and we use a finishing stone for this purpose. There is a limited amount of real estate to work with on the Ura so a coarse stone with too much pressure will, over time, remove enough metal so that it no longer is a hollow ground side. This would result in the food being sliced not falling away as it normally would, it would stick to the knife and ultimately detract from the purpose of single bevel knife in the first place. A finishing stone and proper use of pressure is what is required and the way to accomplish Uraoshi sharpening is highlighted in the Video.
There is a number of successful techniques employed to sharpen a single bevel knife. In Particular, two methods to sharpen the front of the knife will result in two different blade roads, one that is Convex, and one that is flat. The Convex blade road is what Jon will illustrate and it is called a Hamaguri finish, or clamshell finish and is the preferred method. Preferred as it results in the strongest edge and enhances food release, it is the most common technique for professional sharpeners so we will stick with this.
Step One: Front of Blade from Shinogi Line to Lamination Line
Lay the front of the knife flat on the stone using the built in angle of that wide single bevel as your guide, you can leave the knife flat on the stone throughout the process of sharpening the front of the blade as it is your fingers that will move.
Your target is from the Shinogi Line down a little over half of the way down, to the visible lamination line. You are not trying to reach the edge of the edge here, that is the next step. With a medium grit stone, 1,000 or 1,200 for example move the knife from the bottom of the stone as demonstrated to the top using edge trailing strokes, pressure on the way up and pressure released on the way down. Work the entire portion of this blade from heel to tip paying particular attention at the tip area as demonstrated. It is essential to adjust your angle very slightly here to ensure the tip area is sharpened properly and it takes a little time to get used to it. The video explains it very nicely.
You are looking for a uniform scratch pattern that replicates what the particular stone being used would normally create. This is your guide, sharpen then do a visual check from heel to tip.
Step Two: Front of Blade from Lamination Line to Edge
This is where you will form a burr on the back of the knife, a nice consistently sized burr from heel to tip and it is done by shifting your fingers and proper pressure levels.
Keeping the front of the blade in contact with the stone, move your fingers down towards the edge, as close to the edge as you can get them but not touching the stone. These are your pressure fingers, you should be familiar with them by now. Now repeating the movements you are going to form a burr by applying adequate pressure as you move your fingers from heel to tip, remember, this is where the sharpening is taking place, below your fingers.
Step Three: Feel for Burr
Now feel the back of the knife along the edge, carefully, for a burr and if you have successfully formed a burr from heel to tip then move to Step Four and if not, go back to Step Three and just repeat the motions utilizing whatever level of pressure is necessary but keep it on the light side, have patience, the burr will come. Focus on finger placement, if they are up too high, that burr won’t come to see that they are place properly on the blade.
Step Four: Uraoshi Sharpening (Finishing Stone)
Now that the burr is formed, you need to remove it and while doing so conduct the Uraoshi sharpening, the back of the blade sharpening not only removes the burr but strengthens the back of the blade. Watch the video as Jon holds the knife perpendicular to the stone to remove the burr and finish the sharpening. This process will form a small burr on the front of the knife but that will be removed shortly.
Note than when doing the back of the knife, the blade is laid flat on the stone, perpendicular to the stone and with light pressure over the shinogi line you PUSH the blade from the bottom of the stone away from you to the top of the stone. You release the pressure on the way back down. This ensures even wear on the back of the knife, remembering that it is hollow ground so you are not reaching the entire surface area of the back of the knife, just the edges.
Step Five: Repeat Front Side sharpening with finer stone
Now we just move to the next and probably final stone and repeat all of the steps sharpening from the shinogi line to the lamination line and then from the lamination line to the edge. Again, a burr will form again, it will be smaller perhaps but needs to go so repeat the process of Uraoshi sharpening with the finishing stone. Now that this is done, you can check the edge for any burr and move from the front of the knife to the back in ever diminishing levels of pressure to remove the burr. You can stick with the Front of knife from the lamination line down for this burr removal, edge cleaning stage.
Step Six: Microbevel
Placing a Microbevel on the edge is completely optional but is a good habit to get into, especially for a Deba where that knife will be cutting fish bones. A Microbevel is placed with one stone, a finishing stone. The method is simple and very quick, raise the sharpening angle to about 30 or 35 degrees and do exactly as Jon does in the video to create a very small bevel that provides strength to the edge.
Step Seven: Final check
The knife is done now, but before you put things away have a good feel for any burr and you can check the edge at this stage for sharpness on very light paper or by the method Jon describes, on your thumb nail.
That is it, as Jon points out, there are different techniques that will work but this is a favourite and clearly works. Thank you and please don’t hesitate to ask questions if they come up. Stay tuned for lesson 6.