Sharpening School
Sharpening School Lesson #3: How To Thin a Knife
06.08.2017
Welcome to Lesson #3 of KnifePlanet’s Sharpening School. If you missed the previous Lessons, you can find them here. Today we will talk about thinning a knife. Jon’s thinning video provides and excellent visual guide and explanation on why thinning a knife is necessary and the technique that is used to perform this very useful application. But first…
What is thinning?
Thinning a knife involves reducing the width of the blade behind the Primary Edge from a cross sectional geometry perspective. Thinning a knife is not sharpening, although the same principles are used. We are not working at the primary edge, even though, as Jon explains in the video, one can thin a knife until the primary edge is reached and the result is a zero grind. However, for the purpose of this Lesson, we will have a Thinning Angle and a Sharpening Angle.
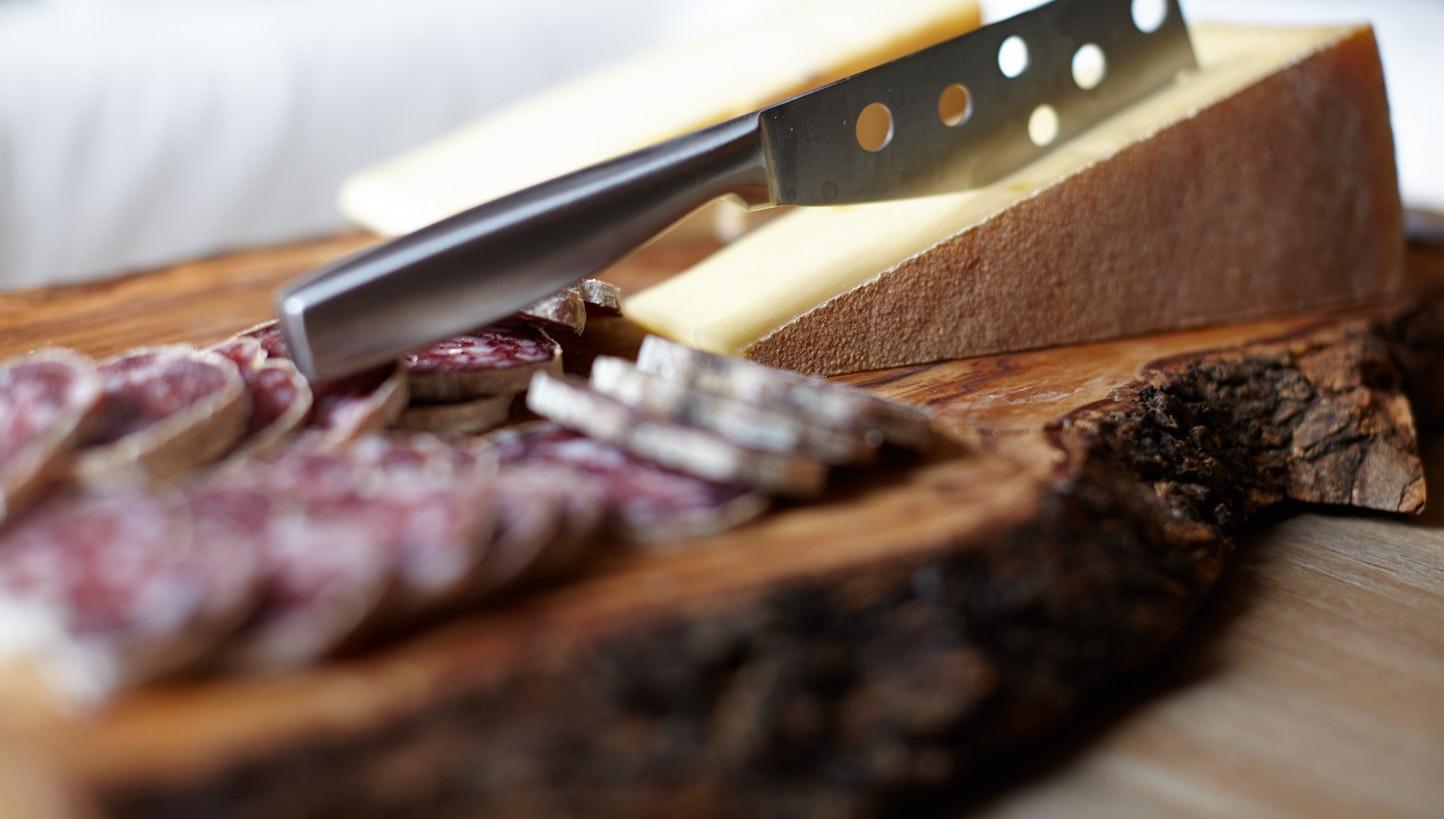
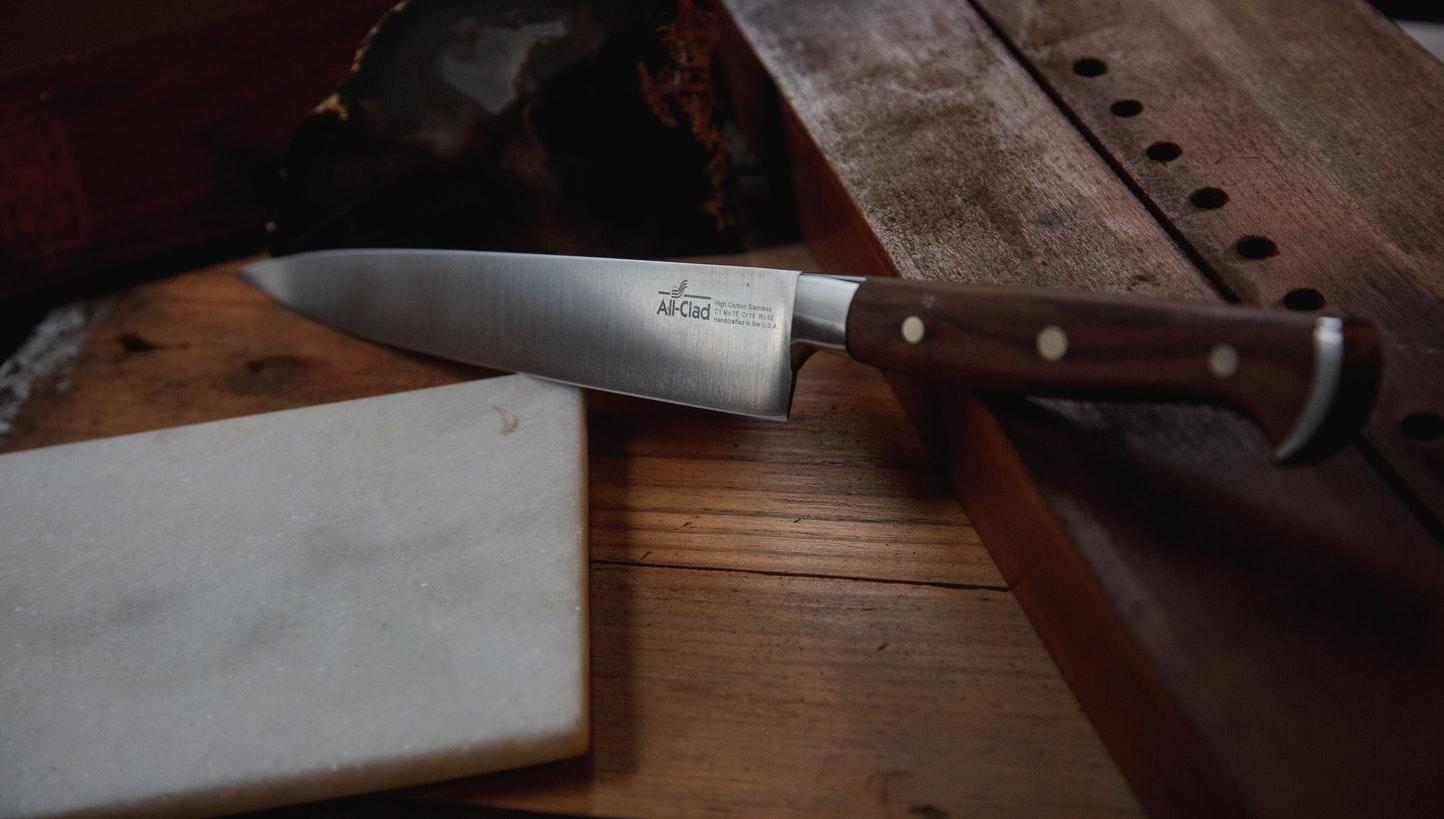
Lesson #3: How To Thin A Knife
![]()
Why Thin a knife?
When we use a new knife, a well made knife, in terms of it geometry, it is usually nice and thin behind the edge. We have a sharp primary edge and the width of the blade directly behind it is wide enough to provide support to the edge but not so wide that it has a negative impact on the cutting performance of the knife. A thick knife can still be very sharp, even the thickest knife, however it will perform poorly when cutting.
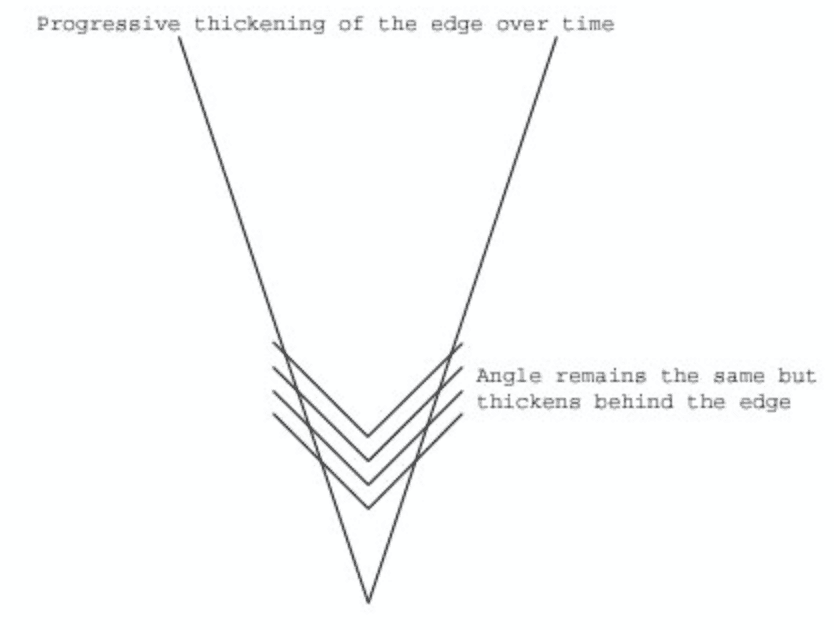
However, over time, as we use the knife and sharpen it, the edge moves up into the thicker part of the blade because as we sharpen we remove metal from the edge. Although the amount of metal removed is very small, in time, knives get thicker and that has an impact on the cutting performance. So we thin to regain control of knife as Jon puts it and that is exactly what the goal is. Thinning is about restoring or improving the slicing ability of a knife.
The Thinning Approach
Like sharpening a knife, we should begin the process with a vision of how we want the knife to look and act when we are done. We shouldn’t just pick up a knife and start grinding metal away without a plan, this is applicable to sharpening and thinning. Your Thinning Plan could resemble this:
Look at your knife for anything that will prevent a successful process, a bent knife for example is going to be extremely difficult to work on. Rectify any issues before you start the thinning process;
Prepare your work space with the water stones you will use. If this is the first time, try thinning with an 800 or 1,000 grit stone just to get a feel for it. As you gain confidence with the process, the thinning stones may include a 220 or lower grit stone but a 400 grit whetstone is a great start. A Sharpie is a very handy tool to use when thinning, you can paint the area behind the edge, a 1/3 of the way up from the edge to help you work on the intended area of the knife. Your target area, the Thinning Area is behind the edge, running parallel to it and this is also where your fingers should be, the finger tips used to apply pressure;
As Jon demonstrates in the video, look down the knife with the edge held upwards and see how thick the area is behind the edge, this is where the thinning vision begins, look, and feel the area as demonstrated in the video to determine how much metal should be removed. The process with wide bevel knives and those knives with much smaller bevels is the same but it’s a little easier with those wide bevel knives and this is explained very well in the video;
You must realize that this process can have a very positive effect on your knife but it can definitely have a negative effect on the aesthetics of the blade. You are going to run the blade over a coarse stone applying pressure in the thinning area so this is going to scratch that area. As we move higher in grit, we will reduce the depth of the scratches and polish most of the area but it will not look the same as new. It is important to reduce the depth the scratches, especially on carbon knives as these scratches created by the coarse stone can promote rust at a quicker rate than normal. It is just a matter of being aware of this and educating people if you are thinning someone else knife. The refinishing process involves medium to fine water stones and for me, a series of wet/dry sandpaper beginning with a coarse grit (220-400) and finishing at 600-800, this is what I use personally. Some folks are not concerned with the cosmetics of the blade and in fact, many knives that I get for thinning are not as pretty as they were when new anyway. Regardless, know that you will alter the appearance of the blade by thinning it. You can actually improve the appearance of the blade with the refinishing process but it takes time and a lot of patience.
The thinning process involves:
- Thinning the knife at the Thinning Angle (Usually 2-5 degrees per side.) using the technique demonstrated in the video;
- Refinishing the blade, not mandatory but recommended. The degree of refinishing will depend on what your goal is, what tools are used and your skill but I don’t recommend leaving the area scratched up, so follow up with a medium grit stone at least.
- Sharpening the knife at your chosen Sharpening Angle.
Thinning a knife is not easy, it takes a lot of time and patience and some forward thinking to get the job done. Monitor your process frequently, as you work, hold the knife up to look and feel how the thinning process is unfolding. Thinning is a means to regain the performance of the knife that may be effected by the thickening process. It can be done periodically as you notice the knife acting differently, losing it’s slicing ability a bit, even when it is sharp.
The thinner the knife becomes, the easier it moves through food but the knife becomes a little more fragile as well, supporting metal is being removed. This is fine as long as you are aware of this and develop a plan to work with it. It may mean more frequent sharpening or honing that’s all. As Jon mentions, thinning may cause some foods to stick to the blade as the blade moves through it.
Remember that wide beveled knives have a built in thinning angle but others don’t, so this is where you will need to find it which is not difficult, think of working in the area behind the edge, that thick area.
Conclusion
Please watch the excellent thinning video and don’t hesitate to follow up with questions if necessary. Jon and I both love sharing information and don’t mind constructive criticism either. As I said, thinning is not an easy task, it is a skill we learn by doing it but we hope that this video and article get you off to the right start. Stay tuned for the next lesson, and keep practicing!