Knife Sharpening
How To Sharpen a Knife on a Japanese Water Stone
23.10.2015
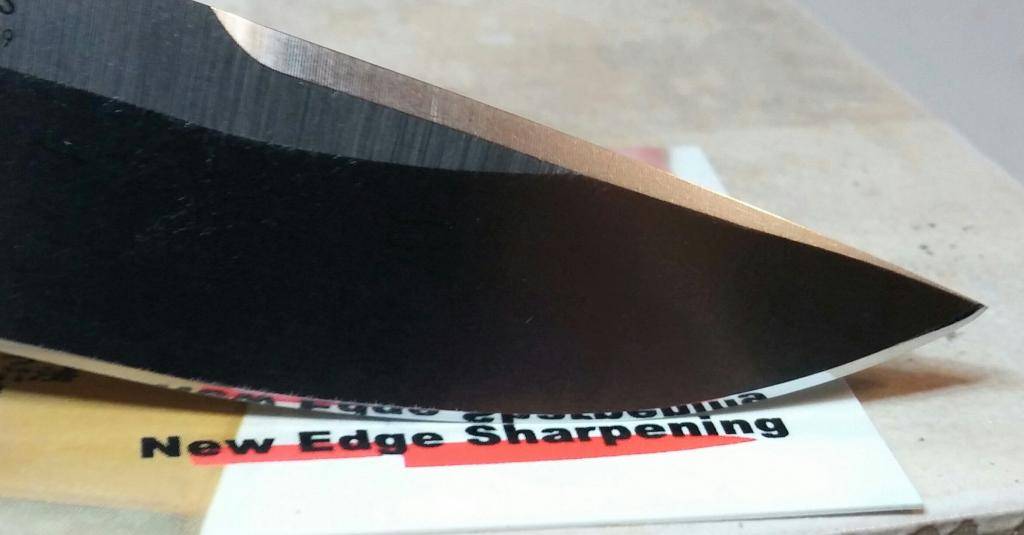
My name is Peter Nowlan, a retired Naval Officer. I became interested in Knife Sharpening 35 years ago starting on oilstones after watching my father sharpen a chisel. It was a trial and error thing at that time as there was no internet back then and nobody I knew had the same interest. I started my business, New Edge Sharpening, in Halifax (Canada) to make extra money just to feed my obsession with water stones but the business took off and I am truly enjoying an abundance of dull knives to sharpen.
[box]Here’s my step-by-step, beginner’s guide
to sharpen your first knife on a Japanese Water Stone[/box]
[table id=62 /]
[toc]
1. THE START: LESS IS MORE
When I decided I wanted to learn to sharpen my own knives, I was overwhelmed by the sheer volume of sharpening supplies and in my ignorance at the time, I thought I needed everything I could get my hands on, the more I had the sharper the knives would be. That was a mistake. Today, I rely on just a handful of good products, I use them every single day of the week.
Here is what you need to get started and it does not begin with the tangibles. Success will come quickly if you understand and can visualize what it is you are attempting to do, what has to happen to make a knife sharp. My experience is with Japanese Water Stones but the same will hold true for other methods. I do not recommend pull through gadgets or electric grinders of any type by the way, I am opposed to those methods although I understand the desire to try everything out… remember, I thought I needed everything and I thought everything worked.
2. WHEN AND WHY YOUR KNIFE NEEDS TO BE SHARPENED
Your kitchen knife becomes dull when the metal at the primary edge, the cutting edge becomes fatigued and rolls over to one side or both sides of the blade. This is normal, it should happen regardless of the quality of the steel and what you are using the knife for. The difference will be “when” it gets fatigued, the better the steel the longer the edge will hold out, generally speaking. However, I have noticed something with high quality knives such as a Fujiwara and this may be applicable to you: I have several different brands of knives ranging from mediocre to my one dream knife. Theoretically, the mediocre knives with their mediocre steel should become dull faster under normal use. (I am referring to use at home, not in professional kitchen and not in the hands of someone who cuts lotus blossoms all day long)
My Fujiwara is an exceptional cutter and a pure joy to use, as a result, the mediocre knives get a pretty good break and the dream knife gets to do the lions share of food preparation. So it gets duller faster. However, it goes without saying that superior steel will have improved edge retention but at the end of the day, knives get dull, they just do and I am very happy about that, I get to sharpen them over and over!
Your task as a sharpener is to remove that fatigued metal and expose the steel underneath, the fresh strong steel and bring side A and B of the knife together at the Apex precisely, sounds easy doesn’t it? Like peeling a layer off and having a fresh start, over and over. Of course there is much more to it than this but in very basic terms, you want the abrasive properties of the water stone to abrade the fatigued metal away, like an eraser.
At first, you will approach the task with apprehension, excitement and some nervousness but hopefully, you will be excited about what you do. I cannot stress enough how rewarding knife sharpening is, even when you get started, that first taste of sharpness is one that you won’t forget and will leave you hungry for more.
3. GET THE RIGHT SUPPLIES: YOU DON’T NEED MUCH!
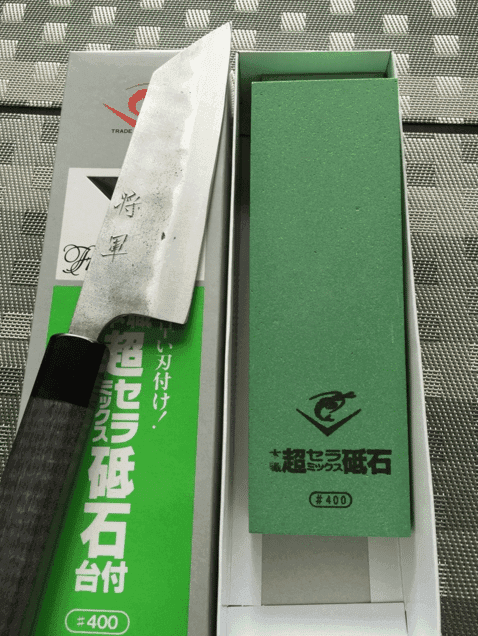
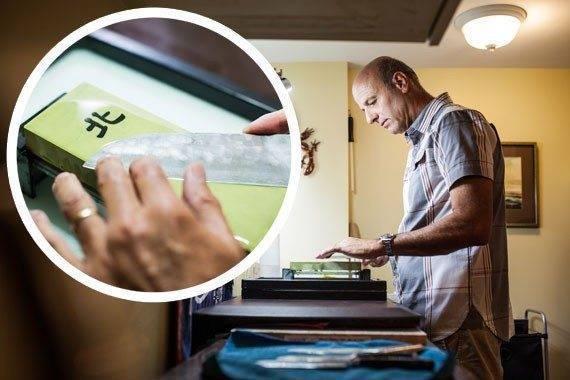
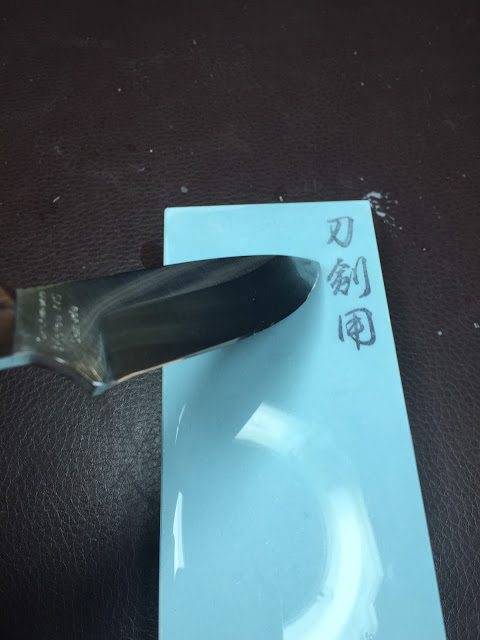
So you want to have the right frame of mind and a knowledge of what it is you are attempting to achieve. With that you need some supplies. Pictured here are three Naniwa Chosera Japanese Water Stones, 400, 1000 and 5000 grit.
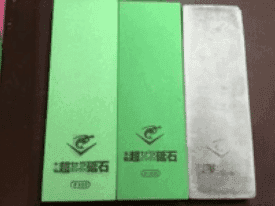
This is great combination but you don’t need them all to get started. As your budget allows, start with one stone and although I like to start with a coarse stone, the 400 Chosera is a little coarse to start the learning process with and you would need another stone in a higher grit to finish. So if you want to start with one water stone, and that is perfectly okay, select the 1,000 grit stone, it will deliver an edge that will startle you, with practice of course. Also, just having a water stone in your possession is going to motivate you, trust me.
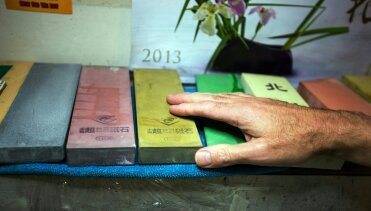
You need a stone holder, something that can be purchased for as little as $20.00 to keep the water stone is place as you sharpen. A lot of water stones come with a base, so there’s so need to get it separately. Some people just have the stone on a piece of wood over a container of water with a cloth underneath the stone to keep it from slipping. The key is that you don’t need to spend a lot of money to get started and you don’t need Naniwa Chosera stones, you can start with King water stones if you like, those are fine and I don’t mention King in an attempt to say they are inferior in any way. The key to learning is not what you are using, not the quality or brand of stones, it is developing consistency with a technique that you can use comfortably and repeat. Saying that, stay away from the seven dollar stones available at the hardware store. (Remember, I tried everything).
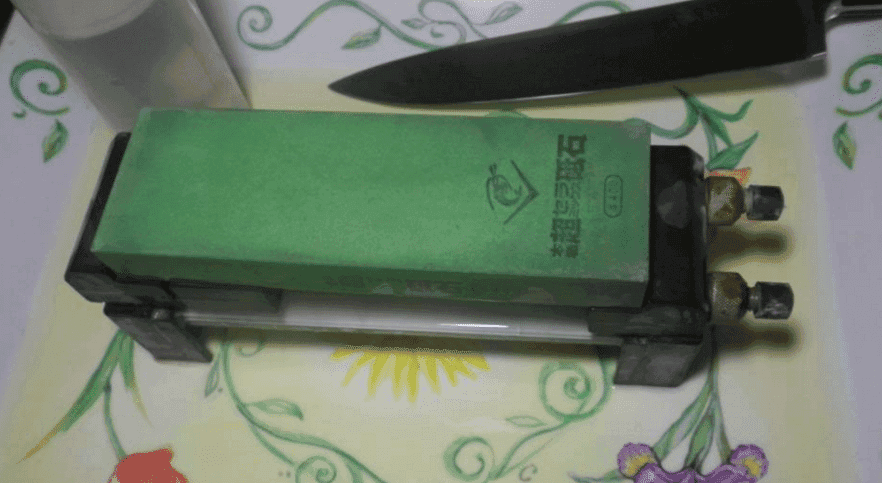
So as a bare minimum then, you need one Japanese Water Stone, a stone holder, either commercial or hand made, water, a towel of some form, I use micro fibre towels and a knife and a place where you can work without distractions. No music or TV, no cell phone, just you and the stone(s) and your mind in “sharpening gear”.
My Recommended Water Stone Set:
This is all You need to follow this guide and get a sharp edge to your knife
[table id=22 /]
4. GET READY: SOME TIPS BEFORE WE START
You also need some courage. You will take a knife to a water stone that is an abrasive and change the edge of knife, it may look different
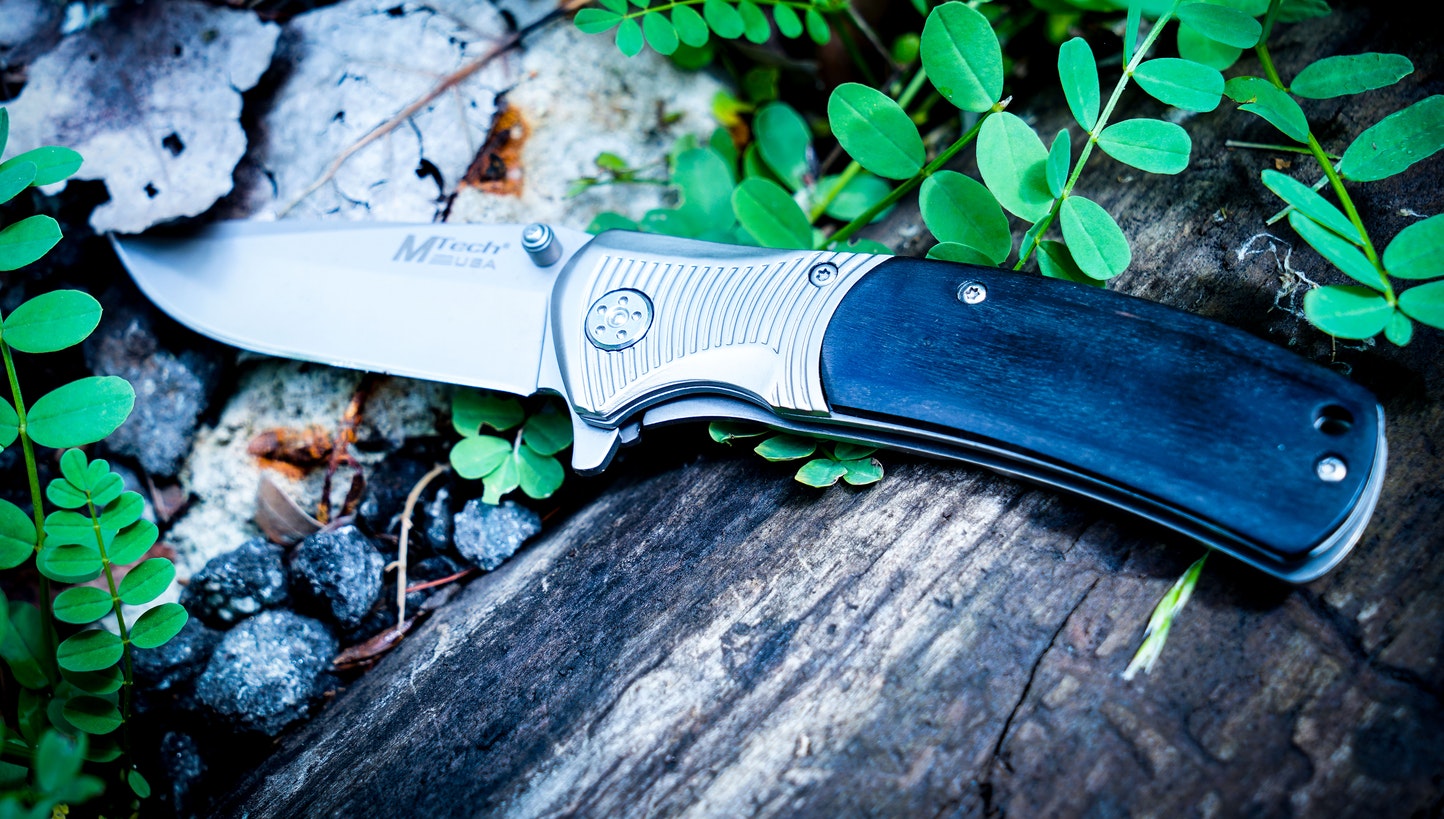
at the end, metal is going to vanish. Don’t start with a Dollar Store knife, start with a medium quality 8 inch (203mm) that has not been sharpened beyond the factory before you. You want to set the sharpening stage for success, a cheap knife is hard to sharpen because of the inferior quality of the steel. Now if you are worried about scratching the blade of the knife, you shouldn’t be but if that apprehension is going to distract you, eliminate the fear by taping the blade of the knife with painters tape, just the blade, not the edge.
Your primary goal is just to improve the edge, make it a little bit sharper. Manage you’re expectations and don’t worry about getting the knife ready for eye surgery on day one. Ignore all those YouTube videos where you see folks performing miracles with their knives, forget that completely. You just want to make the knife a little less dull and by doing so you will achieve what most people will never even attempt. You want to get a taste of sharpening success and it can happen quickly. If you are reading this, or any other cool sharpening tips, you’re on the right path.
5. STEP-BY-STEP: FOLLOW ME AND SHARPEN YOUR FIRST KNIFE
5.1 Learning the sharpening angles
Hold the knife in your right hand (or left) with your index finger along the spine of the knife and be comfortable, hold it tight enough so it doesn’t move as you sharpen but you don’t need a death grip on it. Wear shoes and if possible stand on a mat that will absorb the impact of the knife if you drop it. (You won’t drop it but be safe…..move your feet if you drop it!).
The height of the spine of your knife off of the stone below it will determine the angle. A typical sharpening angle for a typical chef knife is 19 or 20 degrees per side. For the sake of removing confusing obstacles that could hinder your progress, let’s just sharpen your knife at 20 degrees per side. You can determine exactly how high off the stone that knife should be held by measuring the height of your blade at the heel and then dividing that number by 3 for a 20 deg angle.
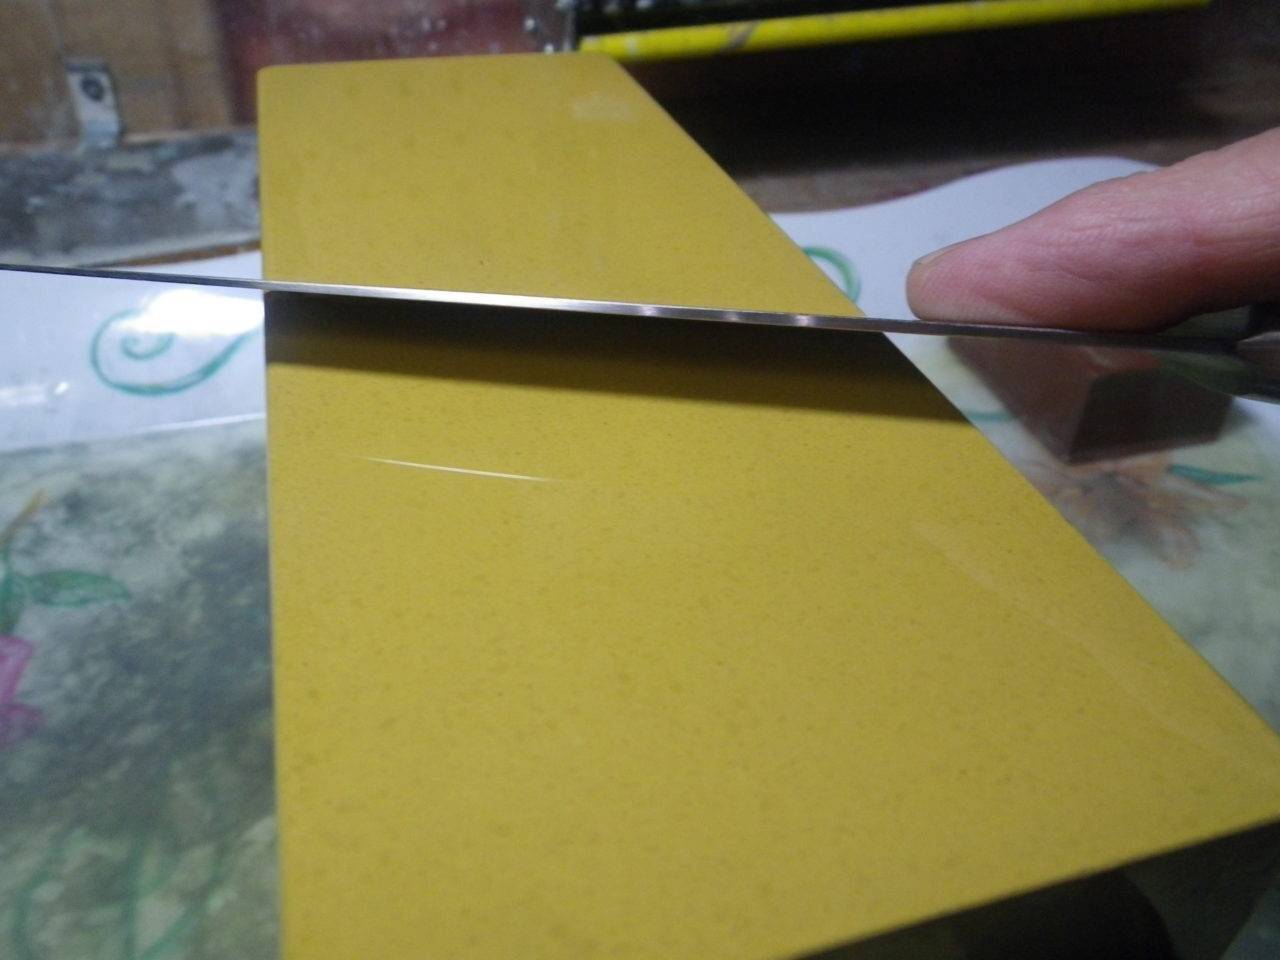
Making things easier again, lets make that .5 inches (12.7 mm). But let’s make this part as easy as possible:
Cut a wine cork so that it measures .5 of an inch and use that as your visual guide. You can keep it at the end of your water stone and rest the spine of the knife on it so that you can see what that angle looks like. Now this is all pretty nifty but you still have to learn to move that knife over the water stone holding it at that angle, whether you chose 20 or 15 deg, making the template is the easy part, stabilizing that angle is where practice is crucial. You can hold the knife with that wine cork in place and that is the angle you want sharpen at but now that piece of cork has to go, you’re on your own. I have taught many many people to sharpen a knife and believe me, this particular part of the process is not as hard as many people believe! In fact as you start actually sharpening the knife you will become quite motivated to succeed because it isn’t as hard as you thought it would be. In time, you’ll learn that you don’t need or want to sharpen everything at 20 deg, but for the sake of building muscle memory it is a good place to start.
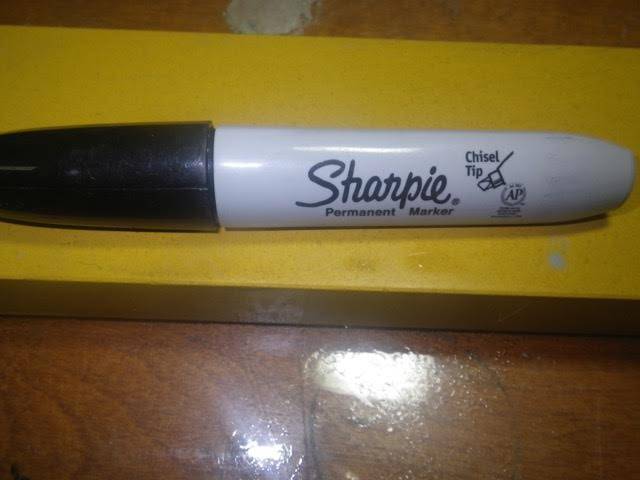
5.2 The sharpie trick
Speaking of building muscle memory, here is a good exercise for you, a confidence builder: Paint the edge of your knife and bevel with a Sharpie and sharpen the knife at an angle that results in the removal of that Sharpie. In many cases it will be close to the 20 deg angle anyway. When you have achieved success, repeat the process and do that ten times. Now flip the blade over and do it on the other side, you don’t need to use much pressure here, just a little. You want to get to the point where you can place the knife at the SRA “Sharpie Removal Angle” the first time, every time.
5.3 Keep doing it, and check your work
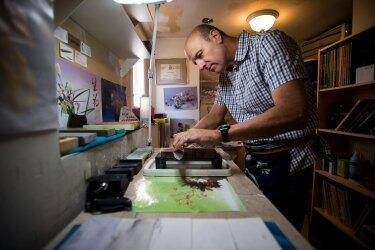
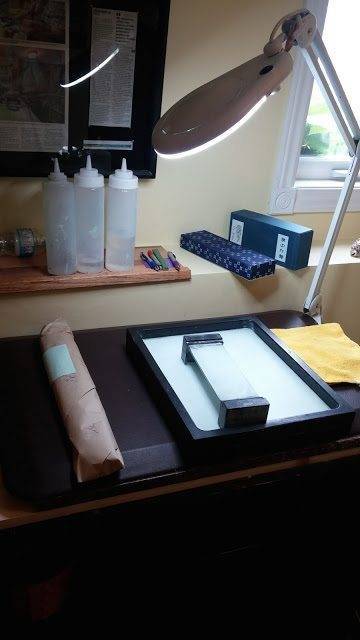
As you proceed it is really important to stop and take a look at your work. I use a very good lighting system so I can see the edge very clearly. Look to see if the bevels are being ground evenly and if not, remember that you are learning, if this was easy, everyone would do it.
Just keep at it and concentrate, visualize that edge and bevel as you sharpen and keep in mind what you are trying to achieve. You need to do this on both sides, for me, I found that the hardest part, getting the other side of the knife to match the side I started on. I start on the right side of the blade at the tip and work my way towards the heel. When I do the “back” of the knife, I start at the heel and work towards the tip.
The purpose of this article is just to get you started on the right path and please note that this is just the way I do it, there are many gifted sharpeners out there who are eager to share their knowledge. (I am not calling myself a gifted sharpener by the way, I just have so much respect for many sharpeners so I’m calling them gifted, they call me Peter).
5.4 Your goal now is to raise the burr
Your immediate goal is to raise a burr on the side of knife opposite to the side you are sharpening and depending on the steel, the grit of stone and how you are doing, it will be either a very quick process or it will seem like it takes an eternity. Patience here will reward you, believe me. The sharpening process is incomplete with no burr creation on your first stone. (Yes, it is possible to stop at that magic moment without the burr forming but we are not there yet, we don’t even need to go there, ever, I am just mentioning it so those gifted sharpeners will be happy) . Think of the burr as the debris that is making the knife dull being forced down the blade towards the edge and over to the other side of the by your sharpening prowess. You form the burr, that knife will get sharp, no burr, you just need to look at your work. A Loupe is handy here, an inexpensive magnifying device with a light that allows you to see the edge very well, if you are not forming a burr, you are not reaching the edge. (Having a loupe also makes you look cool and scientific, like a Sharpologist).

It will be tempting to raise the angle here to get to the edge quickly, that is not the way to go. Re-paint the edge/bevel if necessary and try again. You can flip the knife prior to burr formation and work on the opposite side. Repeatedly feel for the burr with your thumb by running it very gently down the blade and over the edge, if the burr is there it will be very obvious, you need to create the burr along the entire length of the blade. Once you have done that, (you have accomplished what most people will never try) but besides that, you have to do the same to the other side of the blade.
Again, burr formation is critical to success and if you are using a 1,000 grit stone on a dull knife, you may be there for a while but it will form. If you are grinding on one side for more than 3-4 minutes, flip the knife and work the opposite side, always feeling for a burr with your thumb on the opposite side to which you are working on. Remember, the fatigued metal is being forced down the blade towards the edge of the edge by your actions and the abrasive properties of the stone.
5.5 Forming the burr on the tip of your knife
Here’s my video about sharpening the tip of a knife…
Let’s talk about the tip of the knife, the burr needs to be formed here as well. Here is a simple trick that works, I like keeping things simple. As you get to the tip area of the knife, the front inch, raise your elbow so that it is parallel to the ground, you can also raise your sharpening angle very slightly but just raising your elbow will perform wonders and likely eliminate the tip sharpening area issue, it is an issue for some.
5.6 Applying the right amount of pressure
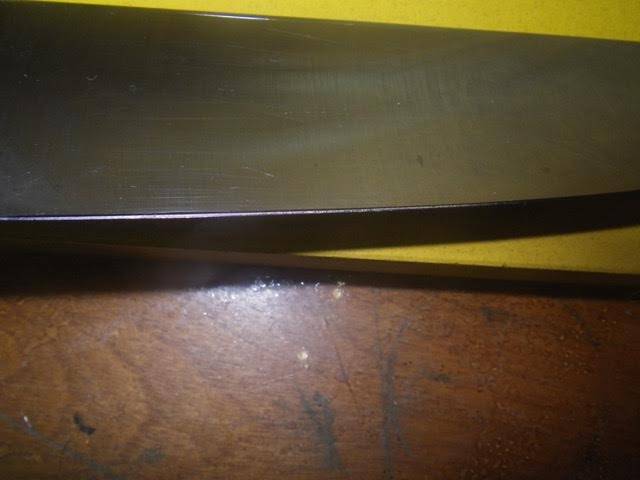
Pressure is something that is sometimes not mentioned but in my experience and in my opinion, it is extremely important to apply the correct amount of pressure, I use three different levels of sharpening pressure, with my sharpening pressure being measured on a scale from 1-5 with 1 being very light and 5 being maximum pressure. When you initiate the sharpening process, when you have all your ducks lined up and you are ready to start, use P4 (Pressure at level 4, almost maximum). in this case it is you and the stone working together, you are going to apply pressure with your finger tips (2 or 3 finger tips) placed as close to the primary edge as you can get, i.e. over the area you are working on, on the opposite side of the blade. As you push the knife away from you in a trailing motion, apply P4 pressure to the knife as it glides over the wet whetstone, (whet means sharpen) you will see the black residue start to form in the water on the surface, this is Swarf and this is good, don’t feel obliged to remove this with water, it is fine. Continue working from the heel to the tip of the knife moving your fingers along the edge and applying pressure as you move the knife away from you on the right side of the knife and as you pull it towards you on the left side, these are called edge trailing strokes.
As you sharpen, visualize in your mind what it is your doing, try to picture that steel rolling down towards the edge and becoming a burr. Check your work very often, have some clean rags, I use microfibre towels and monitor your progress.
As you apply pressure in one direction you release pressure in the opposite direction. So apply pressure with your finger tips as you push the knife from one end of the stone to the other and release as you pull it back. You could actually lift the knife off of the stone but don’t do this, keep that angle stable. Sharpening becomes this repetitive motion with the first step being the raising of the burr on both sides of the knife from heel to tip.
In my case, it takes me about 15 minutes to sharpen a dull knife and 7-8 of this is dedicated to burr formation, the first stone. Be careful not to let your fingertips drag over the stone as you move the knife, that black residue will become black and red after a short period.
5.7 I raised the burr! What should I do now?
Now, let’s assume you have formed a burr on both sides, congratulations, your patience and attention to the task is now leading towards a sharp knife, now you are into the refinement mode, the cool part.
You can have your one 1k stone act almost like three different stones by varying your pressure, and remember we were at P4 pressure, (P5 is okay as well, that is, using as much pressure as you can but let’s back off a little and keep it at heavy, P4).
Now you are going to use P2 pressure, moderate and in this case the stone is going to do the work, you are just guiding the knife along, stabilizing it as the amazing water stones does it’s job. Use the exact same technique, same angle but just moderate pressure, hardly pressing down at all, you are not trying to form a burr here, that is already done, now you refining the edge and bevel, removing some of the scratches left by your first stage of the process. Here is where the knife will get sharp and it will happen quickly. Now you are removing the burr, you are cleaning up the edge, some of that fatigued metal is going to want to hang on to the mother ship, your moderate pressure is going to start taking it away, as reluctant as it is to leave, it won’t have a choice. This should only take a couple minutes just mimicking the first step but with lighter pressure and this time visualizing the burr being scraped away, it will start to vanish.
5.8 The final stage
After you have completed a few passes over the stone on both sides, you can move to the final stage. This time it is P1 pressure, just enough pressure for you to control the knife. Ensure your stone is wet and now repeat the motions but with very very light pressure. You really need to focus here and ensure you are reaching the edge of the edge and again, just a few sweeps on both sides of the knife.
Now to finish: Again with P1 pressure, trailing strokes only, this time lift the blade off the stone as you finish pushing it over the stone away from you, bring it back and repeat this 5 times, on each side. The burr should be gone and your knife will be sharp, remember, manage your expectations but if you have followed this, that knife is going to be sharper than when you started and this is just the beginning. Now you can test your knife for sharpness trying to cut some telephone book paper.
What about counting strokes to ensure an even grind on both sides?
No, in my opinion counting tends to automate a process that should and will become a natural series of motions that you gain comfort with, also, counting strokes is very boring. So just use common sense, don’t grind on one side for 10 minutes and the other for 3 minutes, keep track by visual checks.
5.9 Useful videos
I know that it is very helpful to watch a video of this process and the best videos of knife sharpening I have seen are out there for you. If you only watch one person sharpen a knife, watch Jon Broida from Japanese Knife Imports. Extremely professional videos and easy to understand. I have a couple of videos as well on my website but I really like what Jon has done for the sharpening community.
Here’s me sharpening a knife on japanese water stones from start to finish…
6.0 Summary
To recap, here are all the steps you need to follow to get a nice sharp edge on your dull knife:
- Obtain the necessary ingredients to make your knife sharp.
- Keep it simple, you don’t need to spend a lot of money to get the ball rolling, after you have achieved success and become obsessed with sharpening.
- You will find ways to spend your money on sharpening supplies. (Don’t forget the Sharpie).
- Understand what it is you are doing and when ready, when focused and able to concentrate, go in and enjoy the process, don’t be stressed about it.
- Find and appropriate angle for your kitchen knife and exercise at building muscle memory so that you don’t have to search for that angle every time.
- Pressure is paramount, if in doubt, minimize it, go at it as if your are dismantling a bomb, gently and focused.
- Raise a burr on both sides of the knife.
- Remove the burr completely.
- Test your knife for sharpness trying to cut some telephone book paper.
- Repeat this many times and understand that you constantly improve.
- Embrace the four pillars of sharpening: Passion, Practice, Persistence, Patience.
6. CONCLUSION
I love sharing information, please never hesitate to comment if you are stuck or need some advice on water stones. Speaking of that, if you have more than one stone, start with the coarse and end with the fine stones and repeat the process on each stone. However, you only need P4 pressure on that first stone, the the Raising of the Burr Pressure. After that, keep it moderate to light.