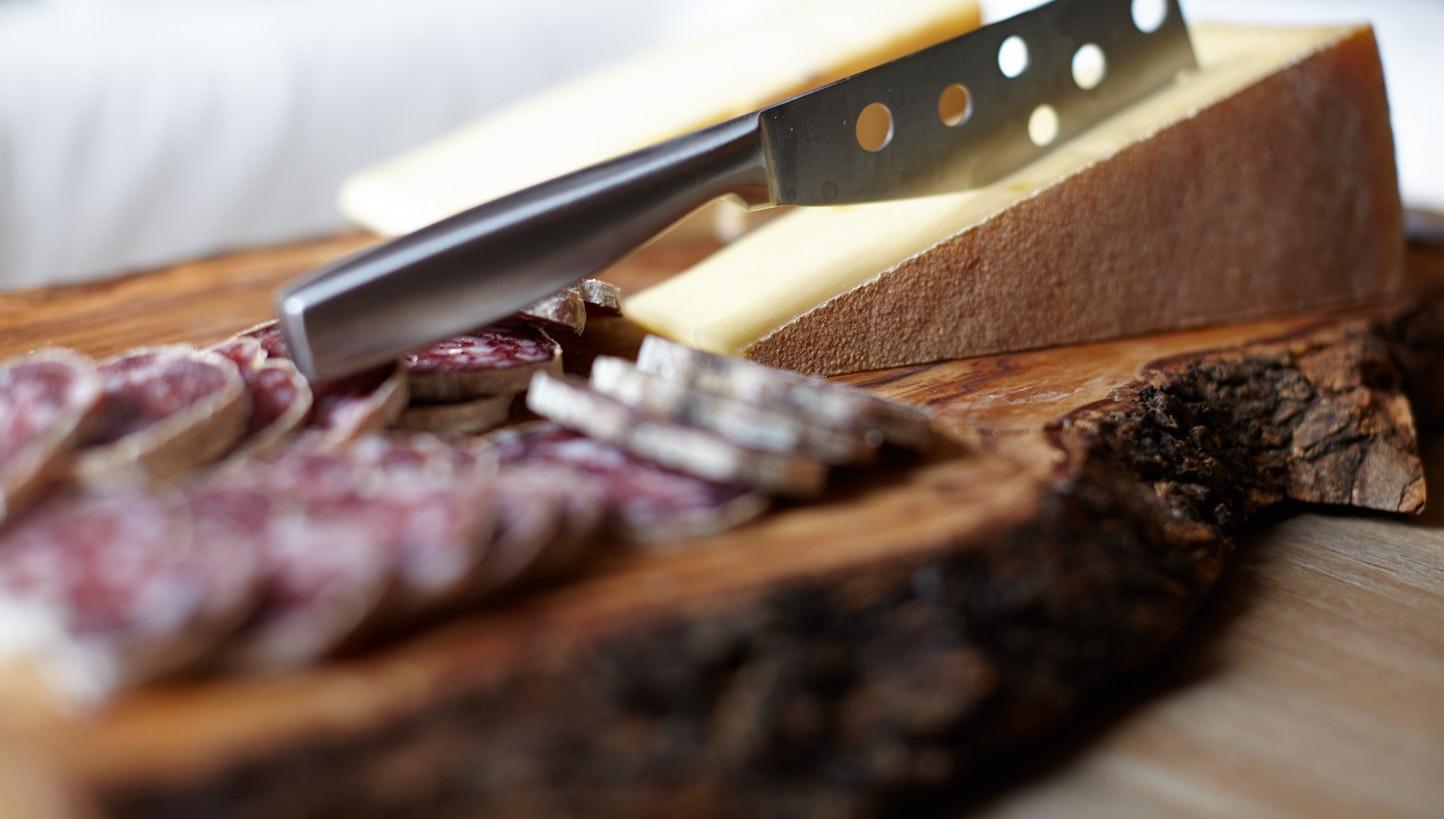
Knife Sharpening
Honing vs Sharpening Kitchen Knives: What’s The Difference?
03.03.2017
In the world of knife sharpening, a world that I have lived in for many years, there are certain grey areas, challenges that all sharpeners fact but our passion and our persistence guides us and we navigate through them. I believe that the process of honing a knife, using a Steel, is the topic that has generated the most ambiguity among people who think about their knives and sharpening them. In other words, many many people still believe that they can sharpen a knife with a steel rod.
The purpose of this article is help everyone get through the haze and come out on the other side with a better understanding of how we can keep our knives sharp.
Honing vs Sharpening: What’s The Difference?
For the purpose of this article, I’ll provide my definitions of terms that will be used throughout the article in order for this to be beneficial and clear.
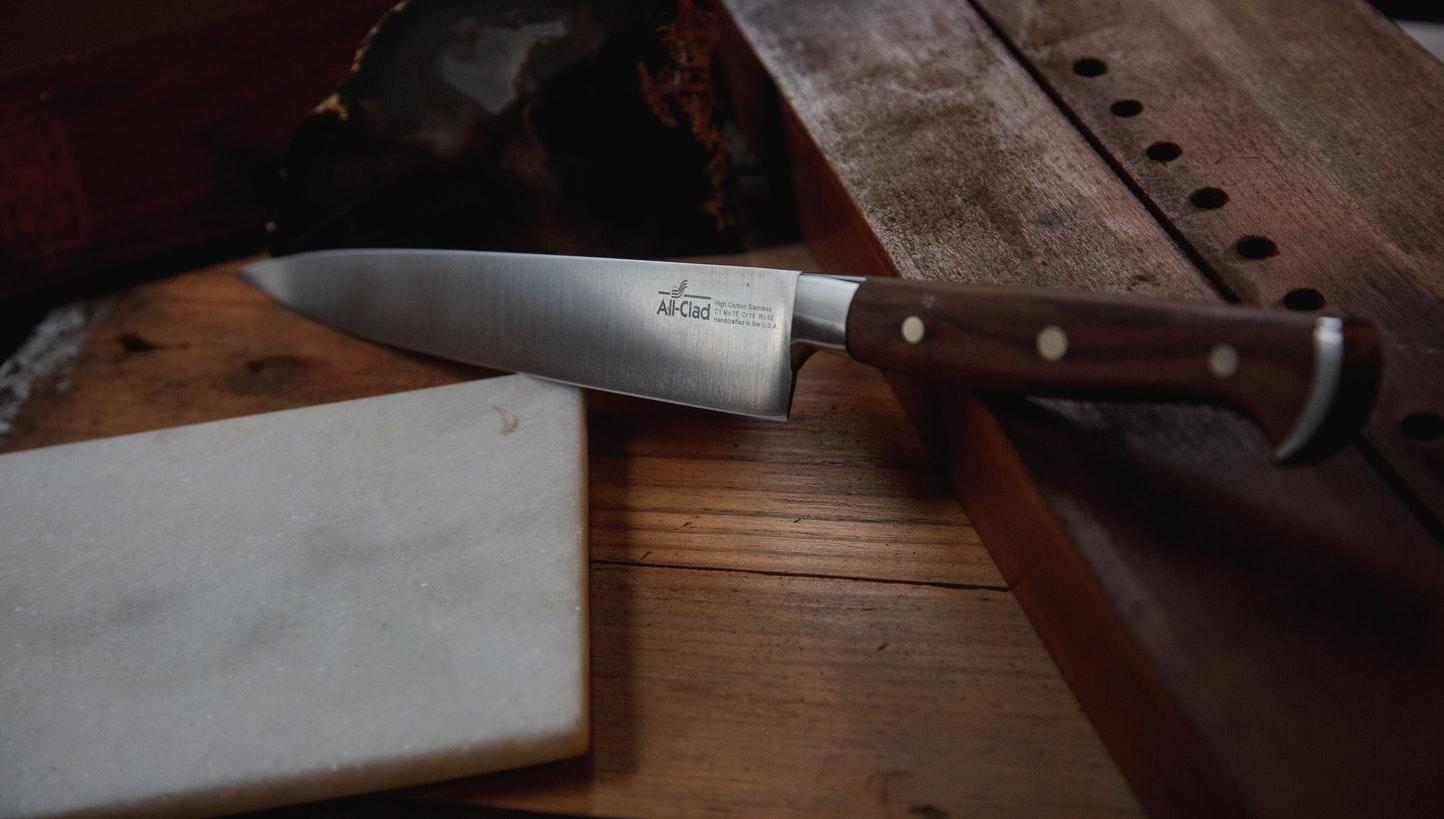
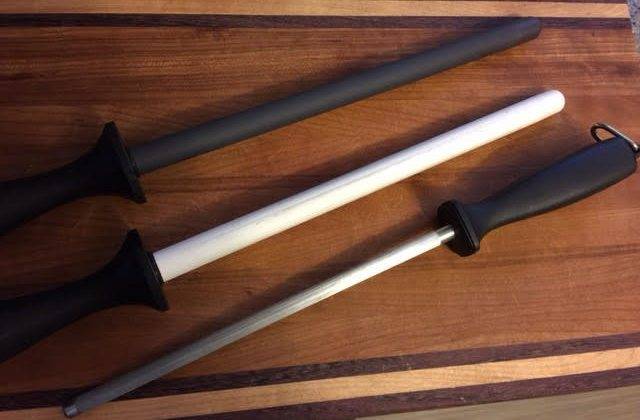
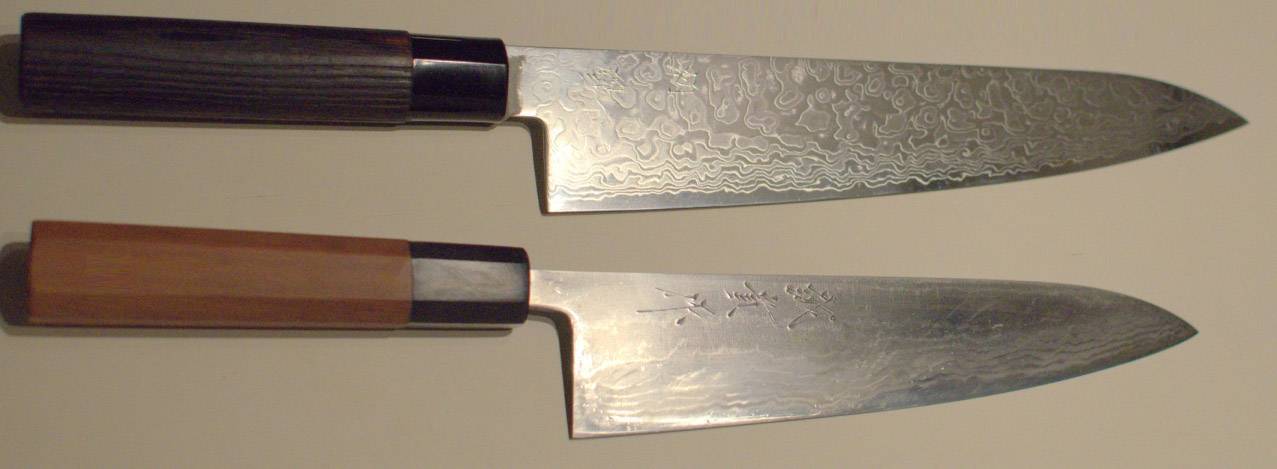
![]() Steel/Hone – Instead of the word “Steel” I will use “Hone”. A hone, or steel, is a rod shaped tool that is made of either steel or ceramic. The purpose of a hone is to keep a sharp knife sharp. It is not designed to sharpen a knife that is dull. We often hear the phrase, “Steel a knife”. It is simply a process of using a Hone.
Steel/Hone – Instead of the word “Steel” I will use “Hone”. A hone, or steel, is a rod shaped tool that is made of either steel or ceramic. The purpose of a hone is to keep a sharp knife sharp. It is not designed to sharpen a knife that is dull. We often hear the phrase, “Steel a knife”. It is simply a process of using a Hone.
Honing a knife generally, does not involve the removal of metal. There are some hones with a diamond surface that will remove metal and ceramic hones can remove small amounts of metal but generally speaking, we do not use a hone for the purpose of removing metal.
![]()
Sharpen – When I think of sharpening, I think of Japanese Water Stones and dull knives, I cannot make a dull knife sharp again just with a Hone. When I sharpen a knife on a water stone, the honing process is over, my goal is to remove metal, just the fatigued metal, the metal that is making the knife dull. This is the metal that has succumbed to the daily pressures of kitchen life and is now unable to remain where it was when the knife was new or just sharpened. It has weakened and has small sections of the edge has folded over to the side of the knife, and this is absolutely normal. Some people call the act of sharpening “destructive” because it involves the removal of metal from the knife. The term “destructive” does not fit for me. I like to call sharpening an “enhancement” of the edge.
[table id=63 /]
What’s The Purpose Of Honing Your Knives?
When a knife is new or just sharpened, it is sharp of course. The two sides of the knife, Side A and Side B have come together at the Apex of the knife to form the edge, it was sharpened at an angle, the sharpener has brought those two sides together and has created or refined the Primary Edge. When this is done properly, that edge is microscopically thin and runs from the heel to the tip. Even though it is made of steel, it is thin, so your actions of cutting food, the edge impacting a cutting board will eventually cause that edge to fail and it just rolls over to the side, either side, both sides and over time, the metal along the entire edge has weakened and your knife is dull.
It is your responsibility to do something about it. Also, there are different levels of steel used in kitchen knives, from soft to very hard. The harder the steel, the better the edge retention. Edge Retention, the period of time from Sharpness to Dullness is not a defined length of time. Edge Retention is a team effort and the lions share of work is in your hands, literally. Higher prices come with that of course but the point is that edge failure is a result of many things and the quality of the steel is a major factor.
The purpose of the Hone is to move that fatigued metal back into it’s original position, to realign the edge. You can do this for a period of time and that period of time is determined by multiple things. From a sharpeners perspective, my duty is to sharpen a knife at an angle that is most appropriate to the steel the knife is made of, and also to finish the sharpening at level of refinement that also matches the steel and in many cases the knifes purpose. These can prolong the level of sharpness of your knife but once it is out of the sharpeners hands, it is the owners duty to keep it sharp by developing a Sharp Plan.
The Sharp Cycle: Sharpening, Honing, Honing, Sharpening…
It must be understood that having your knives continually sharp involves a cycle, which begins with a sharp knife and then continues with a honing routine which continues until honing is longer effective. it WILL cease to be beneficial, despite your skill level and the quality of the hone. Remember: a hone (steel) is not designed to sharpen a knife, it is designed to keep a sharp knife sharp. Follow the “Sharp Cycle“:
- Sharpening. Have the knife sharpened professionally or by a skilled individual using, for example, Japanese Water Stones.
- Honing. Maintain the edge of the knife and be diligent about it, use the hone at least once a week, three to four days is better in the normal kitchen. You use the knife until you notice that it isn’t slicing food the way it was the last time it was used. The knife will tell you, this is the signal to hone your knife and you can continue to do this until that action is no longer making an improvement. There is nothing you can do with that hone when this point is reached, the knife is telling you to put the hone aside and have it sharpened, to continue the cycle.
- Sharpening again. When I notice that my actions of honing with the rod appear to make no improvements, I STOP doing that and have it sharpened, I have that fatigued metal completely removed and I start the cycle again. So the cycle goes like this: Sharpen, Hone, Hone , Hone, Sharpen, Hone, Hone, Hone, Sharpen…
It is very important to understand that there will come a time when the honing will stop working. Remember that even with meticulous efforts, the honing is a temporary measure, your ability to develop a thought process that includes this information is key to keeping the knife sharp. The blend between honing and sharpening does not have to be a significant change, it is often, for me, just a matter of adjusting pressure, elevated levels of pressure are necessary to remove the metal and form a burr during Sharpening.
What I see often, is folks who do not understand that honing is temporary and instead of stopping, they increase pressure and keep at it until the knife edge just gets worse and worse and often it becomes quite distorted and the actual sharpening process is made more difficult.
I promise you this: a sharp knife creates culinary creativity, it increases morale and decreases stress. It also makes your food taste better. We have all experienced that sensation that a sharp knife delivers, it is fantastic and believe it or not, if you think you brand new knife was sharp, have it sharpened on water stones and you will be startled.
My Video: How To Hone A Kitchen Knife
![]()
Assuming you have a Hone, whether it is made of steel or ceramic, you simply run the edge of the knife down the hone towards you while holding it an angle that ensures that the metal you are attempting to move is indeed being moved. Generally speaking, 19-20 deg per side is good for most kitchen knives. If you sharpen it an angle other than this the edge is going to roll over more and if you sharpen it at too acute and angle, you will just scratch the knife. Like all other skills, it takes practice and it becomes easier with time of course.
The act of sharpening and honing should not be considered as a chore, a pain, it should be just part of your culinary life, it has to happen and if you think of it this way, it just becomes a natural thing to do. I love preparing vegetables by slicing them up as uniformly as I can and knowing my knife is razor sharp enhances this part of my life. Conversely, I have experienced slicing tomatoes and carrots with dull knives and the act becomes a chore, I hate it but it has to get done. It is the complete reverse with a sharp knife, it is relaxing to use a sharp knife.
Honing A Knife In 4 Simple Steps
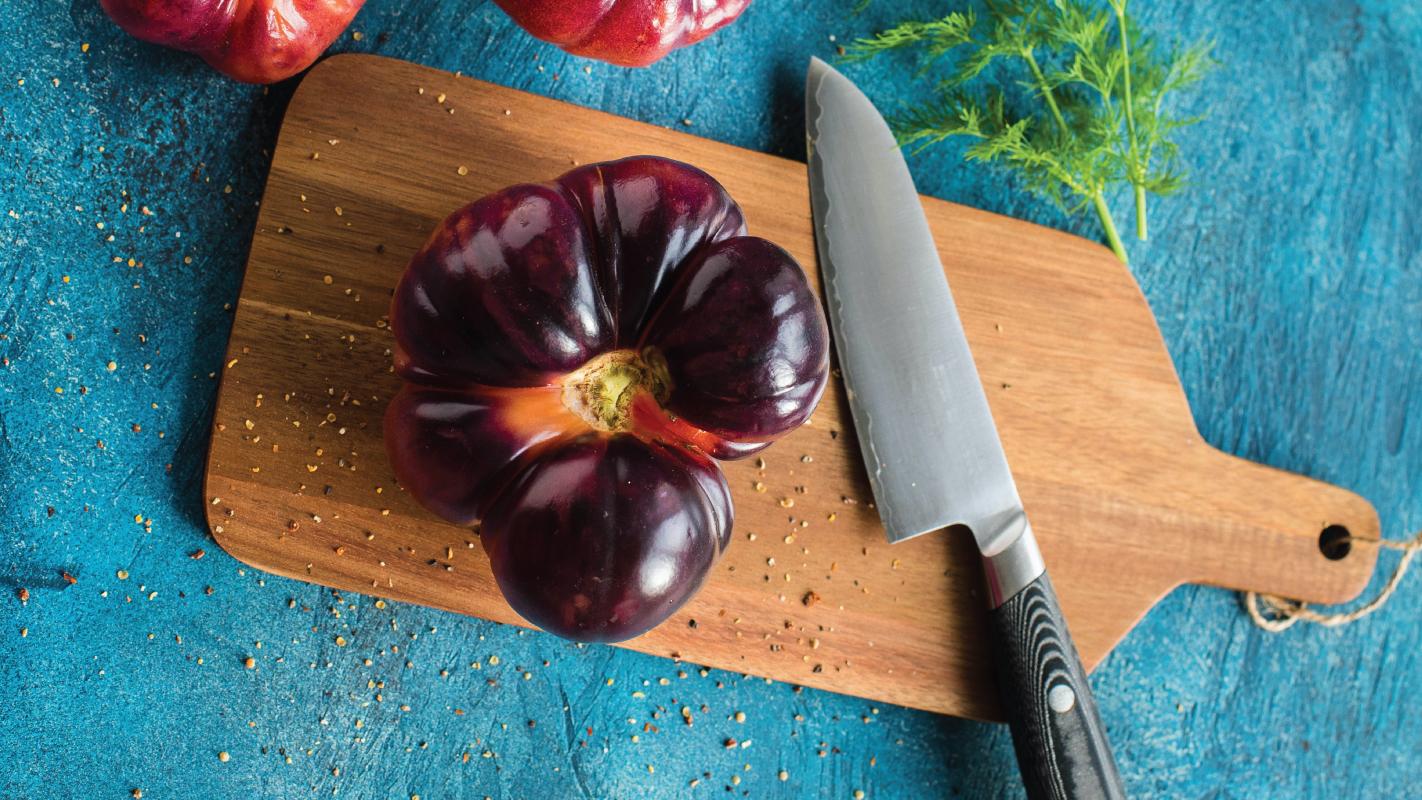
First off, you have to start with a knife that is still functioning well. There is a physical and emotional check list. If the knife is able to slice through the skin of a tomato without the tomato bending inwards where the knife edge is touching the tomato, it is sharp. If you can cut the skin side of a pepper with your knife, it is sharp. If when you use the knife it makes you feel good, with every slice you are proud of the knife then it’s good to go, if the edge delivers a sensation of pure joy as you cut, you are there. If you can slice a piece of thin paper like telephone book paper or newspaper print easily, i.e. when you hold the corner between your finger tips and slice through the paper, it it cuts the paper, the knife is still functioning as a kitchen knife should.
STEP ONE:
When the knife no longer feels the way it did the last time you used it, it is probably time to hone it. One thing you can do is hold the knife with the edge up and under a good light look for signs of rolled metal. Any tiny bits of metal that have become fatigued and moved out of place will reflect off of the light, you can definitely see them under light. In this case, dullness is visible.
Take your hone and hold it in your left hand (if right handed) and hold it vertically at waist level. You can put a dishcloth down to help anchor the end of the hone. You do not need to use any water for this. Pick up your knife in the right hand and position the heel of the knife against the top of the hone where it meets the handle. Find the angle, 20 deg is probably fine for your knife, and then run the knife down the rod from top to bottom and from heel to tip towards you using moderate pressure. You would never press down as hard as you can and use heavy pressure and you would not use pressure so light that the knife would fall out of your hand, so somewhere in between. The amount of pressure is 4-6 pounds if you were to measure it on a kitchen scale.
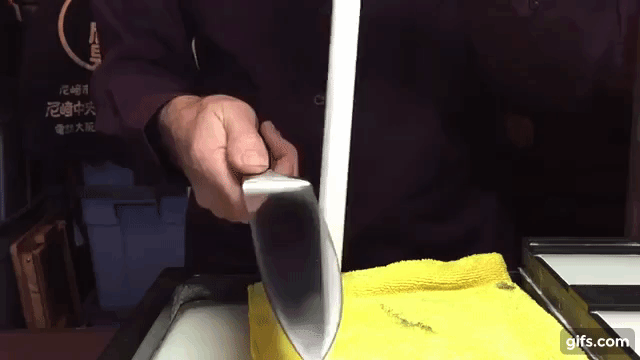
The angle can be determined by holding the knife at 90 deg, then moving the knife upward to reduce that angle by a half to 45 deg and then cutting that angle in half, that puts you well inside the ballpark. A matchbook can be used to help you find that angle as well but it is something you just need to get used to. The blade of the knife should never contact the Hone.
This is the way I recommend it, i.e. anchoring the hone. I realize that some celebrity chefs and other chefs hold the hone parallel to the ground out in front of them and quickly pass the knife edge over the hone. Well, I cannot effectively hit the target area of the knife by doing that. Sharpeners like myself agonize over angles, i.e. holding an angle and developing consistency. We do this by building muscle memory and we practice over and over for years to get this element of knife sharpening down. I cannot possibly, successfully move that fatigued metal back into place by honing the knife with a Hone in any position other than anchoring it, stabilizing it on the counter top. I know that there are chefs who can, they do this often and I have seen it done.
I do not recommend using a steel hone to sharpen hand made Japanese knives or any knife that is very hard. The steel in these knives will not flex, it will not move back into place, instead, you may just break little pieces off. So use a ceramic hone or a whetstone.
STEP TWO:
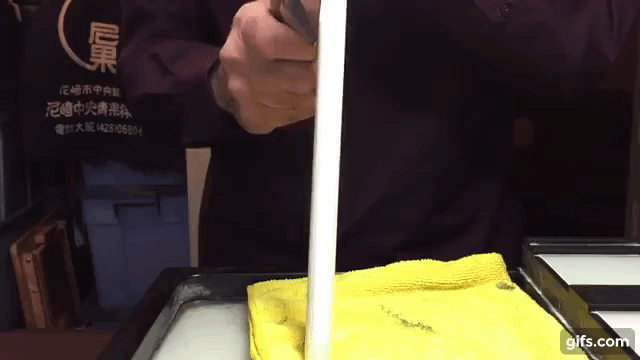
Continue to slide the knife down the hone from top to bottom five times on either side, you lift the knife off of the hone as you bring it back up. Now repeat the process but minimize the pressure, just enough to keep the blade steady and enough for you to maintain that angle.
STEP THREE:
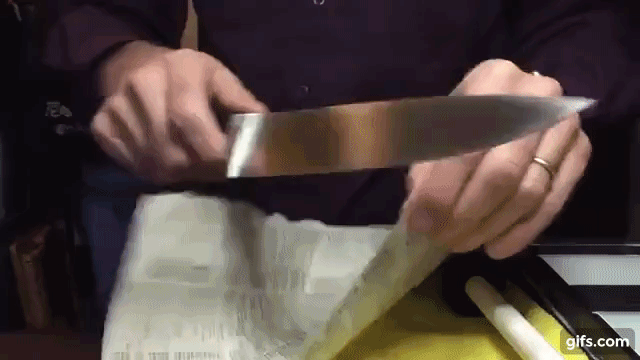
Now try to cut the tomato or pepper or paper and see if there is any improvement. If there is, then continue to use the knife and put the hone to the side, your honing work is done for the day. If it doesn’t make a difference, just try again, DO NOT increase the pressure, that won’t make a difference, do it for 3-5 times per side with the lighter pressure and then test it.
STEP FOUR:
If the knife does not respond to the honing, it is time for you to accept that dullness has taken over and no amount of honing is going to bring sharpness back. This could be one to four months or even more between sharpening. I know folks who claim to have kept their knives sharp for years doing this, so it will work. Now in my experience, as I said, this is the time where the problems creep in. Some folks just can’t accept that the Steel is not going to continue to work. If the knife is not functioning, if the physical and especially the mental checks cannot be ticked off, the honing is not working. The video will help you visualize what I have explained above.
Honing Rod Alternative: A Fine Grit Whetstone
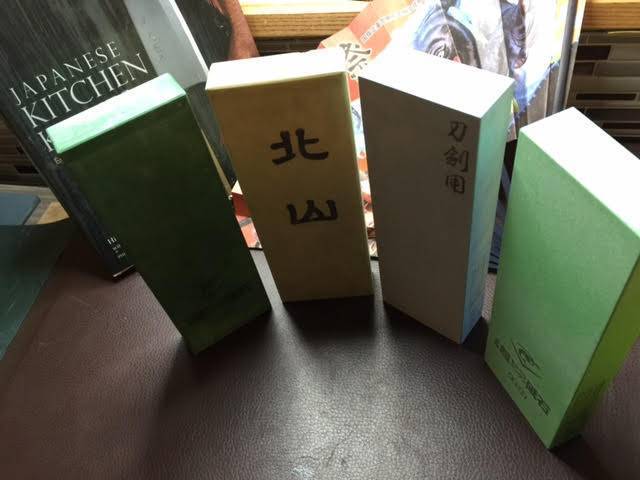
Now, what if you wanted to use something else to hone your knife and is there an alternative? There sure is: a whetstone. Think of a 2,000-5,000 grit water stone as a rectangular hone. Watch the previous video to see what I mean and in my opinion it is the best way to maintain a knife for some people. The rod is easy and quick and convenient and not everyone has a whetstone or a desire to own one and learn how to use it. However, if you are so inclined to learn to sharpen knives by hand on a whetstone, you can use a fine grit stone to keep your knives sharp.
Here is something else to think about: When the primary edge of a knife starts to weaken, when that metal starts to budge and moves out of alignment, the process of pushing it back into place is a process of moving fatigued metal back and forth. Now this is better than using it dull, definitely. It does work, I have seen experiments done where a non cutting knife would cut after it was honed on a ceramic rod.
I have done the experiments myself. I also used a water stone using medium to very light trailing strokes to not just move the metal back into alignment but to remove it completely. Not to sharpen and form a burr but just to very gently take that metal off of the knife.
The Reduced Edge Retention Phenomenon
I have seen many people purchase a new knife, a hand made Japanese Takeda for example, an exceptional work of art and slicing food with at Takeda, or Fujiwara for example, among other great knives is something that you will not forget once you do it. What happens is that the five or six knives that were in use in the family for the last ten to twenty years is now replaced with that one knife, it is absolutely fantastic and a lot of money was spent. It is worth double all the other, normal knives put together. Now, this knife assumes the role of all the other knives, they are put away in a drawer and the Takeda is now slicing everything. Not just that, the feeling is so good that it has ignited the owners culinary flame and new recipes appear, more food is being prepared. So the poor Takeda, even though it has the potential to exhibit exceptional edge retention properties, is unable to hold up for as long as the owner was led to believe.
This is not a problem, this is another fact of knife, use the dream knife as much as you want to and more, just know that it too has to be sharpened and honed and that edge is capable of extreme levels of sharpness, it won’t last forever though. Reduced Edge Retention Phenomenon is just my theory but there is a simple fix: a water stone in capable hands can keep that knife and your culinary dreams alive.
Stay Sharp
Knives are absolutely fantastic tools, they make incredible wedding gifts but they are only fantastic when they are sharp and keeping them sharp is not difficult at all. They don’t have to be ready for eye surgery, they just have to pass those simple tests. They have to make you enjoy cooking.