Knife Sharpening
The Basic Concepts of Sharpening a Knife Blade
15.08.2015
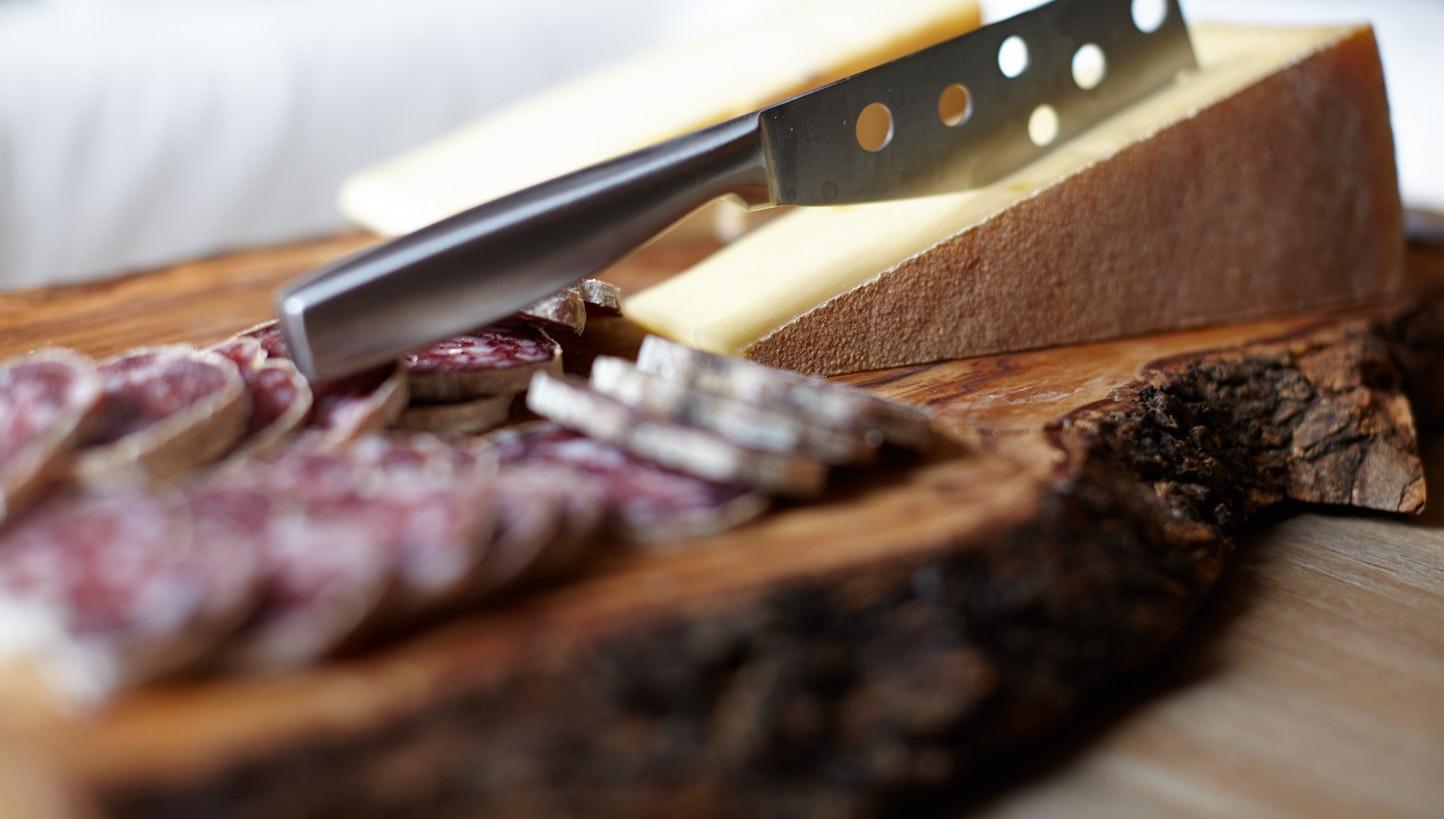
For a knife to do its job, it has to be sharp…the sharper, the better. Dull knives are dangerous, can cause you to cut yourself, and can damage what you are trying to cut. Dull knifes tear, instead of cutting, and can hang up when you need them the most.
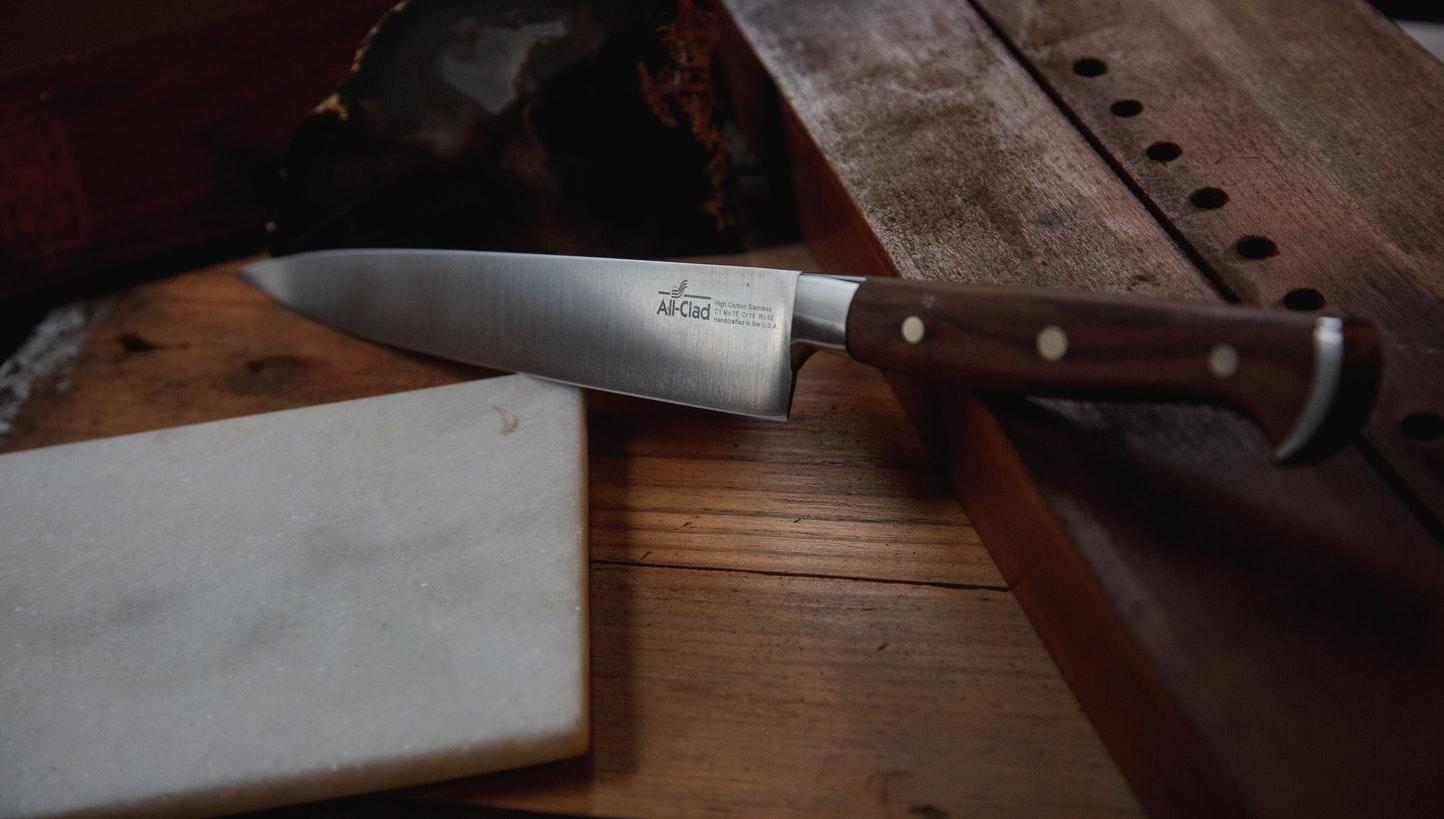
In this installment, We will introduce you to the basic concepts of sharpening a knife blade. We’ll tell you about different knife edges, or ‘grinds’, which ones are best for what, and how best to maintain them. You’ll learn the correct sharpening angles, which stones to use, stropping, troubleshooting, and everything else you need to know to keep your knife edge in top-shape, and as sharp as it can be. A good knife, whether it is an heirloom quality Case, a rugged outdoor knife, or precision kitchen knife, is worth properly maintaining. A good knife is priceless.
Finding The Grind
The grind of a blade is the angle and style of the taper from the main body of the blade that ends at the cutting edge. The grind should not be confused with the edge, which we will discuss later. There have been many different types of grinds experimented with over the years, but most border on the ridiculous, and offer no real advantage over the basic grinds we’ll be talking about here. You will seldom see them on commercial knives, anyway.
For kitchen knives (and most other production knives), you only need to be concerned with 3 basic grinds. There are slight variations within these grinds from different manufacturers, but nothing really significant.
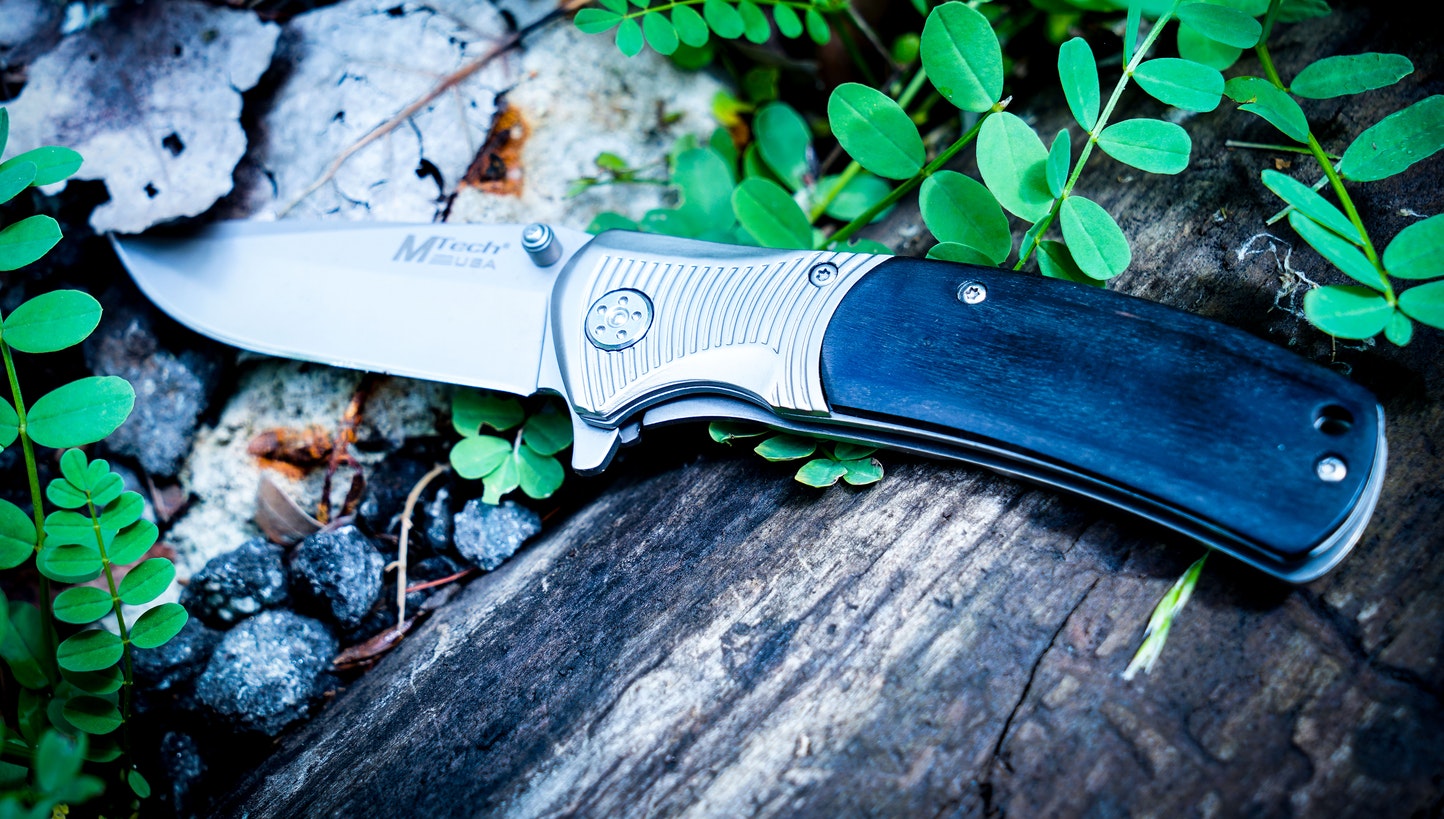
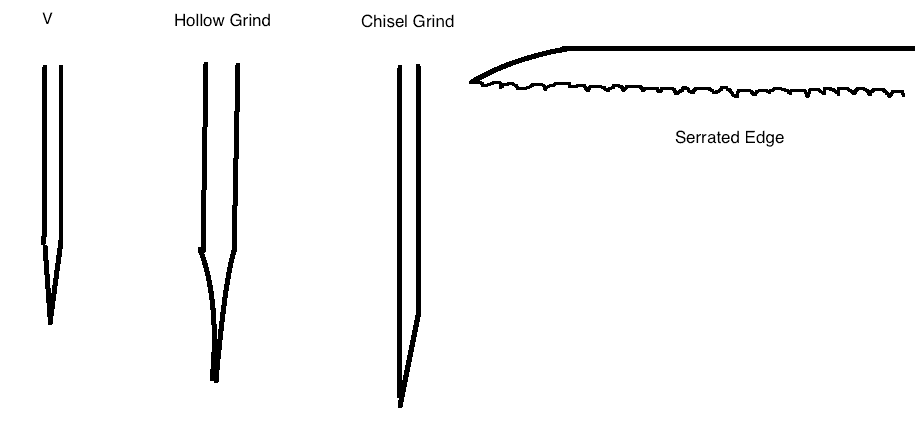
- V Ground – As the name suggests, this ground is just a Vee-shape…a straight taper from the belly to the edge, on each side, equally. This gives a good sharp edge (but not great), and is reasonably durable. It is easy to maintain the edge, and works well with high-carbon steel blades. With harder Stainless Steel blades like AUS 8, VG-10, Krupp, etc… it takes a lot more work to restore the edge, but it may last a bit longer. This is the most common grind on lower-cost production knives. It is adequate for most tasks.
- Hollow Ground – a modified V Grind. Two round stone wheels are used to create sides that curve to the inside, resulting in a thinner edge. Hollow Ground knives are very sharp out of the box, but are difficult to maintain the factory sharpness on a standard flat stone. They will eventually become, for all practical purposes, a V Grind blade. Hollow Ground blades are a bit sharper than V Grinds, but the edge is a lot more delicate, and best suited for harder stainless steels. They are best sharpened with double-round or electric sharpeners made to achieve a Hollow Ground.
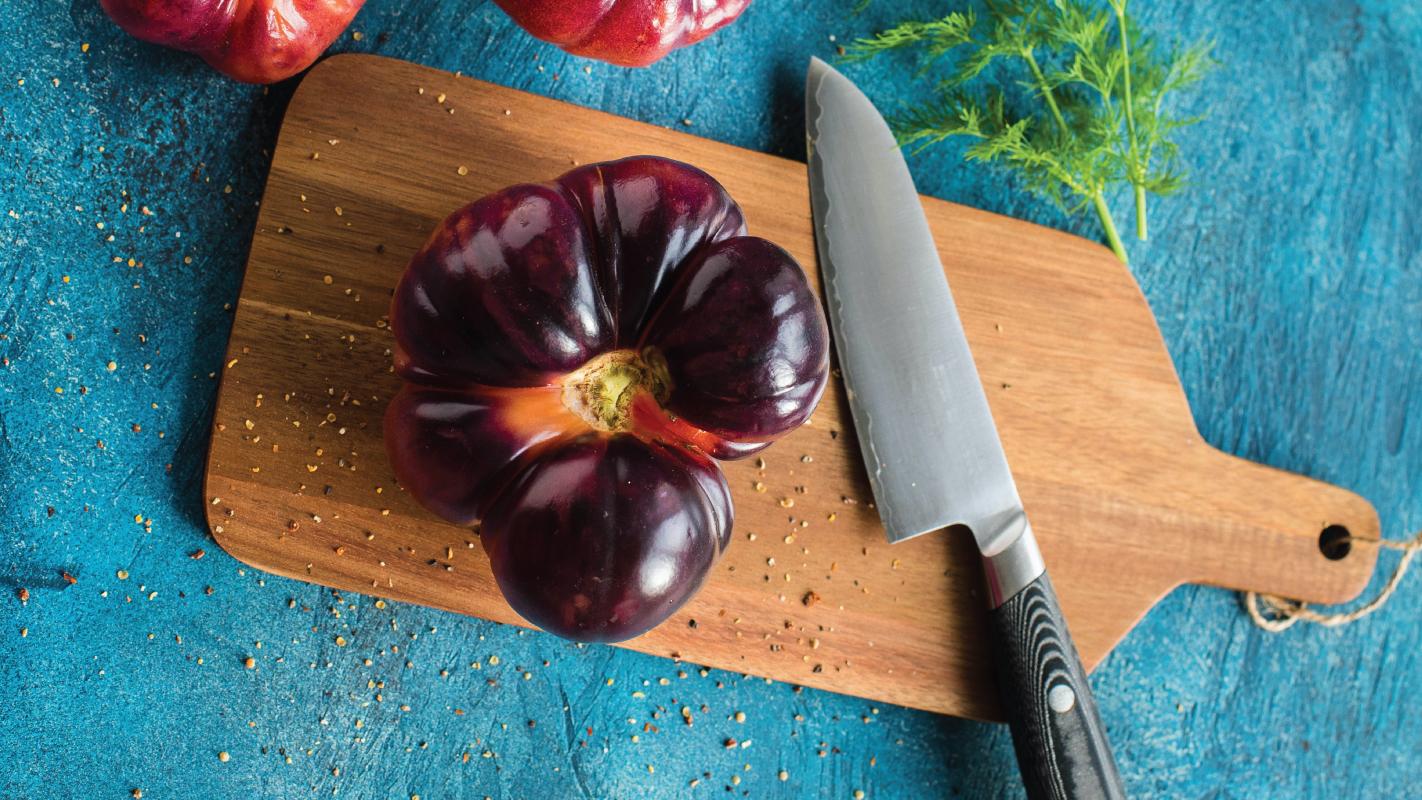
- Chisel Ground – A Chisel Grind is only angled on one side, creating a very durable, and incredibly sharp edge. These are easy to maintain, and can be made sharp enough to be scary. This is the grind used on the outstanding Japanese Chef Knives, which are some of the best in the world. For kitchen knives, this is the grind you want, if you can find them. This is also the grind used on most serrated knives, which are also scary-sharp.
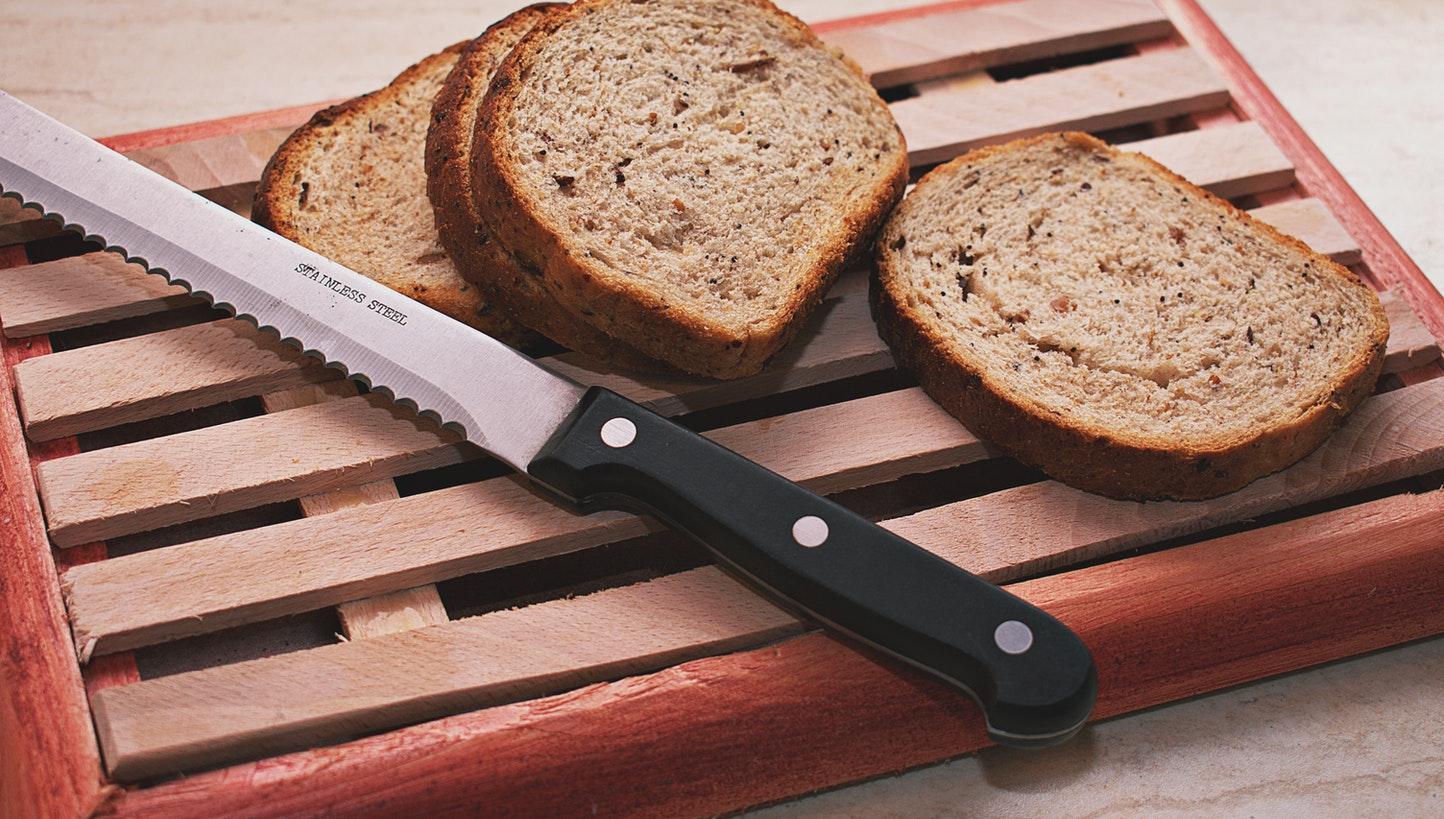
We can discuss edges here as well, because there are only two you need to be concerned with. It is unlikely you will ever need to use a curved Kukri or Kris knife in the kitchen, For most jobs, you will need either a straight edge, which is just one continuous cutting edge from bolster to tip, or a serrated edge, which has sharp little teeth, with a wickedly sharp curved section between each tooth. The teeth grab the material to be cut, and the keen curved sections slide through like hot butter. Many people do not like serrated blades because they think they are difficult to re-sharpen, but with a small round file, or any number of commercial sharpeners (Lansky, for one), they can be easily kept to factory-sharpness, and beyond.
Getting Stoned (And Honed…)
Many people are confused with the terms ‘Sharpening’, and ‘honing’. The difference is easy to remember. Sharpening removes metal, honing does not. Sharpening is usually done on a medium to course stone, or a stone wheel. If done extensively, it is also called a re-ground, because it creates a completely new edge. Honing merely polishes and straightens the fine edge of the blade. When you use your knife, the edge gets bent to the sides down the length of the blade. This adversely affects the cutting edge, making it tear, rather than slice. Honing simply straightens the edges back out, restoring the edge. To sharpen a knife, your stone or wheel needs to be harder than the steel. For honing, it just needs to be nice and flat. Most of the time, you will be honing your knife. Sharpening only needs to be done less frequently, depending on how much your knife is used, and how.
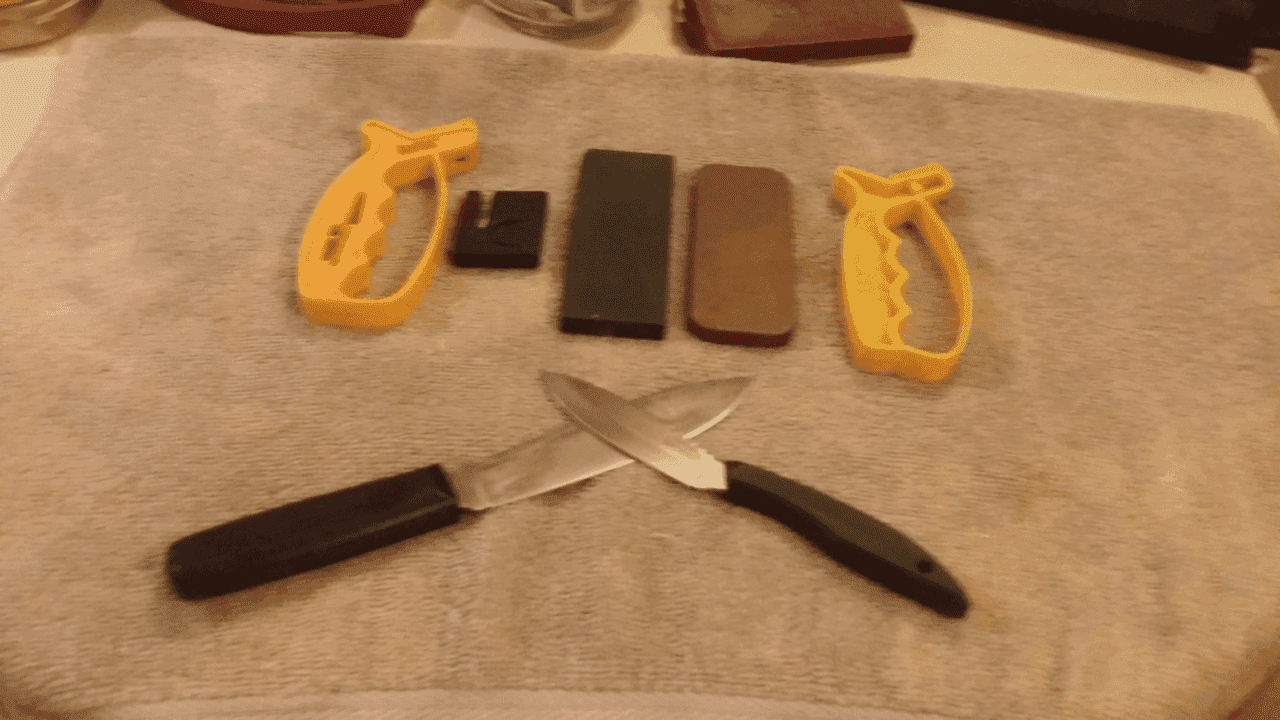
There are many different stones and sharpeners on the market. If you don’t know what you are doing, send your knives out to be sharpened by a professional, because you can ruin a knife easily with a sharpening stone or wheel. For honing, a simple whetstone is perfect. You can also use one of the handy sharpeners like those made by Smith, Lansky and Gerber. They do a good job, but not as good as a whetstone and a little skill.
Whetstones come in various grits, but all you need are Course, Medium, Fine, and maybe Extra-Fine. These will do you from now on. There are two basic types of whetstones, Natural, and Man-Made, and each has its champions. Within these two categories, there are many materials to choose from, and again, each has its champions. Whetstones are either Oil Stones, or Water Stones, referring to the recommended lubricant used on them. Oil Stones are almost always natural, and Water Stones are generally Man-Made. Natural stones have been used since the times of the Egyptians to keep their tools, knives and weapons sharp. They have a history of reliability, but can be expensive. There are those that say Man-Made stones are better because they are harder, and more consistent, as well as being much less expensive.
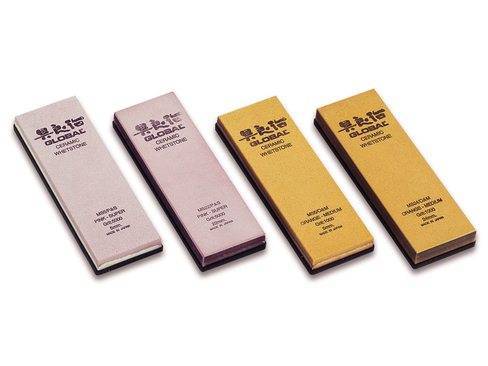 The advent of Man Made stones has hit the natural stone market hard, and many famous mines have closed down. The famous Honyama Mines in Kyoto, Japan closed in 1967 , and Belgium has only one mine left operating to supply the world with the Belgium Blue and Coticules stones, renowned since the days of the Roman Legions. England has one remaining whetstone mine in Lancashire. The remaining natural stones all come from either Arkansas, in the USA, or India. The very finest stones available at any price are the Belgium Blue and Coticule stones. They put the finest edges on any blade and are the preferred stone to use for expensive straight razors. Arkansas stones are made from Novaculite. They are slightly courser than the Belgium and English stones, and do not create as fine an edge as the Belgium. India stones are made from Aluminum Oxide, and are the cheapest natural stones you can buy. They do an OK job, but nothing to brag about.
Water Stones are made generally from Aluminum Oxide. However, they are made from Aluminum Oxide powder mixed with a binder, allowing total control over the grit and uniformity. They are softer than the natural India stones and cut faster. They are a little more expensive than natural India stones, but less than Arkansas and European natural oil stones.
As far as oil vs water, my preference is for light machine oil, because it lubricates the edges and helps prevent rust. If you are worried about the microscopic bit of oil that may find its way into your food, then you can use vegetable or olive oil. Just be sure to wipe both the blade and the stone off very well, because organic oils will go rancid. Or, you can just opt for a water stone. The water, or oils, is just there to keep the swarf, or microscopic bits of metal shavings, out o the pores of your stone, otherwise they would eventually clog it and render it useless.
There is one other stone worth mentioning, and this is a Diamond Stone. These are stones that are impregnated with tiny bits of industrial-grade diamonds. Diamonds are the hardest substance known, and these stones cut quickly and just about anyone can achieve a wickedly sharp edge in just a few minutes with one of these. If you plan on investing in a knife made from very hard Stainless, or the new Super-Steels, like Vanadium, Krupp, AUS, etc…, then you will really need a good diamond stone.
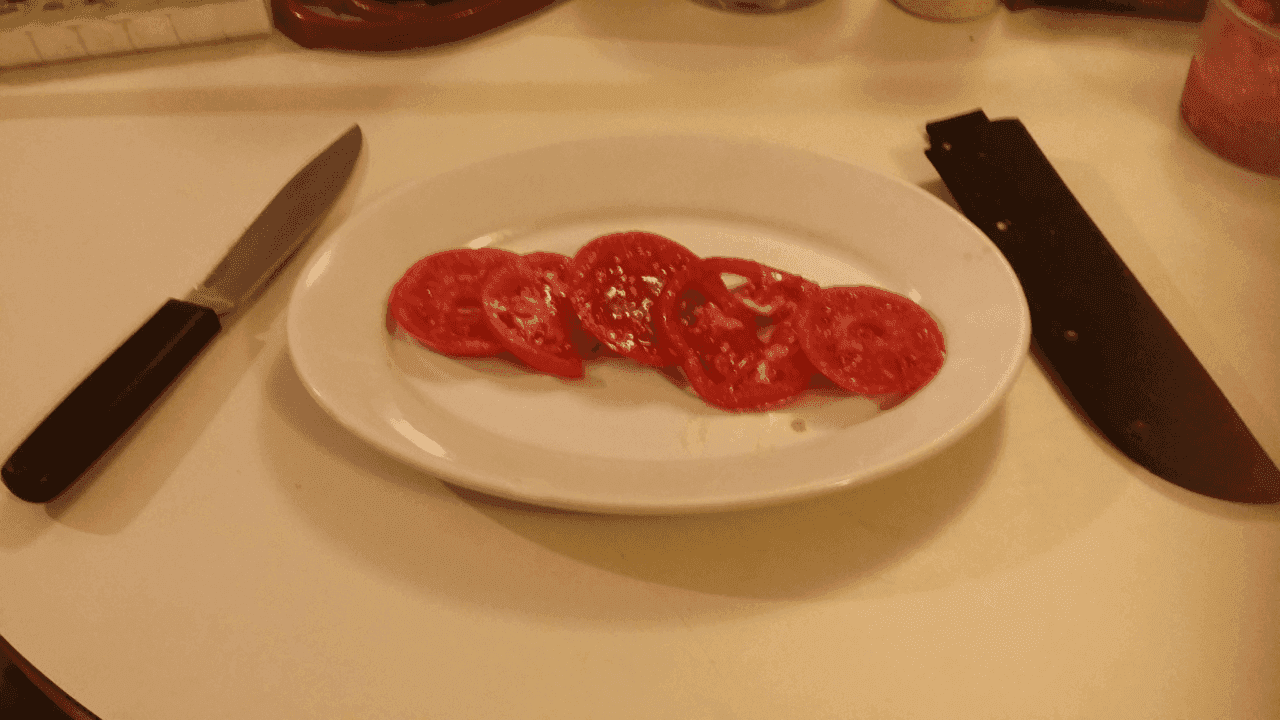
Sharpening Steels are just rods of very hard steel. They do an OK job for a quick retouching of an edge during a job. The sharpeners by Smith, Lansky and others all do a great job and only take a few minutes to restore an edge. You won’t be shaving with your knife after using one of these, but it will cut tomatoes so thin you can see through them.
Honing Your Skills
Sharpening and honing blades are like anything else. The more you do it, the better you get at it. Don’t expect professional results the very first time. Just exercise due diligence and try not to ruin your knife.
We’ve already discussed the importance of selecting a good stone, or sharpening device. Devices come with instructions, so we won’t bother with them here. Most are self-explanitory. We’ve also discussed oils and what they do. All that’s left is to show you how the mechanical process works.
Here are the steps to getting a great edge on your favorite blade.
- Start by finding a flat surface, free of obstructions. You’ll need some elbow room.
- Next, lay a damp folded cloth or towel down. This will prevent the stone from sliding or shifting while you are honing.
- Spread a very thin layer of oil or water over the entire surface of the stone. I discourage the use of saliva, even though it has many adherents, because your saliva contains enzymes that can corrode the metal if not completely cleaned off.
- This is where it can get tricky. You need to determine the proper sharpening angle of the blade. The angle on most commercial blades will be between 20º and 24º. This is for each side, so the total bevel angle for that blade will be 40º to 50º. This measurement isn’t really important, but fun to know. You can now impress your friends with your new found expertise. The exception to this is chisel grinds, which are 20º, and only need to be sharpened on one side. Also, some high-end Asian knives are sharpened to 17º, but they are only good for decorative cuts in soft things like sushi. Anything less than a 40 º total bevel will not hold up on anything but soft stuff, and not take any abuse at all. It doesn’t have to be exact, but the closer you can get to the factory angle, the better your edge will be. You can find the factory angle on the paperwork you got with your new knife, or if it is used (and there is nothing wrong with used knives. I actually prefer them…) , you can look the model up on the manufacturer’s website, or even call or email them. If you are unable to find the factory angle, 20º is a good average and will always give you a decent edge. Until you get used to what this angle looks like, you can use my trick to find this angle:
- Measure the width of your blade at the widest part (on most kitchen knives, it will be at the heel). Now, divide this by 3. This gives you the height, in inches that you need to hold the spine of the blade above the stone to achieve a perfect 20º angle. It looks like this:
W/3 = H(spine) for 20º. So if your blade is 1.5” wide at the heel, divide that by 3 to get .5”. So, holding the spine 1/2” up, or roughly half the width of your thumb, you will get a 20º sharpening angle. - Lay the blade flat against the stone. Do not apply any pressure, except what is necessary to hold it in place. Slowly (so as not to create any heat from friction that might damage the temper of the blade), move the blade both forward, and down the length of the blade, from heel to point, to the end. Time it so that you get to the end of the stone when you reach the tip. Repeat 10 times, or more, then flip the knife over and repeat for the other side. Wipe the oil or water from the edge, check it, and repeat as much as necessary to get the blade to the sharpness you want. Wipe the blade, and the stone clean, and finish the edge by swiping it a few times on a leather belt, or better yet, the edge of your car window. This puts a final polish on the edge that makes it slide through what you are cutting like hot butter.
Conclusion
A keen edge is no good if you don’t take care of it. You need to always protect your knife’s edge. If your knife has a sheath, or box, keep it in it. If not, then consider making a sheath, or having one made. I have a great video on making knife sheaths from PVC pipe that I may bring up later. Never, never, never just throw your knife in a drawer. At the very least, keep it in a cutlery block. Knife edges can get nicked easily, especially by other steel things, and it is a major job getting nicks out of a blade, often requiring a complete re-ground. Always keep your knife lightly oiled. Wash it before use, with dish detergent, then dry and re-oil it after each use.
Knives are one of the first tools humans ever made, even before we were humans, and still one of the most important. Give them the respect they deserve.