Sharpening School
Sharpening School Lesson #4: Sharpening Pressure Levels on Stones
19.09.2017
In this 4th lesson of the KnifePlanet Sharpening School I want to talk about something that changed my sharpening life, it enabled me to make knives sharper than they have ever been and it is an uncomplicated process.
Lesson #4: Sharpening Pressure Levels Explained
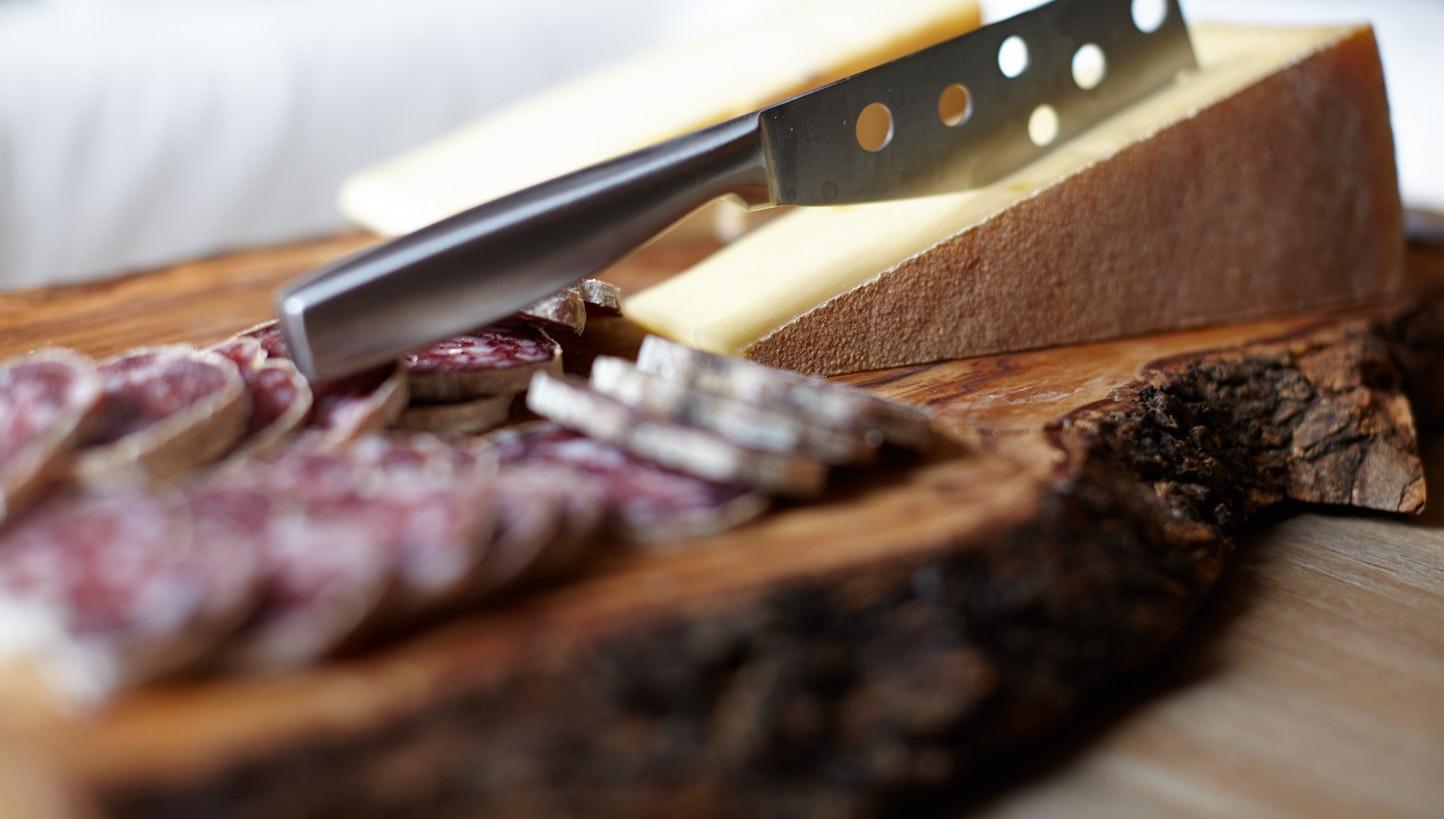
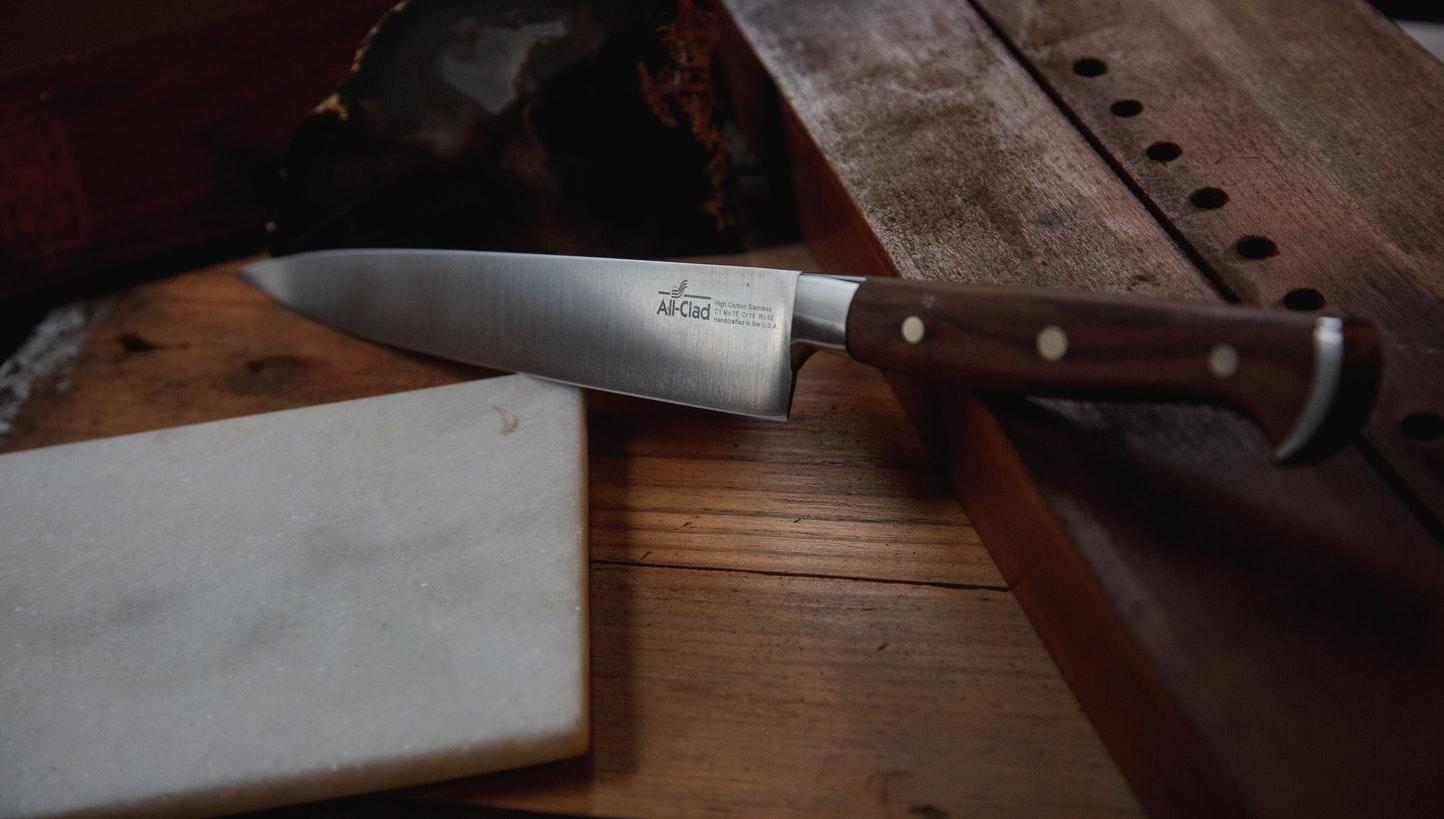
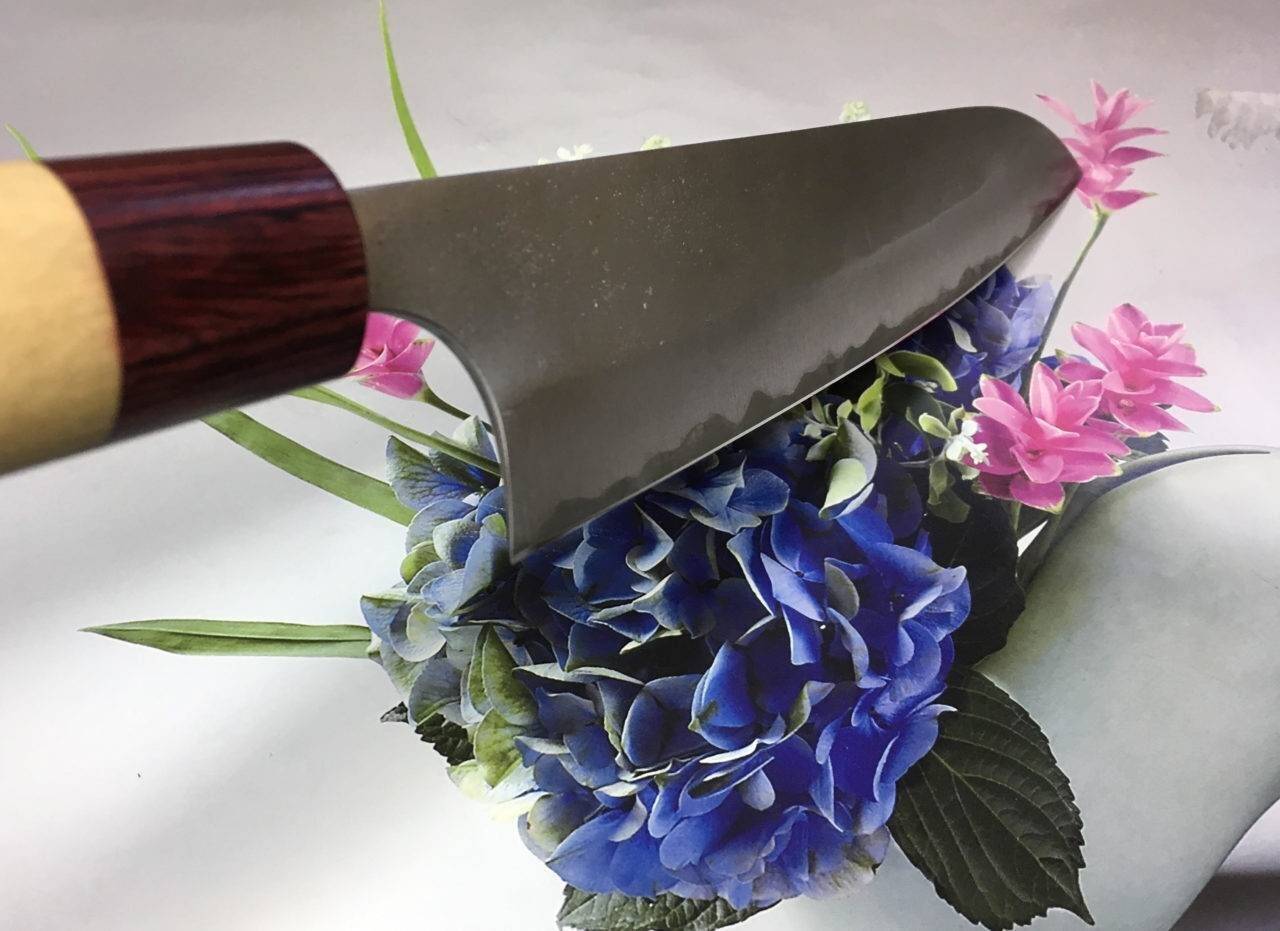
![]()
The 4 Levels of Pressure
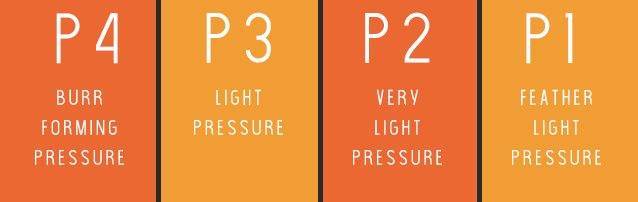
As you may already know, I use four levels of pressure to sharpen a knife this every single time. I call then P4, P3, P2 and P1 with the “P” standing for Pressure and the numbers simply being a scale from Heavy/Moderate Pressure (P4) to Feather Light Pressure (P1)
In and effort to make this as clear as possible, because I don’t want anyone to thing that the numbers indicate pounds of pressure, i.e. P4 is 4 pounds, we can simply call this:
- P4: BURR FORMING PRESSURE
- P3-P2-P1: BURR REMOVAL PRESSURE
Also, the application of these varying levels of pressure may vary on asymmetrical knives, so for the purpose of this video and article, I am working on a knife with even bevels on both sides, 50/50 (Symmetrical).
P4: Burr Forming Pressure

There are a couple of important points to remember as I move along:
- Burr Forming Pressure (P4) is the heaviest amount of pressure I use and I only use this once during the sharpening process, it is the level of pressure that I require to raise a burr and once that is done, once that burr has formed from tip to heel on both sides of the knife, I never use that level of pressure again on that same knife.
- Burr Forming Pressure (P4) is not a constant, defined level of pressure, it may vary for each knife. So if I pick up a knife that is very dull, than I know that I will require a substantial level of pressure to form the burr. However, if the knife is not too bad, dull yes, but the edge is not deformed or in terrible condition, I will tone that level of pressure down a little. So as previously instructed, prior to any sharpening, please take a good look at the edge and form a sharpening plan in your head. Never just pick up a knife and start grinding with heavy pressure without a prior check at the condition of the knife.
My burr forming pressure needs to vary because my goal is to create a burr that is as subtle as I can make it, I don’t want to blindly grind metal away by picking up every single knife and treating it the same way. So I use the appropriate level of Burr Forming Pressure to get the burr formed.
You can experiment with this, pick up the knife and use a moderate level of pressure to see if the burr is forming in reasonable time frame, 1-3 minutes. If nothing is happening, then you can adjust the pressure.
The time required to form the burr using the Burr Forming Pressure will differ depending on the knife itself, whether it is soft or hard, stainless or carbon. It will depend on the stone you choose to start with, is it a 400 grit or a 1,000 grit stone. Also, your level of skill will be a determining factor. It is important to keep your angle stable, so never use a level of pressure that hinders your ability to maintain consistency and becomes uncomfortable, if that is the case, you are using way too much pressure.
Before Sharpening – Have a Plan
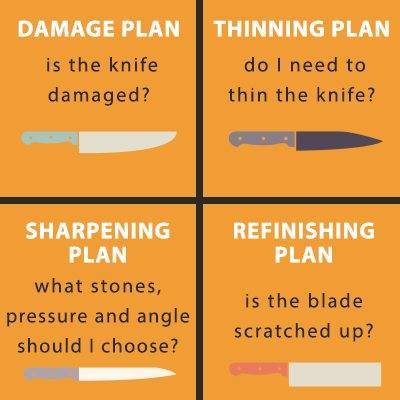
The bottom line is that you need to pick up each knife, look and feel the edge and form a sharpening plan. Before I start any sharpening of a knife a series of plans unfolds.
- DAMAGE PLAN: Is the knife damaged, do I need to repair chips, or the tip?
- THINNING PLAN: Do I need to thin the knife and if so, to what degree? (check out lesson 3)
- SHARPENING PLAN: What progression of water stones do I need, what Sharpening Angle should I choose? How much pressure to use?
- REFINISHING PLAN: Is the blade is scratched up? Do I need to fix that?
My Sharpening Plan in 3 Stages
If after inspecting the knife to determine my sharpening plan, I see that the knife is very dull and it is a hard knife, (58-67). I know that my burr forming pressure will be heavy and I will start on a Coarse Stone (220-400 grit). I also know that I will also use a 1,000, 5,000 and possibly an 8,000 grit stone depending on the knife itself. (For example, a high quality Japanese knife will mean an 8K finish)
STAGE ONE: Burr Forming Pressure
As my sharpening begins I use heavy pressure on the 400 grit coarse stone. I move from tip to heel and then back from heel to tip on the right side of the knife. I then feel for a burr on the opposite side of the blade and if there is none, I continue this pattern until one of two things happen:
- The burr forms, within two to three minutes and I flip the knife to work on the other side;
- No burr forms, after two to three minutes: I still flip the knife and now work on the opposite side using the same amount of pressure. The reason I do this is to maintain a balance of time, pressure and angle on both sides. If I were to continue grinding on one side until a burr forms, regardless of the time it takes, could be five minutes, I may eventually create bevels of inconsistent size on either side of the knife.
Once I have successfully formed a burr on both sides of the knife, consistent in size and running from heel to tip, I then reduce pressure by roughly 50%. I NEVER use P4 or burr forming pressure again on the knife that I am working on. BURR FORMING PRESSURE HAPPENS ONCE.
In an effort to achieve uniformity and consistency in bevels I follow the procedure below for the remainder of the process.
STAGE TWO: Burr Removal Pressure
Since I have achieved a burr, it is now time to remove it and it is important to strive to finish with an edge that is as clean as possible, free from any metal fragments that interfere with truly sharp knives.
P3 Pressure: Light. Continuing on the COARSE stone, the same stone I used to form a burr in stage one, I move from tip to heel and from heel to tip on the right side of the knife. I now flip the knife and move from heel to tip and tip to heel. (Note: This is the way I sharpen. If you start at the heel on both sides of the knife, that’s fine too!).
Remember, you don’t want to form additional burrs here. It is a challenge with a coarse stone not to, but by practicing pressure manipulation this way, you will learn.
P2 Pressure: Very Light. Now I reduce the pressure again and still on the coarse stone I again move from Tip to Heel and Heel to Tip on the right side and flip the blade and move from Heel to Tip and Tip to Heel.
P1 Pressure: Feather Light. Now for the final stage on the coarse stone I just “strop” the knife using trailing strokes, 3 strokes per side. This is the final stage for this stone before I check the edge.
Edge Check. This is another extremely important and simple act that really made a big difference for me. I hold the edge under a good light and look for any reflections on the edge. If I have not removed the burr completely, it will be revealed here. It is easy to see. If I do see any reflections, I just go back to P2 pressure, very light pressure, and repeat the process. Then, I check again under the light. I concentrate on the area of the edge where the reflections appeared. You’re holding the knife with the edge up here. This is the final check before moving on to another stone.
STAGE THREE: Refinement on Medium/Fine Stones
Now that the hard, critical work is done, i.e. burr formed and initial removal process complete, I switch to a medium stone, 1,000 grit.
Now starting with P3 pressure, which again is nice and light, I repeat the process as laid out above, moving from tip to heel and heel to tip on both sides, then I do the same with P2 pressure and finally the stropping motion (P1) and the pressure is feather light here, as light as you can get it.
Now, I move to my finishing stone, usually a 5,000 grit stone and repeat the process and would do the same if I was going to use an 8,000 grit stone.
My final act may be stropping on bare leather.
That is it, this all takes me about 12-15 minutes on a dull knife. Don’t worry about the timing. The burr forming, P4 pressure stage can take anywhere from 1 minute to 7 or even more. It will depend on the steel, the condition of the knife, the burr forming stone you use and your skill.
Extra Tips & Recommendation
- The other important element that added to my sharpness levels and consistency, and, aesthetics was Time, Pressure and Angle and trying the best I can to equalize those on each side of the knife. (On a symmetric knife that is, 50/50 grind)
- I don’t count strokes, so what I do is to work from tip to heel and heel to tip on both sides as evenly as I can. I do my best to maintain the same pressure and angle but all this takes time to learn. The knowledge that I should do this, or try to do it at least was for me, the most important thing.
- If you have just the one Japanese Water Stone, a 1,000 grit for example, you can still follow this pressure plan, it’s just a matter of doing it all on the one stone, it’s not any more complicated.
Conclusion
Thank you for reading, please don’t hesitate to ask questions in the comments if anything is unclear.
Also, if you are a complete novice, you may find the process of using four levels of pressure a little overwhelming. That is fine, just start with two levels of pressure, Burr Forming and Burr Removal, that is all there is too it.
As a disclaimer, the purpose of this video is not an attempt on my part to claim responsibility for creating a four level pressure system, I am sure lots of folks do this anyway. It is just something I picked up in 2012 after a brief encounter with a Japanese Sharpener I met in NYC.