Survival and Outdoors
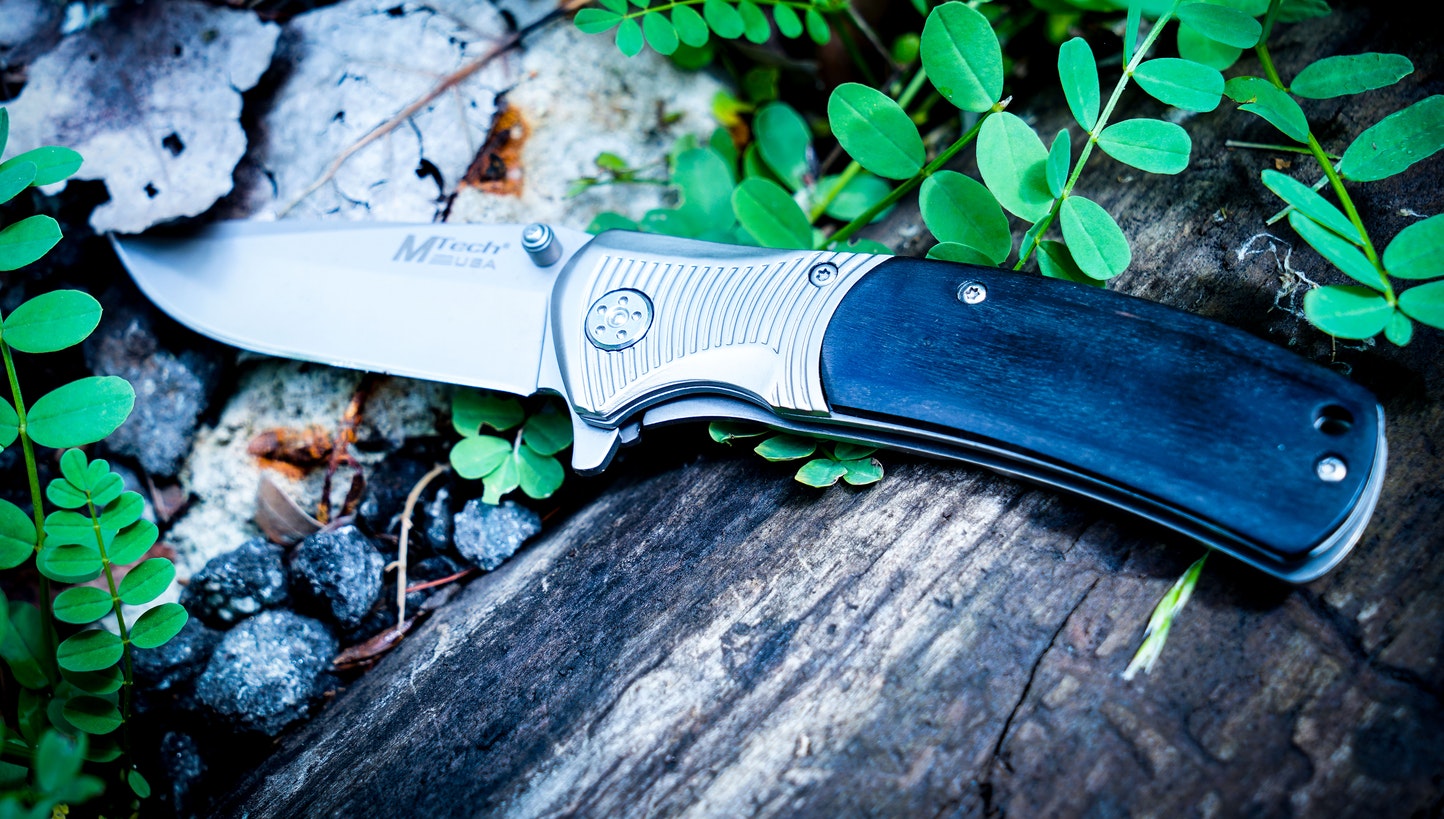
Bushcraft Basics: Survival Knife Safety, Grips, and Techniques
18.04.2016
Having a bushcraft/survival knife and using one are two different things. Much like owing a gun and practicing with it, practice is needed with a survival knife. There are safety concerns, different grips, and different cutting techniques employed to effectively and safely use that knife. In this article I will discuss the main thoughts behind each.
Survival Knife Safety Concerns

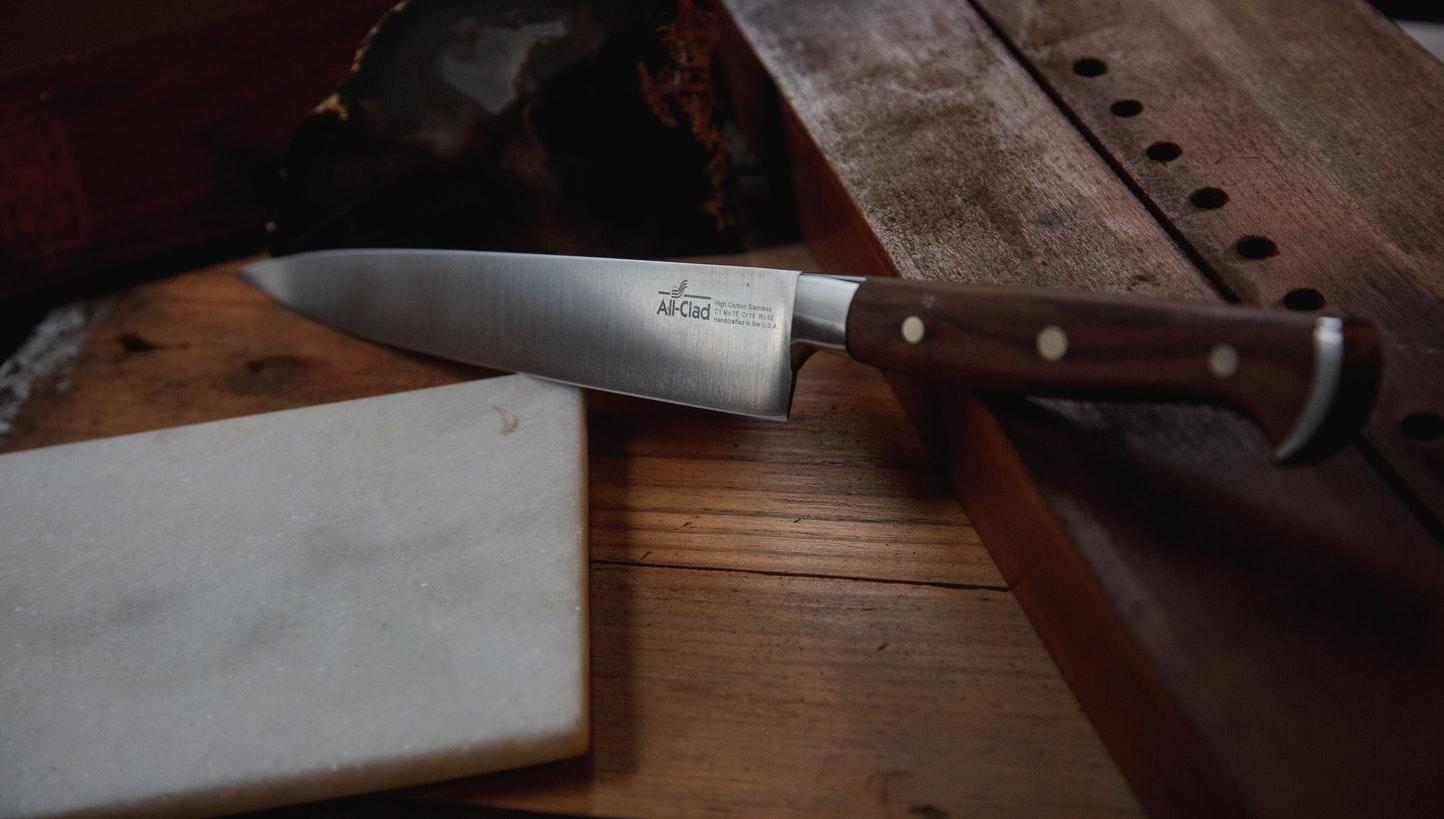
Chris Reeve Knives (CRK) Is a famous knife maker/company. Besides the wonderful blades they make they also employ a great concept: “Think twice, cut once”. It is printed on their shirts. It is a great concept for knife safety. Just ruminate on that idea. Think twice…spend considerable time thinking about what you plan on doing with your blade. Once you cut something, it cannot be undone. Cutting is an action that cannot be reversed. From a safety standpoint, thinking about what you are going to cut should force you to ask if it is a good idea. Knives do not have brains, they are indiscriminate. Use yours.
Before you use your knife you need to ensure you have a safe distance between yourself and others. Should you slip with the knife, you want to ensure no one else gets hurt. This is where the Boy Scouts idea of a “Blood Circle” comes in handy. Hold your knife blade carefully by the spine with the handle pointing away from you. Extend your arm out and slowly turn in a circle with it extended to ensure you have a safe distance from anyone nearby. If you touch anyone (or anything) simply move. This is only a training tool. After about 5 minutes of practice you will know what a safe distance is.
Try to cut away from yourself as often as possible. Obviously cutting towards yourself can prove problematic should you slip. Avoid cutting anything between your legs. This area is called the “Blood Triangle”. The inner thigh of each leg has an artery running down its length called the Femoral Artery. It is a massive blood vessel. If you cut it, the hospital will be your next destination. Finishing off the triangle is the groin itself. Obviously we want to avoid cutting there as well. Instead, when you sit down to cut/whittle, do so off to your dominant side. It takes a little getting used to but believe me, when (not if) you slip with your knife you will be thanking your lucky stars.
When cutting on a surface, be cognizant of what is below the knife edge and intended material to be cut. Similar to a sight picture when shooting, you also have to have a surface picture when cutting. It is all well and good to be cutting something but if you have a nice table cloth, the table, or even your leg below that material, you will soon be in some amount of trouble, if not a trip to the hospital.
I have a memory from childhood of my dad sitting in the bathroom with an Xacto knife sticking out the top of his thigh. My mom was helping him deal with the injury. He was assembling a model airplane and decided to cut some parts from the plastic sprue. A minor lapse in judgment resulted in an injury that has never left my memory. Because of this, whenever I use any sort of tool, especially an edged one, I always ask myself if there is a better/safer way of doing so.
There is also a safe way to hand someone an open or fixed blade. You want to hold the top of the handle between thumb and fore finger with the spine of the blade resting on the webbing between them. This way the person you are handing it to sees the naked blade and is afforded the handle to safely grasp and take the knife. It is also common for the person taking the blade to say thank you at this point, but it is not out of respect to you. It is a way for the receiver to verbalize the safe transition of the knife; AKA “I got it”.
6 Common Survival and Bushcraft Grips
There are several ways to grip or hold a knife. There are chef’s methods, combat methods, every day methods, etc. We are going to look at common methods used in bushcraft and survival to hold a knife. These are by no means complete but they form a solid basis for many other techniques.
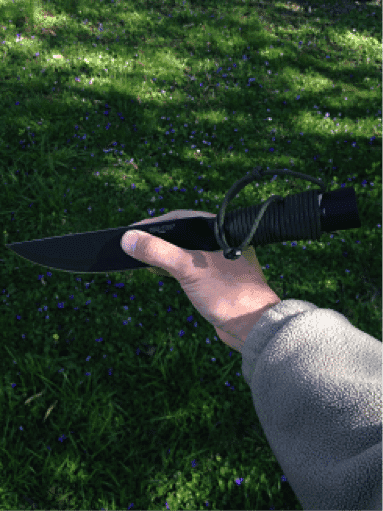
1. Hammer Grip
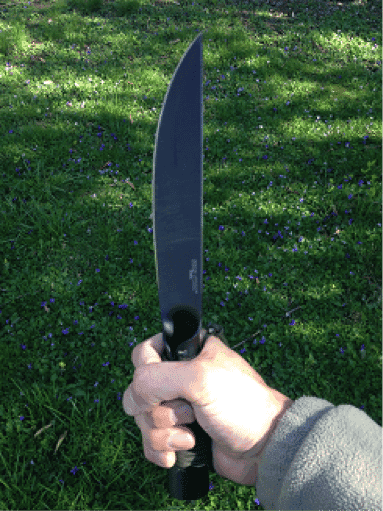
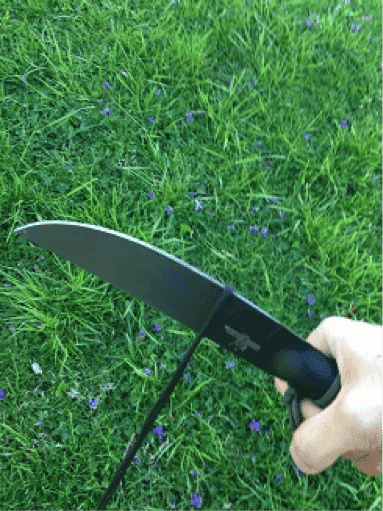
First we have the hammer grip. This is a common method for holding a knife as it provides strength in cutting. Here I am holding my Cold Steel Bushman in the hammer grip. Fingers are wrapped around the handle with thumb over lapping them, the same way you would hold a hammer.
2. Reverse Hammer Grip
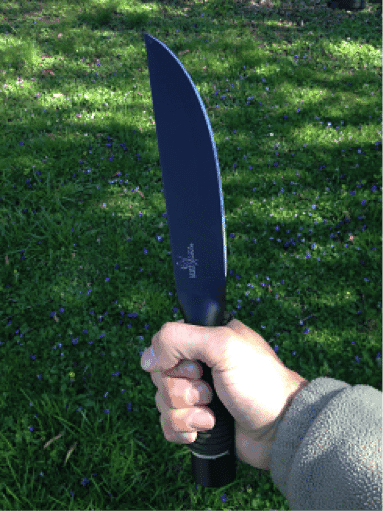
A modification to the hammer grip is the reverse hammer grip. It orients the edge facing up towards the forearm. This requires a pulling action to use properly.
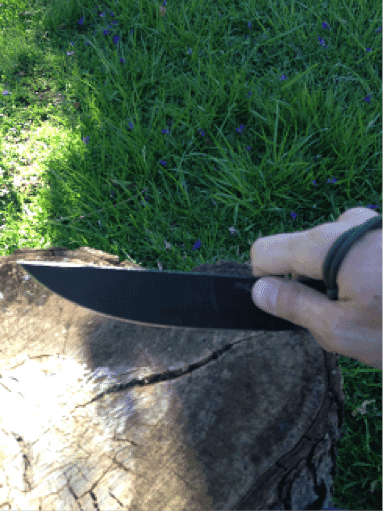
3. Saber Grip
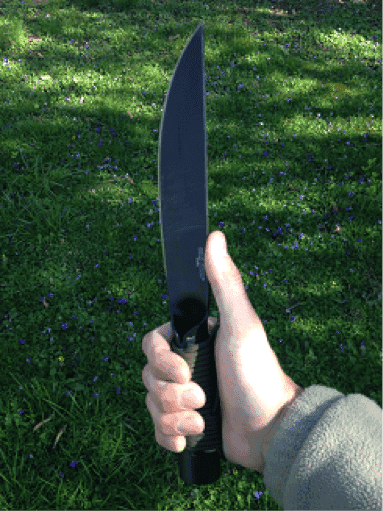
Next we have the Saber grip. This is similar to the Hammer grip however the thumb is placed on the spine of the knife. It allows for more control, especially when cutting on a surface. If your knife has no hilt or guard, you will want to have a lanyard to keep the fingers from sliding up the blade.
4. Reverse Grip

Now we see the reverse grip. The hand is in the same position as the hammer grip but the tip of the knife is pointed down. This is the standard slasher flick way of holding a knife. It is useful in performing certain types of cuts on loose material or even perforating something, like a tarp or plastic. A helpful modification to this grip is to place the thumb on the end of the handle to prevent your hand from sliding across the edge.
5. Pinch Grip
This next grip is one commonly employed by chefs and is called the pinch grip. It offers more control yet still retains some strength. It is similar to the hammer grip but the thumb and forefinger are placed on opposing sides of the blade. Make sure the ring finger is at the base of the blade. This particular grip offers exceptional control. It is very useful when preparing food.
6. Pencil Grip
Finally we have my favorite grip. I call this the pencil grip. It works best on smaller blades. It presents a level of precision not offered otherwise. Rest the front part of the handle nearest the edge of the knife in the web between your thumb and forefinger. Then use the thumb and fore finger to grip the blade on either side. This allows you to use the knife like a pencil for very precise cuts.
4 Basic Survival Knife Techniques
I want to avoid assuming the following techniques are obvious. Not everyone has the same experiences in life and thus not the same memory cache to draw upon. Even then, many people cannot easily relate similar processes to each other. What is obvious to one person is not obvious to another depending upon their background.
There are 4 basic techniques that form the basis of bushcraft and survival. They lend themselves to many other modifications and alterations. They are the push cut, the thumb assist push cut, the chest pull, and the reverse cut.
1. Push Cut
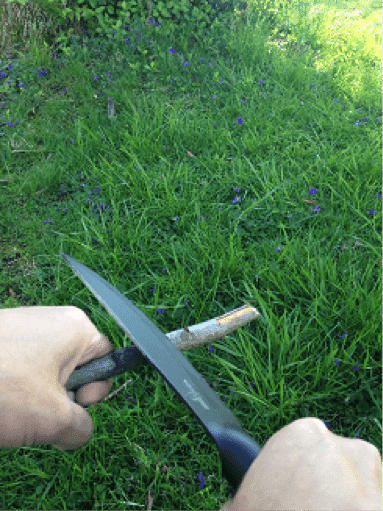
The push cut is the most basic knife technique in bushcraft and survival. With material secured in your off hand simply push the blade away from you through the material. You can make all manner of objects and tools this way such as spears, skewers, trap triggers, ridge poles, and stakes, just to name a few.
2. Assisted Push Cut
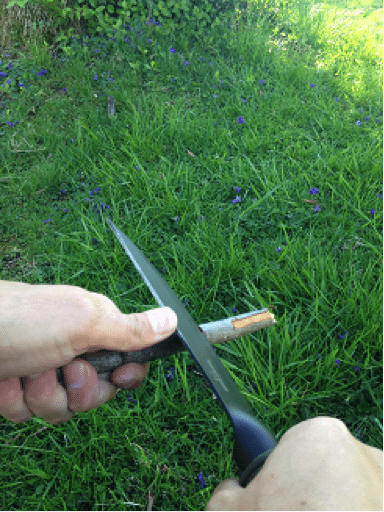
When you need more control in a push cut you can assist the knife with the thumb of your off hand. Simply press your thumb against the spine of the knife in the direction you are cutting. This allows you to apply less force with your dominant arm to gain control. The strength applied by your thumb makes up for some of the lost power and helps to maintain control and safety by ensuring your cut doesn’t sweep way out from the end of your material. This technique is great for making feather sticks, notches, chamfers, saddles, and other more delicate and precise cuts.
3. Chest Pull
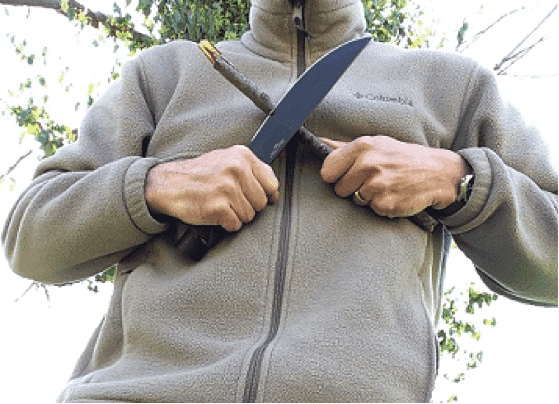
When you need a strong and safe way to really muscle through material you can employ the chest pull. Simply hold the knife with a reverse hammer grip. Hold your material in your off hand. Pin your wrists and/or elbows to your chest and pull the knife against the material. Keep your arms pinned as you pull. At first this seems counter intuitive because it looks unsafe. Though, with the arms pinned to your sides the knife has an extremely limited range of motion which reduces the possibility of slipping.
4. Reverse Cut
Finally we have the reverse cut. It’s very useful for cutting loops of rope or other materials like vines, green sticks, etc. Hold the knife in a reverse hammer grip and cut up and away from the material. Unlike the chest pull your arms are not pinned to your sides, so be aware of what the knife will be swinging towards after you get through the material. This cut is great in making cordage, withies, or cutting any length of something like hose or cable.
Get out There and Try it Out
I hope this article provides you with a good basis for safely using a knife, elementary methods for holding a knife, and common bush or survival knife techniques that can serve as a foundation for what you discover on your own. Get out there, try it out. Discover something new. Experience is the best teacher.