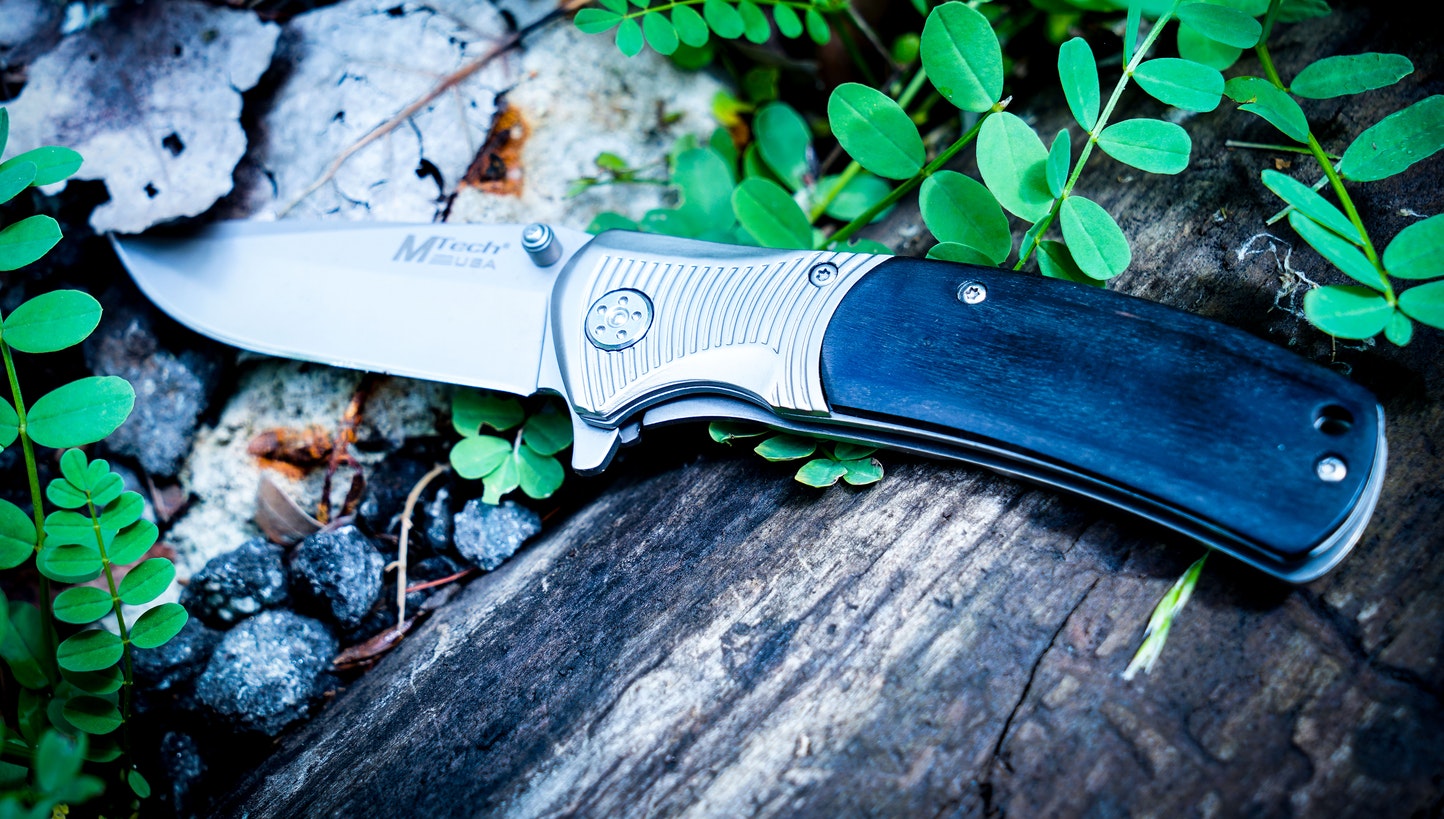
Knife Sharpening
The Last Strop – Starting A Sharpening Business From the Ground Up
04.08.2016
I thoroughly enjoy the process of sharpening. I love the smell of the stones, the micro-vibrations of the knife with each pass, the smell of the water as it creates slurry, the sound of the blade as it scrapes the stone, and the sight of a highly polished edge from my strops. For me it is an immersive meditative experience. The rest of the world melts away when I’m sharpening.
With that in mind I have decided to start a side business sharpening knives. I’m going to call it “The Last Strop”. I want to take you along with me as I begin this endeavor. Through several installments I’ll walk you through my chosen tools, pricing, advertising, successes, and failures. In this first installment I want to share the idea, plan, and tools I will be using.
I have been sharpening knives off and on for 20 plus years. From Boy Scouts, home life, and the military I have been the “knife/sharpening guy” in my circles of friends and acquaintances. I haven’t sharpened every kind of knife in existence. I have no delusions. I know there will be a small learning curve as I encounter more knives. Every knife is different. I do however feel I have sharpened enough knives of differing types in differing ways to adequately run a business semi-professionally and provide quality work.
With the economy in its current state, people need to do more than diversify their investment portfolio. They need to diversify their skills as an investment in themselves. What may be a good job today may be outsourced to another country or automated tomorrow.
The Idea
In my research about running a sharpening business I examined the competition in my area. I live in a decently sized metro area and there is little in the way of competition for business. There are only two or three other commercially advertised knife sharpening businesses and they are on the other side of the city. I plan on starting at a local flea market. I want to use it as a platform to branch out. I will also go to farmer’s markets. After that I will try to get business from local delis, butchers, and finally, restaurants.
My local flea market occurs one weekend a month. It allows me to dip my toes in the water of professional sharpening without committing thousands of dollars and hundreds of hours. There are about 200 tables in the venue and it sees 3000 or more people in a given weekend. Of those tables, about 20 sell all manner of knives. They sell everything from junk folding knives to quality fixed blades. It runs the gamut.
Not one single table at my Flea Market has a professional knife sharpener. No one is sharpening knives so I have a captive audience. Prices to have a table are affordable. Space will not be an issue as my set up is all manual and requires little space.
My Sharpening Plan
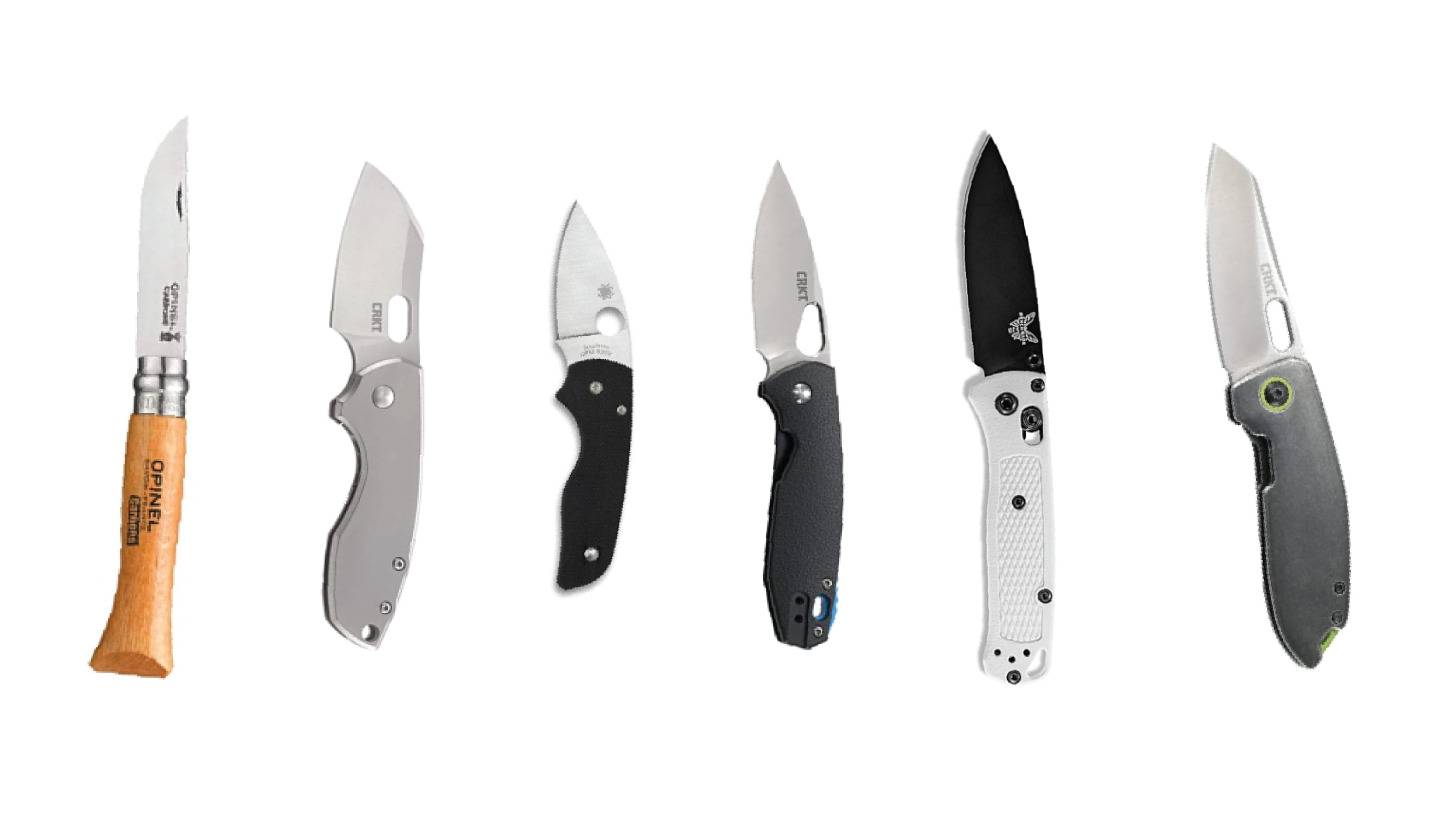
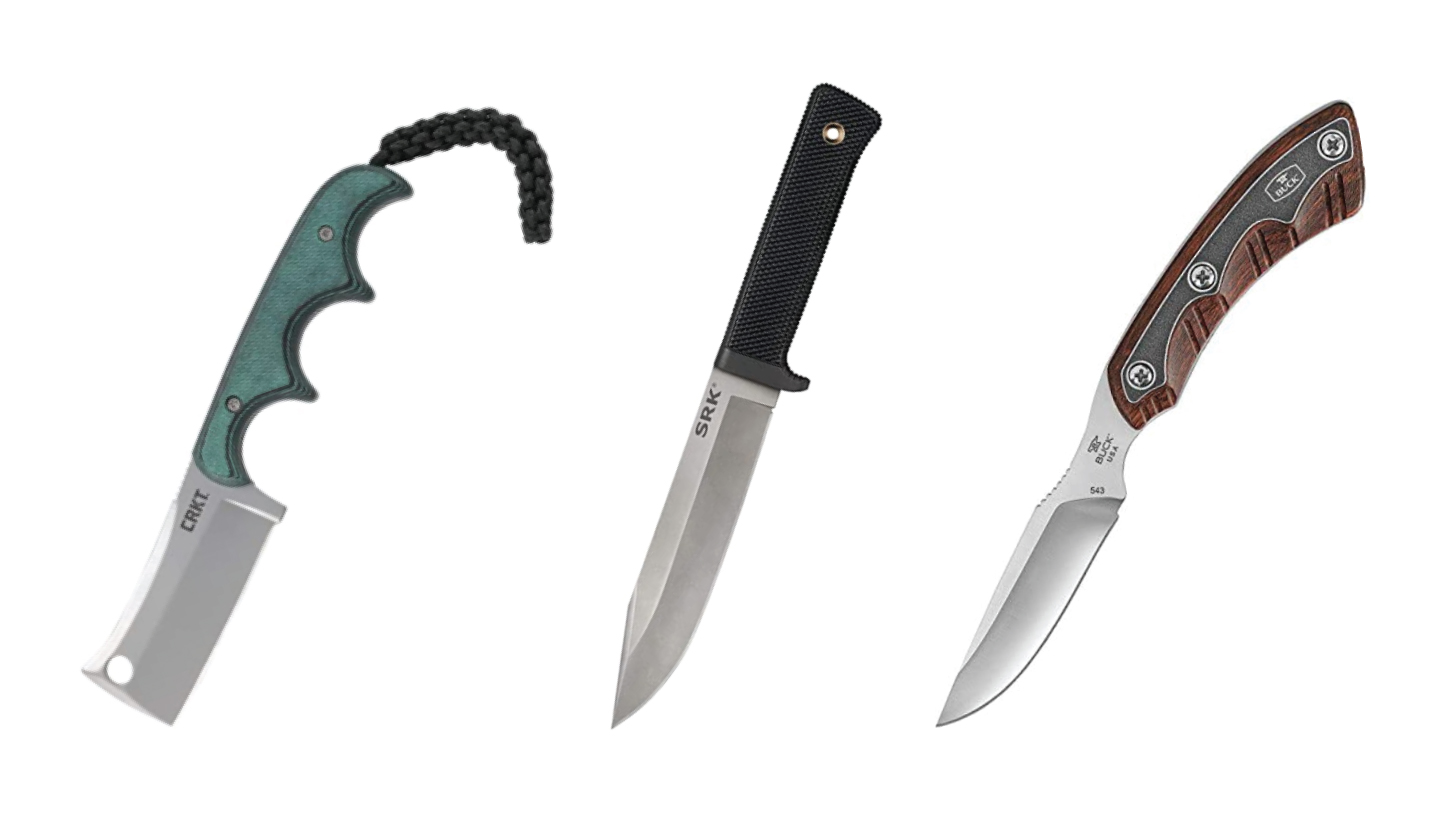
I plan on sharpening only knives. I won’t repair excessively damaged blades, dents, or broken tips. I won’t alter blade shape or edge type. I won’t sharpen swords, crazy shaped fantasy knives, or micro-serrated knives (Ginsu). This is not because I can’t. It is because the profit margins are too low. It will take too long and require too many other tools to sharpen/repair these kinds of edges. By keeping my niche small I can better control the pricing, quality, overhead, and profit margins.
I also want to sharpen while someone waits. I don’t plan on taking work “home”. I don’t want any business through the mail. I don’t want to offer a drop off service…unless it’s while a customer continues to shop at the flea market. Should I get business with commercial venues like restaurants and delis, I will accomplish it by going to their location on a recurring basis. This way I can provide the best quality and timely service possible without getting “backed up”.
The Stones & Strops: What I’ll Use
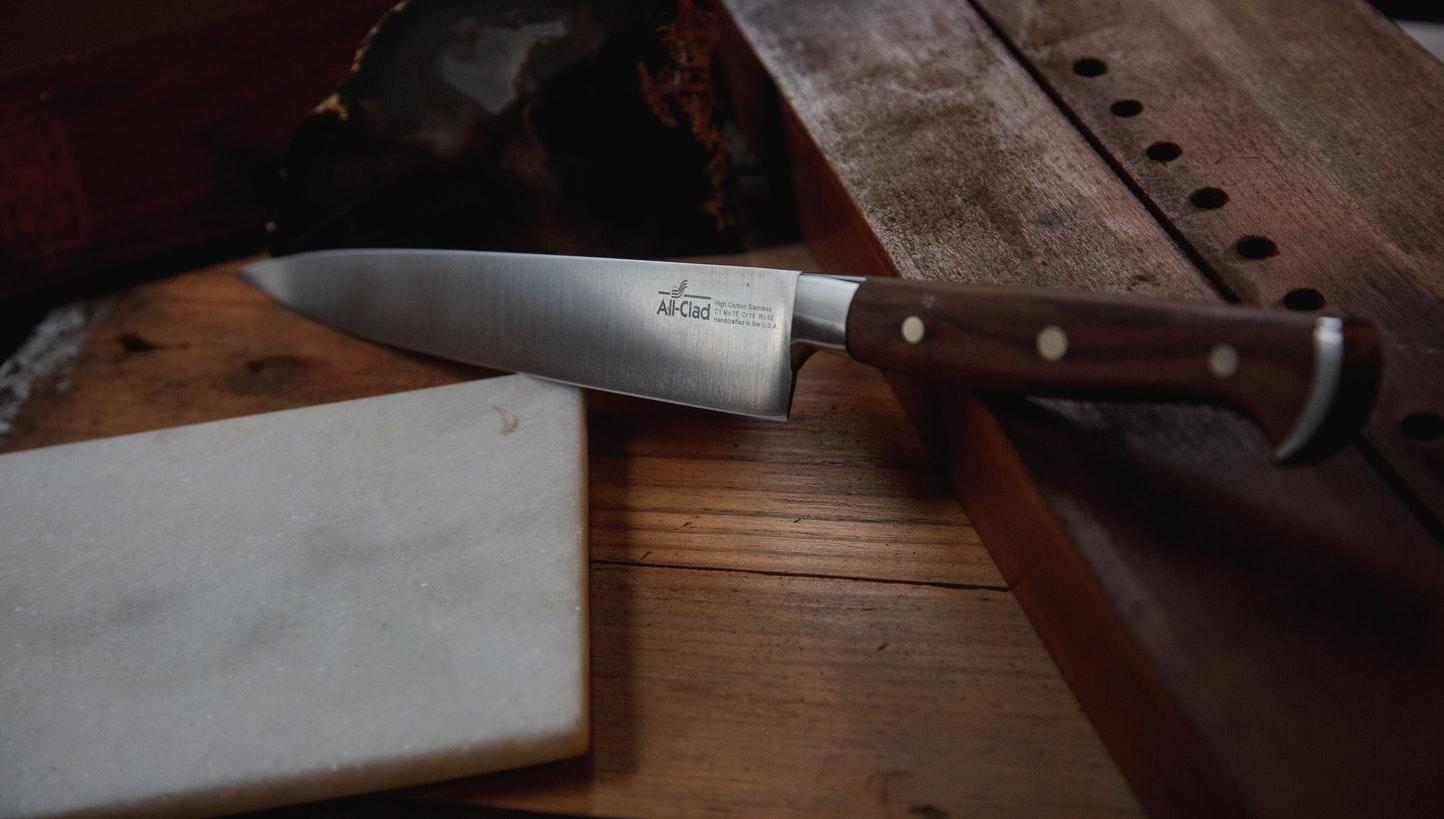
I am using 2 water stones and 1 guided system as my go-to set up. This gives me flexibility with my pricing levels and time management. My first water stone is a Whetstone Cutlery 400/1000 grit double sided stone. It is an inexpensive stone but does a great job. My second water stone is a Taidea 3000/8000 grit stone. I can progress through four grits in just two stones. I also have a cheap (I.E. low grit) bench stone to flatten my water stones with over time.
The guided system I’m using is the Lansky Deluxe with the additional sapphire stone and the soft jaw clamp. I am not using any of the Lansky Stands since they’re limited in scope. Instead I am using a 3 inch bench vise as my “stand”. For one thing, it gives me a better hold on the clamp. Two, it still swivels. Finally, it offers more versatility as I can use it to hold other things, lightly hammer on the small anvil face on the back of it, and it’s more stable than the Lansky stands.

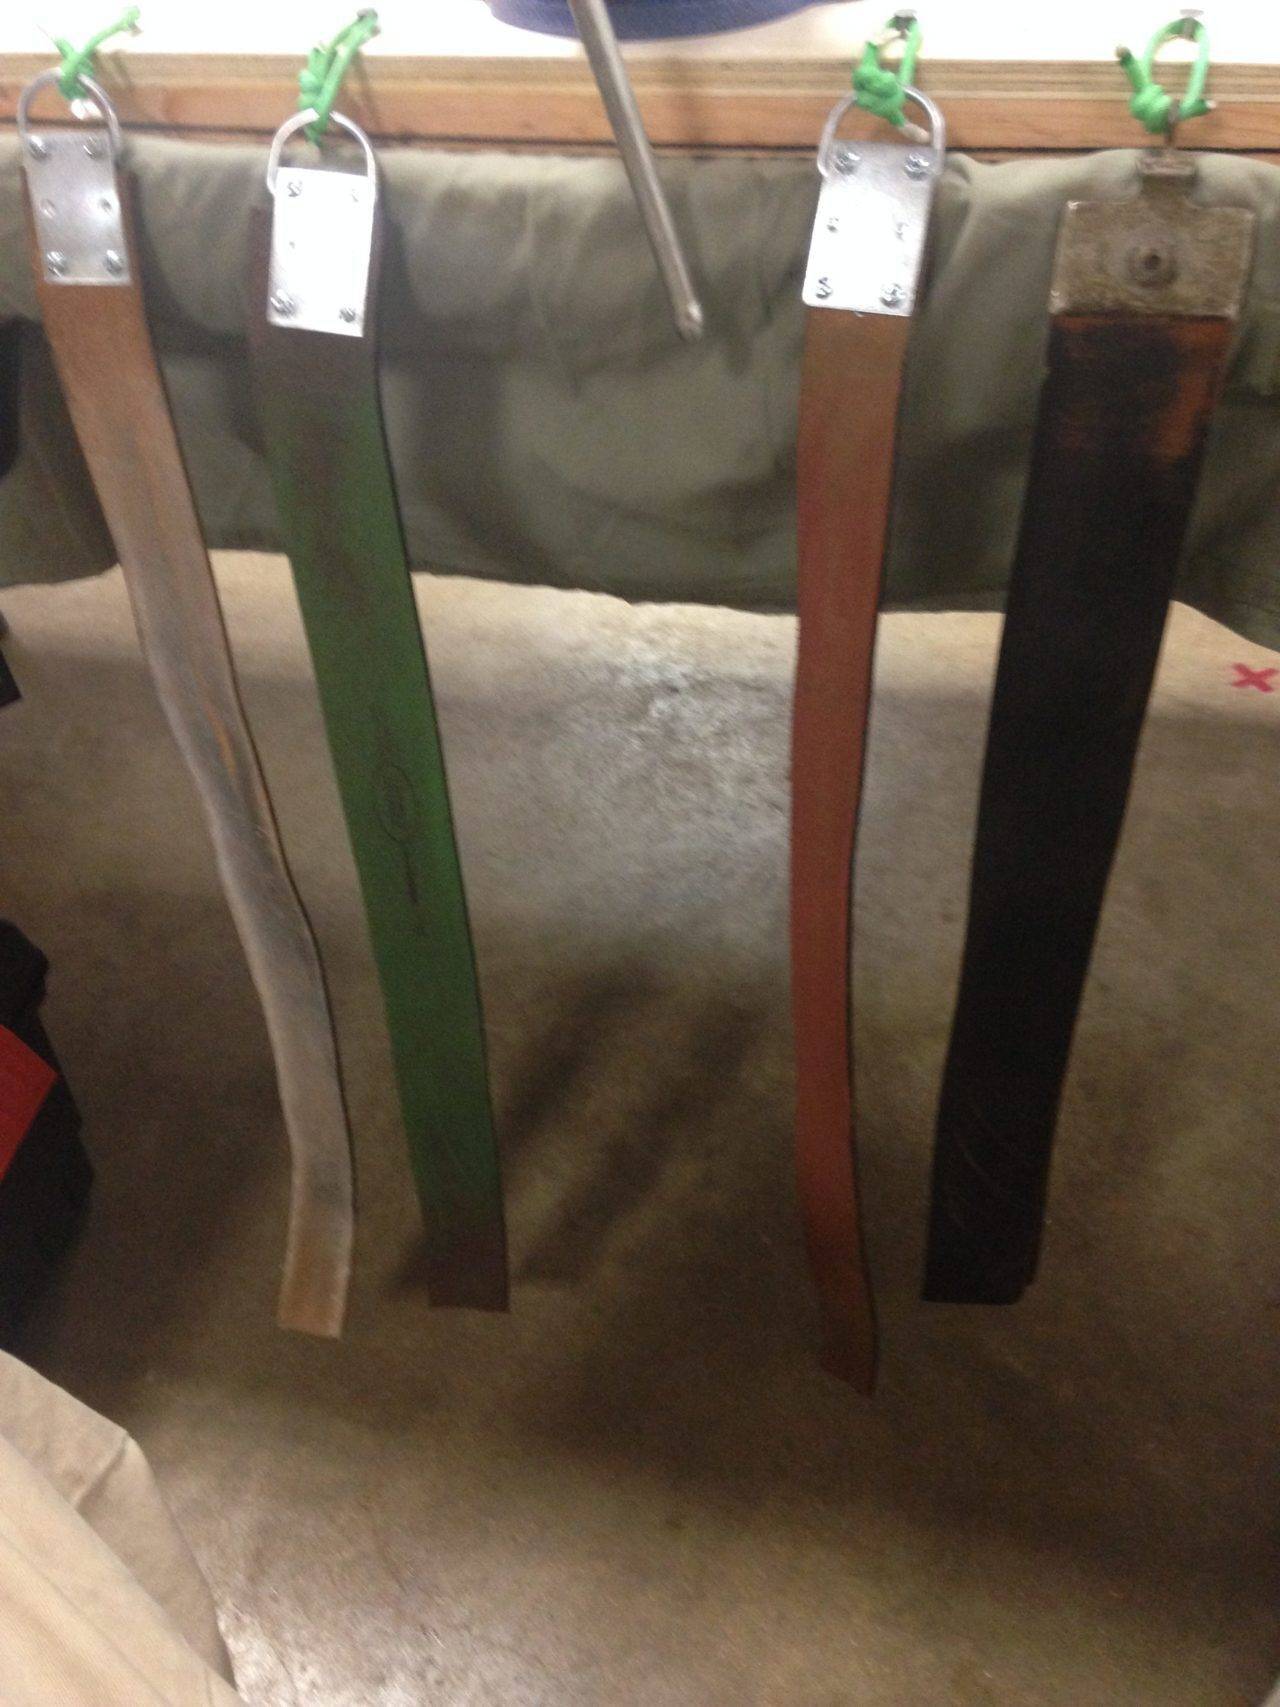
I have 4 strops set up for this process as well. Three are homemade hanging strops each loaded with a different compound. One is a vintage strop I am running without any compound. The three compounds I am using are aluminum oxide, chromium oxide, and iron oxide. These are the traditional white, green, and red compounds you see everywhere. I like their performance. Additionally they are readily available and economical.
Other Sharpening Tools
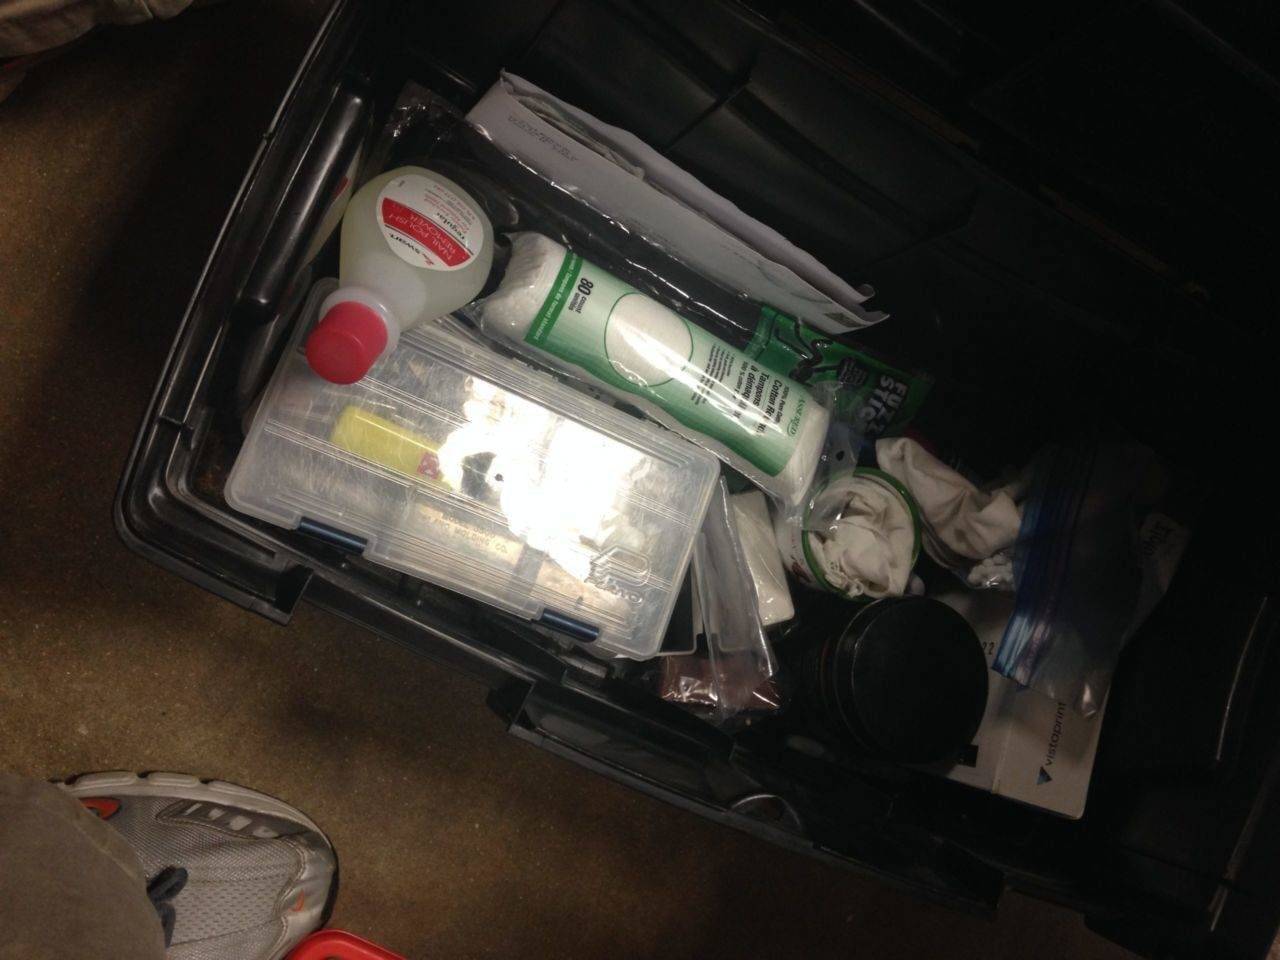
In addition to the stones and guided system, I have a host of other tools set up for this venture. I have a micro screwdriver set to adjust pivots and body screws with, gold cup paintball oil for pivots and moving parts, rags to clean with, superglue, table clamps, alcohol wipes, angle guides, angle finder, Never Dull, phone book paper for testing edges with, cotton balls, Q-Tips, pliers, and some tape. I also have receipts to use for customers. Most of my tools and equipment fit nicely in my tool box.
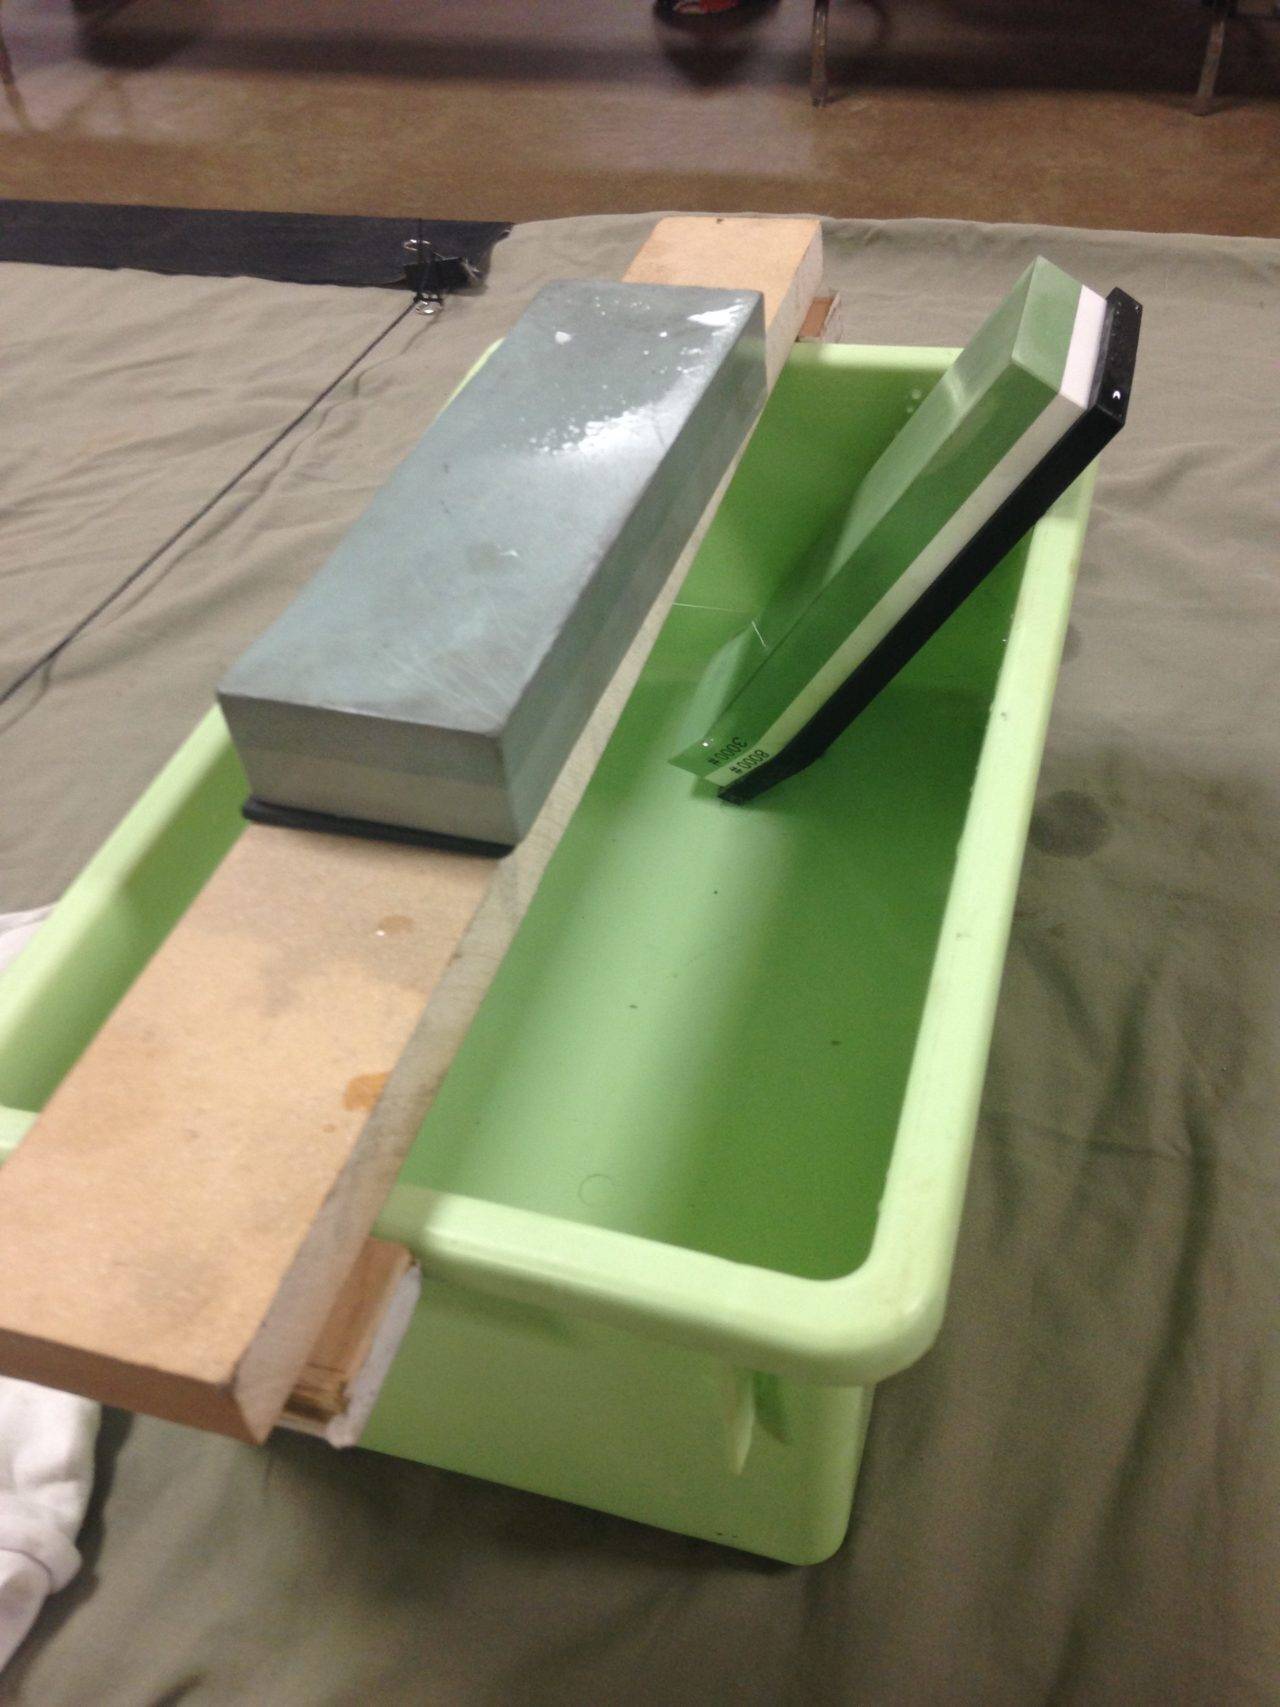
Since I am using a bench vise instead of a stand I needed to mount the vise. I decided to kill two birds with one stone and mount it to a 24” board with feet and 4 roofing nails hammered in for the strops to hang from. As you can see from the picture below, the vise is centrally located to balance the center of gravity. The board has 3 raised sides that provide a foot for the vise, keep its underside bolts from scratching whatever surface I set it on, and keep the board from sagging under the vise’s weight. To keep the whole thing still I am employing two 6 inch sliding table clamps. This allows me to quickly attach it to almost any table without issue.

This is the proposed set up I’ll be using. I’ll keep you posted on how it all turns out.