POCKET KNIVES
EDC Knife Care: How To Take Care Of Your EDC Knife
07.06.2016
So you finally decided upon which knife/knives you want to carry for your EDC option. It fits your requirements and laws. It is an asset you can use daily to accomplish many daily tasks. Now what? Now you have to care for and maintain that knife. Besides sharpening (which is covered over several articles on this site), you need to know how to disassemble, clean & polish, and oil & reassemble your knife. Over the next several paragraphs I will cover those areas of knife care.
Disassembly
Disassembling your knife, or at least being able to, is an invaluable skill set in EDC knife care. Before you attempt to do so, look at your owner’s manual. Many knife makers do not want you disassembling the knife. In fact it often voids any warranty. Proceed at your own risk. What do you do when a spring breaks, a bearing slips, or dirt/sand get caught in the mechanisms? Yes you may be able to send it into the manufacturer for repair, but that often costs money and leaves you without your knife.
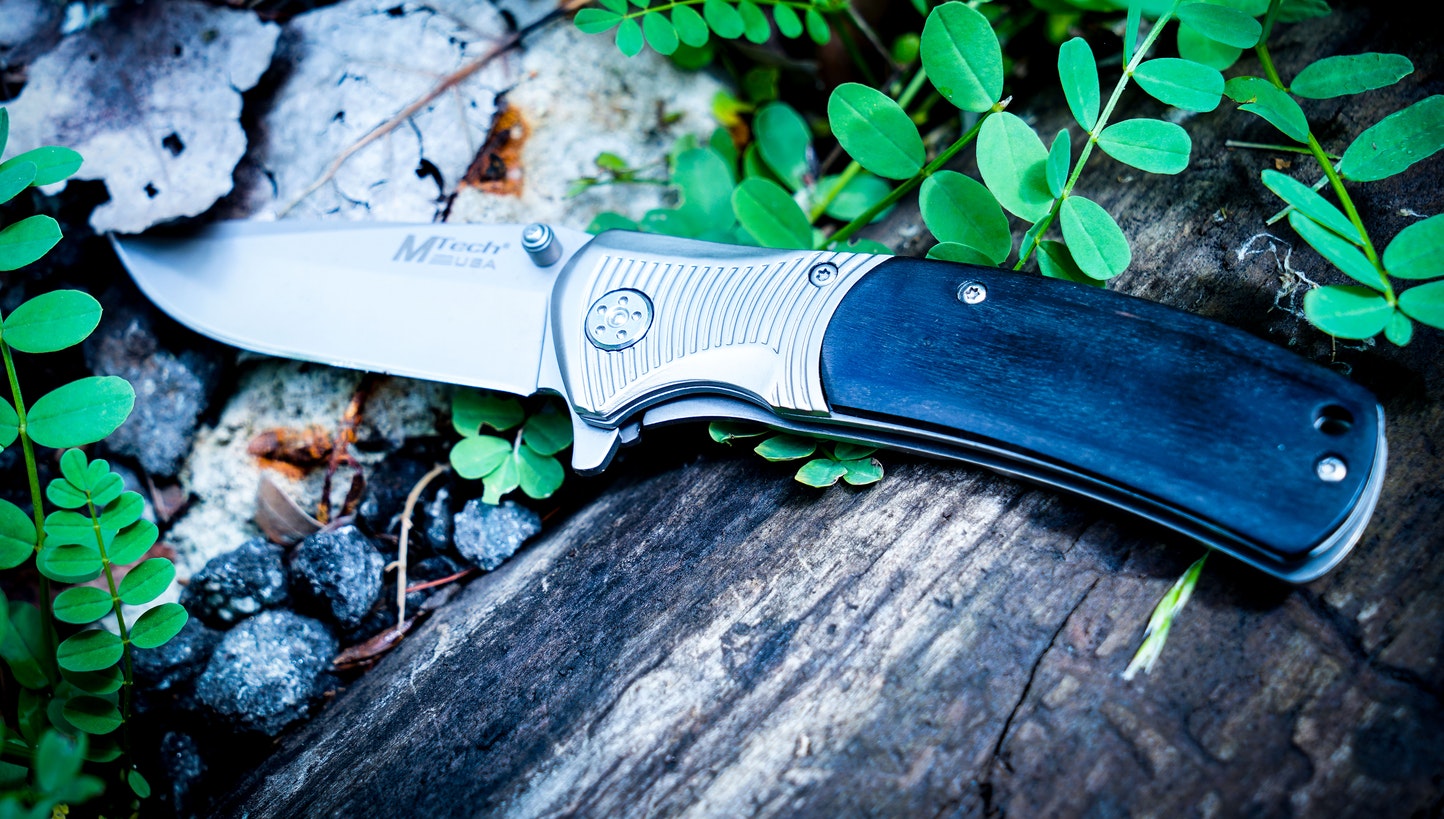
Alternatively you can learn how to fix it yourself. Unlike a fixed blade or chef’s knife, EDC knives have moving parts (as detailed by my previous article). There are many nooks and crannies that can trap dirt or pocket lint. There are areas than can wear over time and break. Being able to fix it yourself is invaluable and somewhat liberating. EDCforums.com has a great thread on knife disassembly.
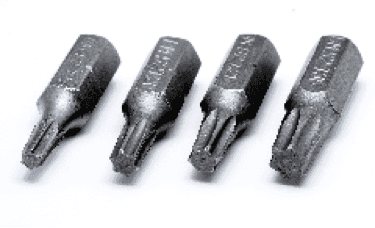
There are several tools you will need to be able to do this adequately. The first thing will be a clean area to work. Get some space where you have room to place tools and parts. Make sure you have small screwdriver bits. I also suggest purchasing a good set of Torx bits, otherwise called star drive bits. A good set of small needle nose pliers is invaluable. A magnet and tweezers are helpful for holding onto small parts. A large two gallon plastic bag is useful for disassembling knives in so that when, not if, but when parts go flying they stay within the bag. I once launched a back spring of a knife in my garage. It took me an hour to find the part.
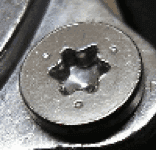
A note on Torx bits. What are Torx bit anyways? They are a hex shaped bit similar to an Allen or hex key. They were created in 1967 by a company called Camcar Textron. However the sides of the bit have been concaved to give greater strength in motion with less cam-out (slippage). These are the most common type of screw found on modern EDC folding knives. Sizes 6-10 are common.
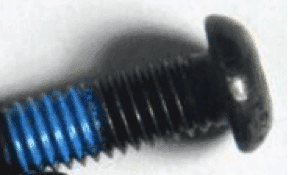
 When you disassemble your knife, lay all the parts out in a clear area that will allow you to find them and keep them in order. A nice white paper towel works well for this as most knife parts are not white (with the exception of Teflon washers). Start by removing tension from the knife blade. Depending upon the locking and opening mechanism this may either be in the open or closed position. Then begin removing the body screws. When doing so, be aware of possible resistance. If you get significant resistance, heat the end of your Torx bit with a flame of some sort. After it is relatively hot insert it back into the Torx slot and hold it there a few seconds. Many knife manufacturers use some sort of thread locker to keep the screws tight. The heat should soften the thread locker do you can remove the screw safely without breaking it. Once the screw is removed, check the end of it for thread locker (it will most likely be a blue color).
After all screws are removed, begin pulling apart the scales and handle slabs. Place these to the side on your paper towel. As you do, beware of the blade. It is now naked and (hopefully) very sharp. Carefully remove the pivots and bushings/washers. If your knife has bearings, be very aware of these as they are tiny and easy to lose.
Once the knife has been disassembled, inspect all the parts for damage, wear, and discoloration. Note if anything has been broken or needs replacing. Many knife manufacturers are very good about mailing out replacement springs and body screws. Contact them if needed. One of my previous EDC blades was a Kershaw Brawler. Its Speed Safe spring broke from over use (a.k.a. I was flipping it too much). They sent me two replacement springs with no issue.
Clean & Polish
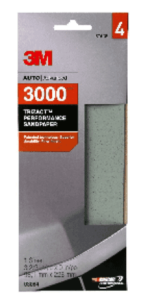
Now that your knife is apart you will want to clean out any areas full of dirt or lint. There are several tools and solutions you can use to clean with. Some good cleansers are WD 40, Alcohol, Window cleaner, and Acetone. Cotton balls, cotton pads, Q-tips, and pipe cleaners are good for doing the cleaning with. Other useful supplies are 00 steel wool, Never Dull, 3m Trizact paper, and more paper towels.
WD 40 is included in cleaning as it is a great cleanser but a poor lubricant. It is not oil at all. The “WD” stands for water displacement. It is very good at breaking down grease and grime. Window cleaner is good for cleaning handle scales, especially FRN, as it gets into the plastic better. Acetone is probably the best thing for cleaning off the threads of body and pivot screws. Simply put a little dab onto a cotton ball and twist the screw in it. Wipe off and/or clean all the parts of the knife.
If you have phosphor bronze or brass washers you can polish them and improve their performance (smooth them out) on high grit sand paper such as 3000 grit 3M trizact paper. Simply wipe both sides in a circular motion until their sheen improves. TheApostleP has a great video on Youtube.com about this concept.
Pipe cleaners are useful to clean out pivot and screw holes as well as the odd ball extra pocket clip holes. In addition, carrying around an extra pipe cleaner daily will allow you to spot clean your knife should it get dirty as you can bend the pipe cleaner to fit any shape. They are excellent at wiping out the slot the blade sits in between the liners.
Oil & Reassemble
Now that your knife is apart, cleaned, and polished it’s time to reassemble and oil it. Begin by putting it back together in reverse order from when you took it apart. As you do, oil the moving parts such as the pivot or lock bar. There are several commercially available oils you can use on your knife. You want an inorganic oil with a low viscosity. Why? Organic oils such as vegetable or motor oils (petroleum based oils) can gum up the works of a knife more quickly as their organic component clings to more dirt and dust. Synthetic oils are better at lubricating without exacerbating this problem. Viscosity is a measurement of the friction resistance in a fluid, the more resistant the higher the viscosity. You want a fairly thin (low viscosity) oil that allows the blade to move freely.
There are many commercial options available for oiling your knife such as Tuf glide, Frog Lube, 3-in-1 oil, Nano Oil, Liberty Oil, gun oils, etc. The list is near endless. A common and inexpensive oil I prefer is Gold Cup paintball oil. It’s synthetic, has a low viscosity, and has good penetration. I have used 3-in1 on a few occasions and am pleased with it. I have not used any other oil on my knives and do not plan too. Once you find a brand of oil you like, there is not much reason to switch. They are not all alike, but many of them are very good. Research and see which one works for you.
As you reassemble your knife beware not to forget anything. Be aware of the blade during reassembly. It should still be very sharp. Apply thread locker to any screw that needs it. As you tighten a screw with thread locker, you have a limited time before it sets. Get it to the tightness you want, especially in your pivot, and let it set. Once the knife is back together give it a final wipe down and you should be good. I recommend doing this at least once every six months, or more often if use demands it.
Conclusion
I hope this article has provided you with a great follow on to the EDC knife primer. I hope it has given you basic information on cleaning and care of your knife. If you chose a good knife, it should last you a long time with proper care and maintenance.